
Equinox FWD V6-3.4L VIN F (2005)
Air Door Actuator / Motor: Service and Repair
Floor Actuator
FLOOR ACTUATOR REPLACEMENT
REMOVAL PROCEDURE
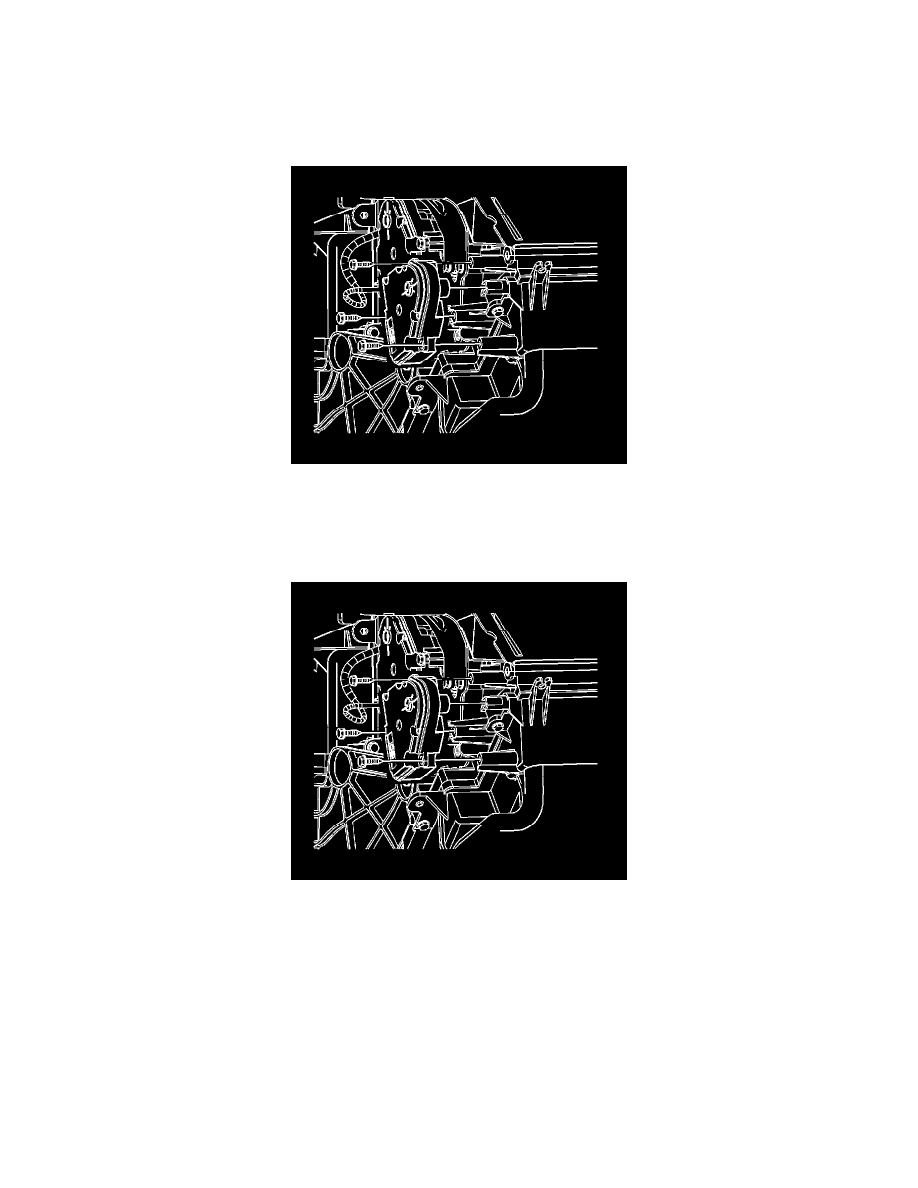
1. Disconnect the electrical connector from the floor actuator.
2. Remove the floor actuator screws from the HVAC module.
3. Remove the floor actuator from the HVAC module.
INSTALLATION PROCEDURE
1. Align the floor actuator with the door shaft and rotate into position.
2. Install the floor actuator screws to the HVAC module.
Tighten the screws to 1 N.m (9 lb in).
NOTE: Refer to Fastener Notice in Service Precautions.
3. Connect the electrical connector to the floor actuator.
4. Calibrate the mode actuators by simultaneously pushing the A/C and RECIRC buttons on the HVAC control module three times each, within two
seconds of initial push.
-
The A/C and RECIRC button LEDs will flash while this calibration is taking place.
-
The calibration will take anywhere between 10 to 30 seconds depending on battery voltage.
-
The LEDs will quit flashing when the calibration is complete.
IMPORTANT: Any time a mode actuator or the HVAC control module is replaced, the HVAC control module must be calibrated to ensure proper