
Express 1/2 Ton Van V6-4.3L VIN W (1999)
12. Remove the accelerator control cable from the throttle shaft. Refer to Accelerator Controls Cable Replacement in Powertrain Management.
13. Disconnect the cruise control cable, if equipped.
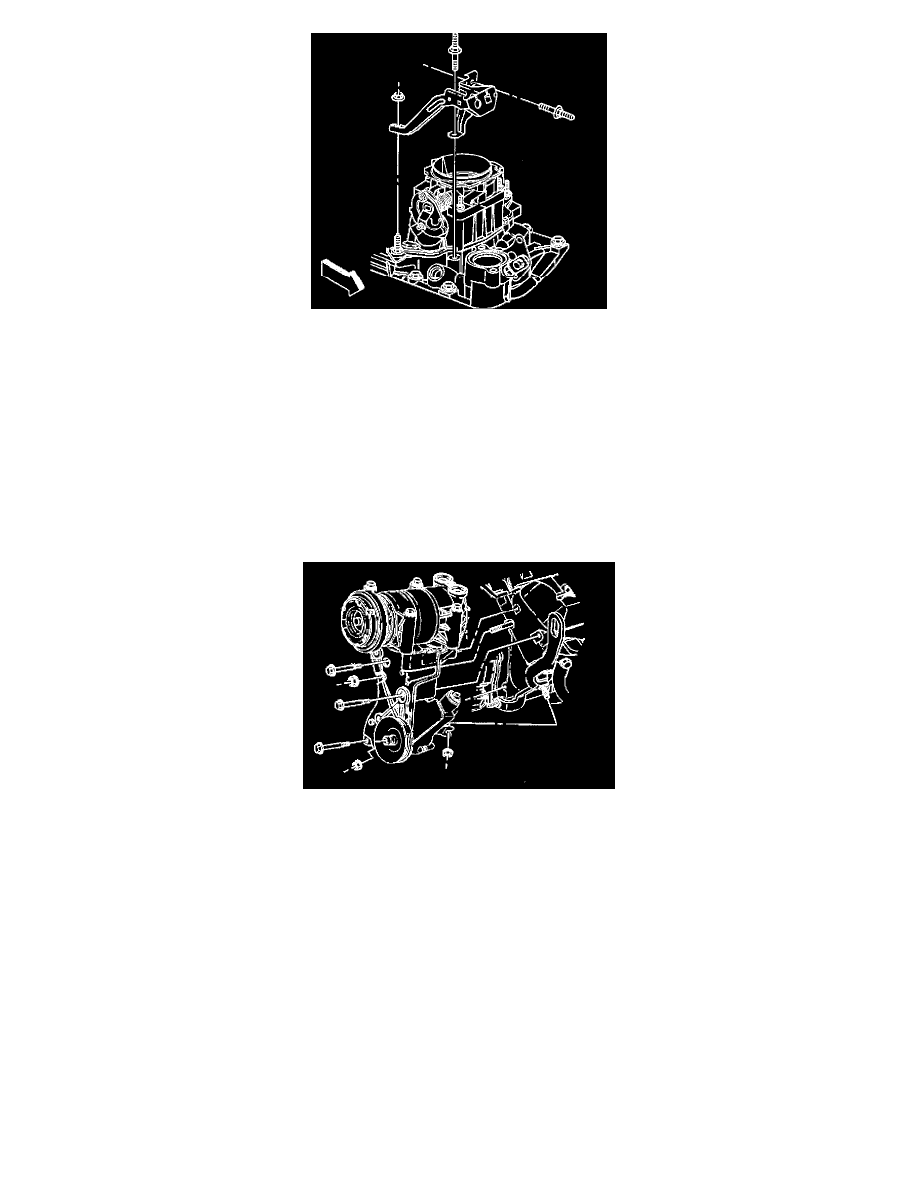
14. Remove the accelerator and cruise control cables bracket from the throttle body and the intake manifold.
15. Disconnect the following electrical connectors:
^
The fuel meter body assembly
^
The EVAP canister purge solenoid valve.
^
The idle air control (IAC) motor
^
The throttle position (TP) sensor
^
The manifold absolute pressure (MAP) sensor
^
The A/C compressor high pressure switch, if equipped
^
The A/C clutch switch, if equipped
^
The exhaust gas recirculation (EGR) valve
^
The engine coolant temperature (ECT) sensor
16. In order to remove the front lower intake manifold bolt, perform the following:
16.1. Remove the drive belt.
16.2. Loosen the power steering pump rear bracket side nut.
16.3. Remove he power steering pump rear bracket front nut.
16.4. Remove the bolts and the nut for the power steering pump mounting bracket.
16.5. Leave the A/C compressor, if equipped, and the power steering pump on the bracket.
16.6. Slide the power steering pump mounting bracket forward to access the bolt at the front of the intake manifold.