
Express 1/2 Ton Van V6-4.3L VIN W (1999)
18. Install the drive belt.
19. Install the ground wire to the water outlet stud.
^
Tighten the nut to 10 Nm (88 inch lbs.).
20. Connect the following electrical connectors:
^
The fuel meter body assembly
^
The EVAP canister purge solenoid valve
^
The idle air control (IAC) motor
^
The throttle position (TP) sensor
^
The manifold absolute pressure (MAP) sensor
^
The A/C compressor high pressure switch
^
The A/C clutch switch
^
The exhaust gas recirculation (EGR) valve
^
The engine coolant temperature (ECT) sensor
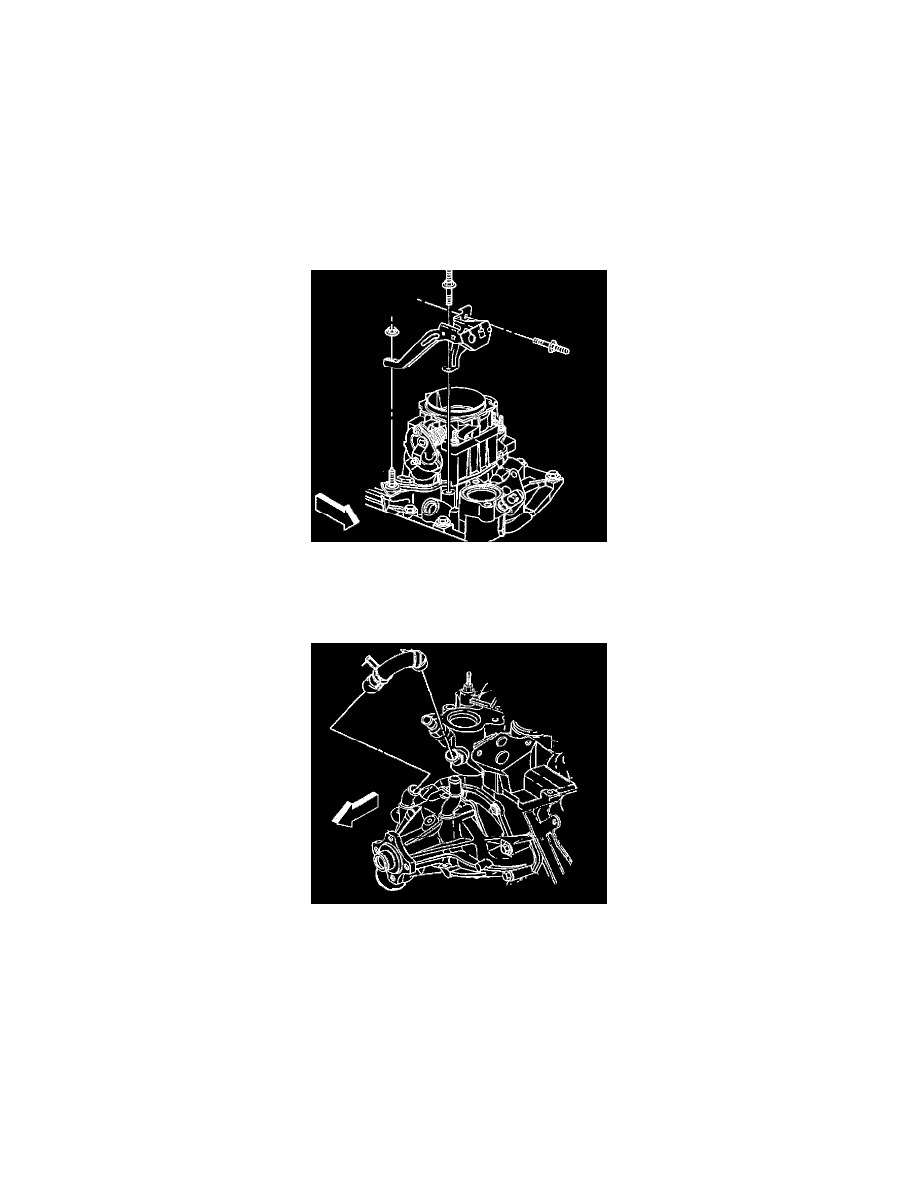
21. Install the accelerator control cable bracket, bolts, and nuts to the intake manifold and the throttle body
^
Tighten the nuts and bolts to 12 Nm (106 inch lbs.).
22. Install the accelerator control cable to the throttle shaft.
23. Install the cruise control cable, if equipped.
24. Install the water inlet hose to the intake manifold.
25. Install the heater hoses.
26. Install the generator.
27. Install the radiator inlet hose to the water outlet.
28. Refill the cooling system.