
Express 1/2 Ton Van V6-4.3L VIN W (1999)
Hose/Line HVAC: Service and Repair
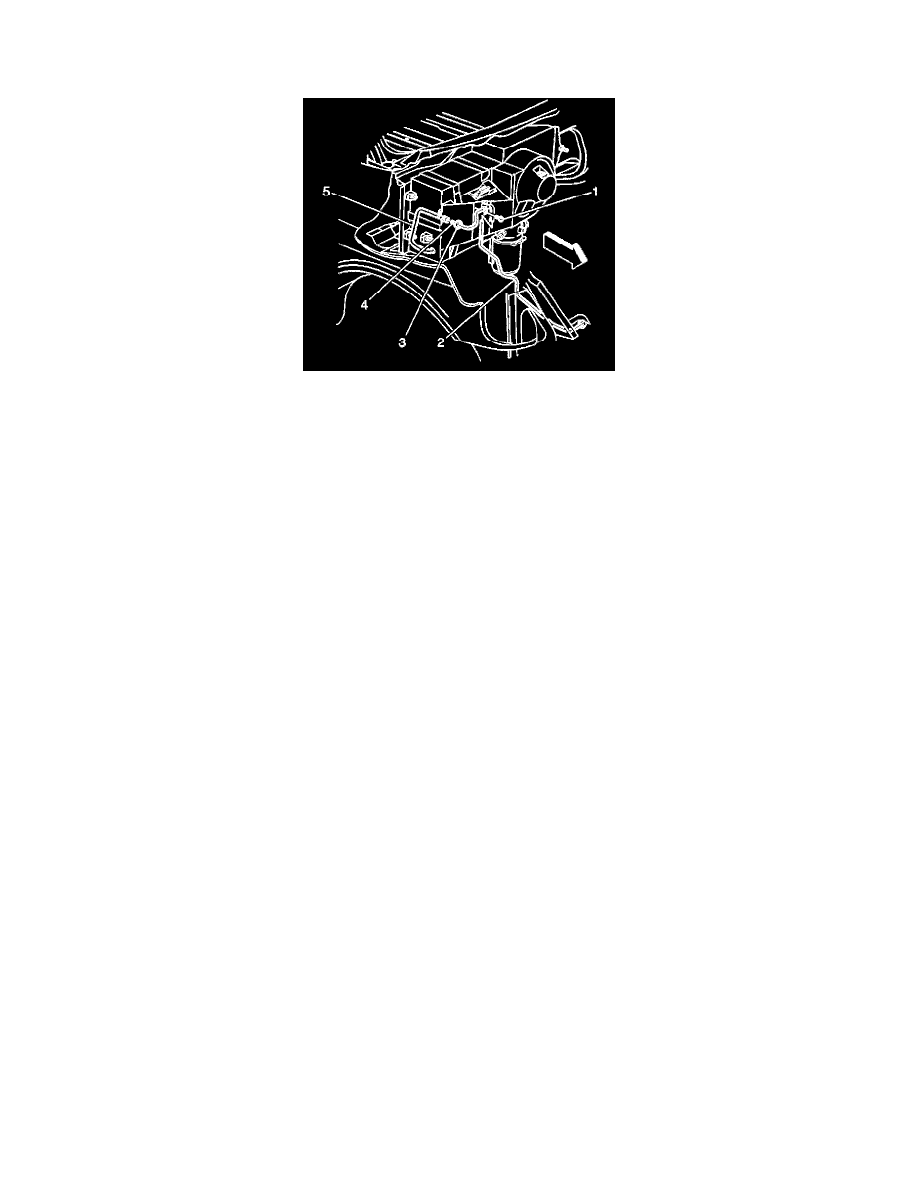
Evaporator Tube Replacement
REMOVAL PROCEDURE
CAUTION: Refer to Battery Disconnect Caution in Service Precautions.
1. Remove the negative battery cable.
2. Recover the refrigerant from the system. Refer to Refrigerant Recovery and Recharging. See: Refrigerant/Service and Repair
3. Remove the evaporator tube from the evaporator (5).
4. Remove the O-ring seal.
5. Remove the radiator grille.
6. Remove the evaporator tube from the condenser.
7. If equipped with auxiliary A/C:
7.1. Raise the vehicle. Support the vehicle with safety stands.
7.2. Remove the evaporator tube from the auxiliary A/C evaporator underbody front tube assembly.
8. Remove the O-ring seal.
INSTALLATION PROCEDURE
1. Install the new O-ring seal.
2. Coat the O-ring seal with 525 viscosity refrigerant oil.
NOTE: Refer to Fastener Notice in Service Precautions.
3. Install the evaporator tube to the condenser.
Tighten
Tighten the evaporator tube to 28 N.m (21 lb ft).
4. Install the radiator grille.
5. Install the new O-ring seal.
6. Coat the O-ring with 525 viscosity refrigerant oil.
7. Install the evaporator tube to the evaporator (5).
Tighten
Tighten the evaporator tube to 19 N.m (14 lb ft).
8. Install the evaporator tube to the auxiliary A/C evaporator underbody front tube assembly, if equipped.
Tighten
Tighten the evaporator tube to 28 N.m (21 lb ft).
8.1. Remove the safety stands.
8.2. Lower the vehicle.
9. Install the negative battery cable.
10. Recharge the refrigerant to the system. Refer to Refrigerant Recovery and Recharging.
11. Inspect the system for leaks.