
Express 1/2 Ton Van V6-4.3L VIN W (1999)
Wheel Fastener: Service and Repair
Rear
Wheel Stud Replacement (Semi-Floating Axle)
^
Tools Required
-
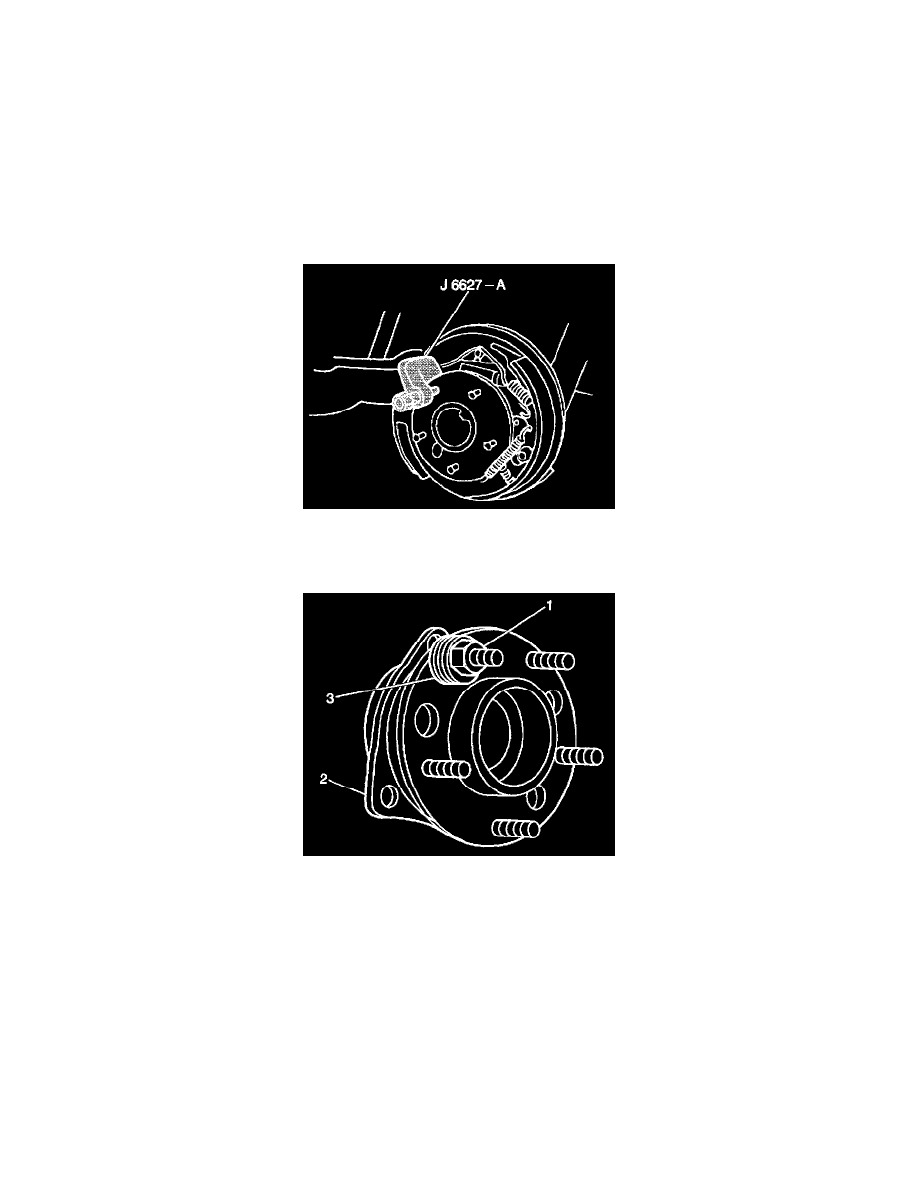
J 6627-A Wheel Stud Remover
REMOVAL PROCEDURE
1. Raise the vehicle. Support the vehicle with safety stands.
2. Remove the wheel and tire from the vehicle
3. Remove the brake drum from the vehicles.
4. Remove the wheel stud from the axle flange using J 6627-A.
INSTALLATION PROCEDURE
1. Place the wheel stud (1) into the hole in the axle flange.
2. Pressing firmly with your hand, start the wheel stud into the hole in the axle flange.
3. Install washers onto the stud. Then thread a lug nut with the flat side to the vehicle onto the wheel stud.
4. Tighten the lug nut, drawing the stud into the rear of the flange.
5. Remove the washers and lug nut.
6. Install the brake drum.
7. Install the wheel and tire to the vehicle.
8. Remove the safety stands.
9. Lower the vehicle.
Wheel Stud Replacement (Full-Floating Axle)
Wheel studs are serrated and may also be swaged in place; however, the replacement procedure remains the same for both types of installation.