
Express 1/2 Ton Van V8-305 5.0L VIN M SFI (1998)
Parking Brake Pedal: Service and Repair
REMOVAL PROCEDURE
1. Complete the parking brake lever pin up procedure. Refer to Enabling the Park Brake Automatic Adjuster in Park Brake.
2. Remove the parking brake release handle. Refer to Park Brake Release Handle Replacement in Park Brake.
3. Remove the front brake cable from the parking brake lever. Refer to Park Brake Cable Replacement (Front Cables) in Park Brake.
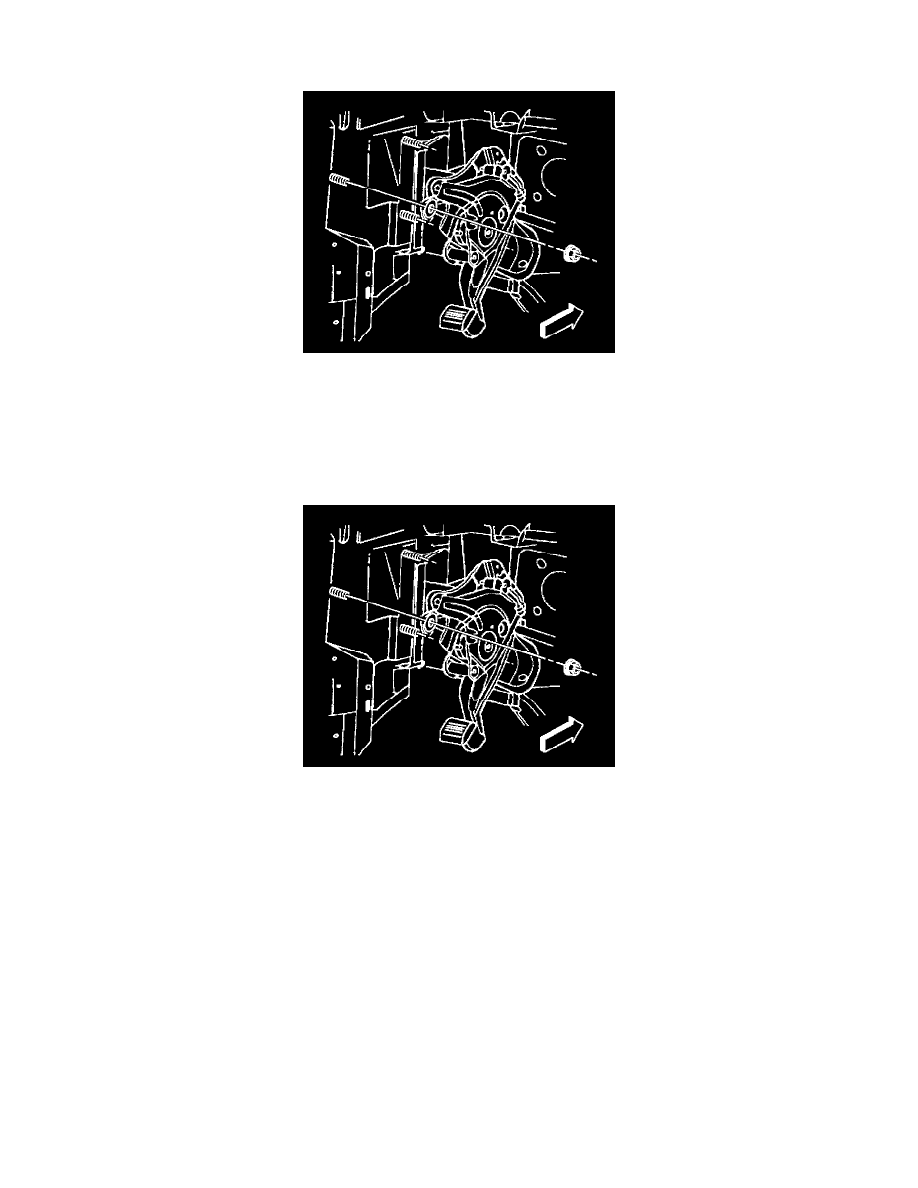
4. Remove the parking brake lever retaining nuts.
5. Remove the parking brake lever from the vehicle.
INSTALLATION PROCEDURE
1. Pin up the NEW parking brake lever. Refer to Enabling the Park Brake Automatic Adjuster in Park Brake.
2. Install the parking brake lever to the vehicle.
3. Install the parking brake lever retaining nuts.
^
Tighten the parking brake lever retaining nuts to 25 Nm (18 ft. lbs.).
NOTICE: Refer to Fastener Notice in Service Precautions.
5. Connect the front brake cable to the parking brake lever. Refer to Park Brake Cable Replacement (Front Cables) in Park Brake.
6. Install the parking brake release handle. Refer to Park Brake Release Handle Replacement in Park Brake.
7. Install the left side kick panel by snapping into the pillar.
8. Remove the pin from the parking brake lever.
9. Move the parking brake lever into the FULL up position.
10. Verify that the vehicle will hold position with the brake lever depressed.
11. If additional adjustments need to be made, refer to Park Brake Cable Service/Adjustment in Park Brake.