
Express 1/2 Ton Van V8-305 5.0L VIN M SFI (1998)
Fluid Filter - A/T: Service and Repair
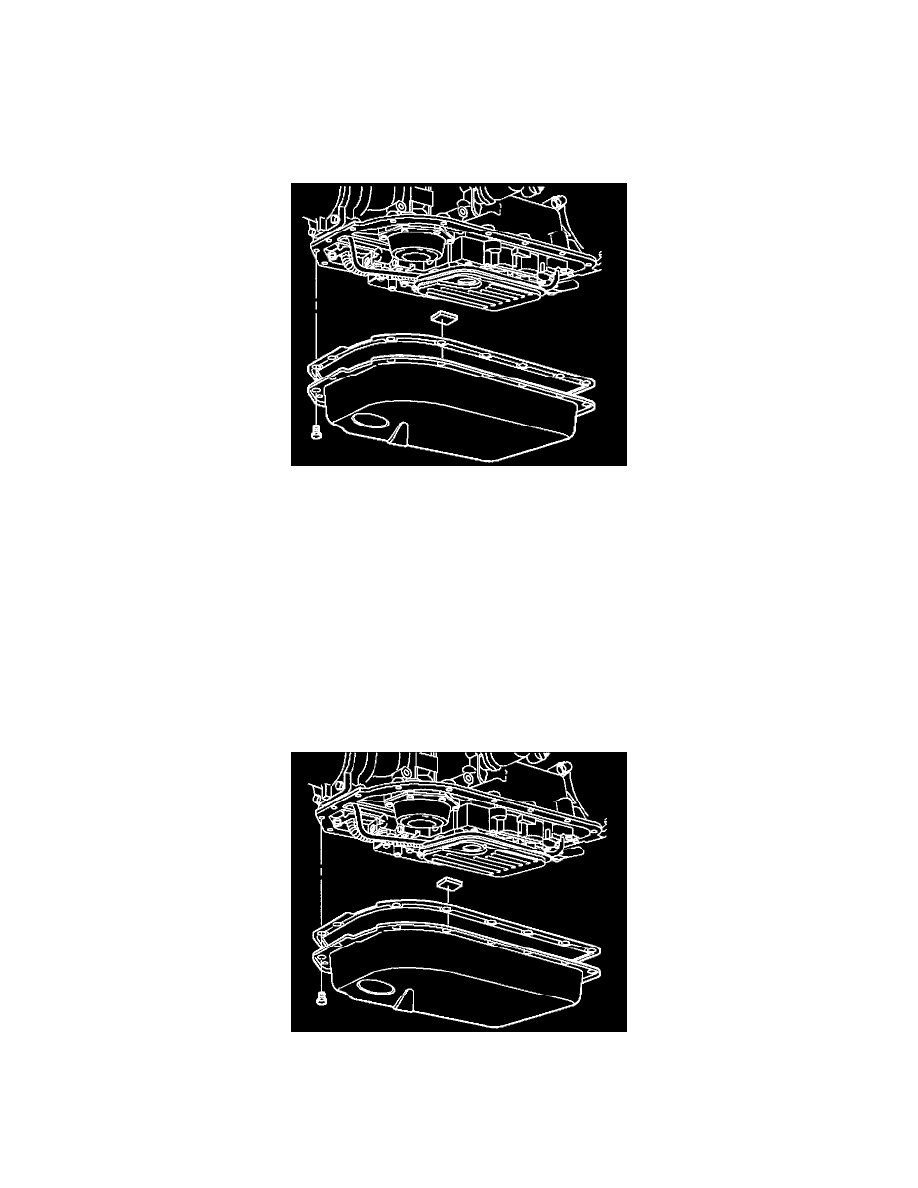
4L60-E Automatic Transmission
REMOVAL PROCEDURE
1. Raise and support the vehicle.
2. Place a drain pan under the transmission oil pan.
3. Remove the drain plug.
4. Remove the oil pan bolts.
5. Remove the oil pan.
6. Remove the gasket.
7. Remove the magnet.
8. Remove the oil filter.
9. Remove the filter neck seal.
10. Remove all of the old gasket material from the gasket surface.
11. Clean the transmission case and the oil pan gasket surfaces with solvent.
12. Air dry the transmission case and surfaces.
13. Install the oil pan drain plug.
INSTALLATION PROCEDURE
1. Install the filter neck seal.
2. Install the oil filter.
3. Install the oil pan gasket to the pan.
4. Install the magnet into the bottom of the pan.
5. Install the oil pan using all seventeen oil pan bolts.
^
Tighten the oil pan bolts to 11 Nm (97 inch lbs.).
NOTICE: Refer to Fastener Notice in Service Precautions.
6. Install Dexron III Automatic Transmission Fluid.