Express 1/2 Ton Van V8-305 5.0L VIN M SFI (1998)

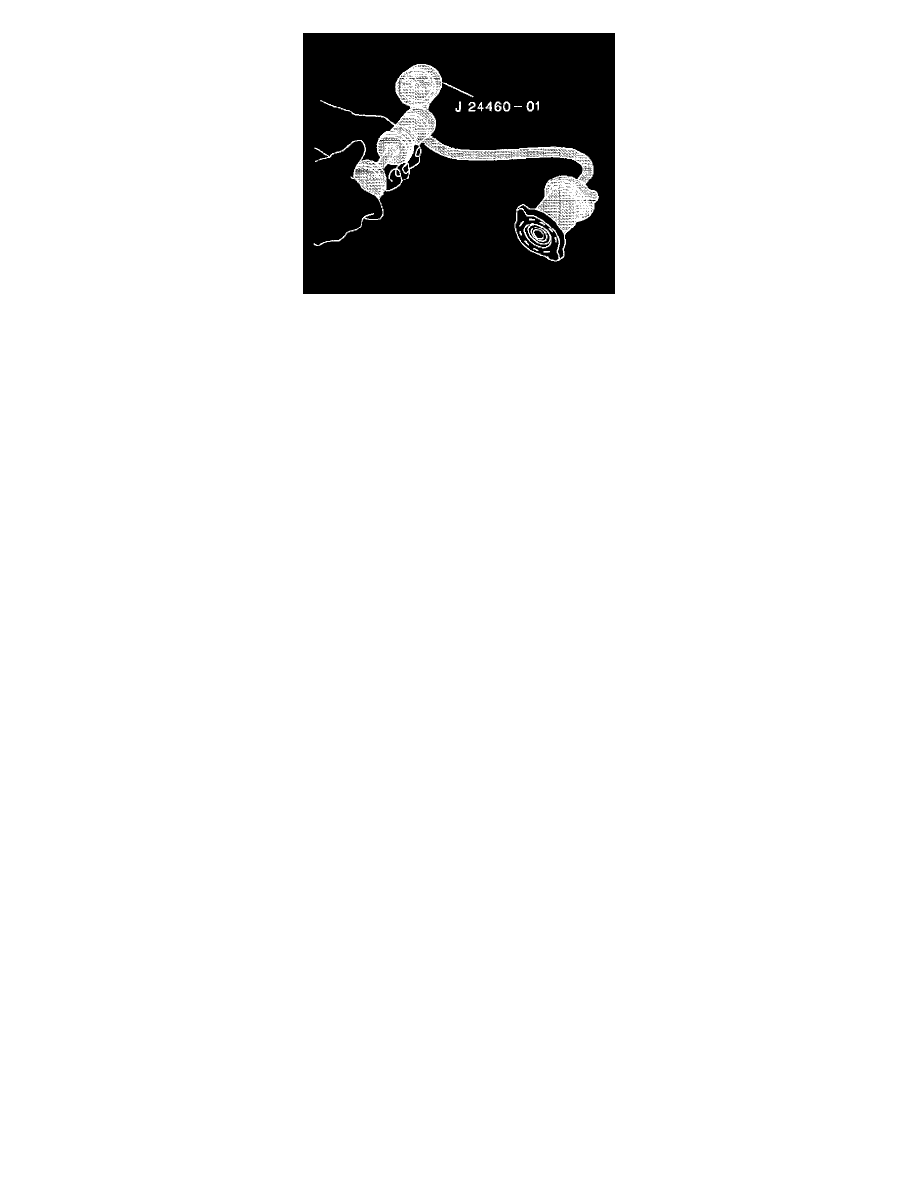
6. Check the radiator/surge tank cap with J 24460-01 in order to ensure the cap maintains the correct pressure.
7. If the radiator leaks during the pressure test, mark the leak area so the leak can be located once the radiator has been removed from the vehicle.
TESTING PROCEDURE (OFF VEHICLE)
^
Tools Required
-
J 24460-01 Cooling System and Cap Pressure Tester
NOTICE: Do not use boil-out tanks or any other tank that has been used for copper or brass radiators. The remaining solutions or chemicals in these
tanks could cause radiator failure.
1. Plug the inlet and outlet tubes. Make sure the drain cock is closed.
2. Attach the J 24460-01 to the radiator.
3. Apply pressure to the radiator. Do not exceed 138 kPa (20 psi) of pressure.
4. Observe the gauge for any pressure loss.
5. Run water over the repair area and look for any bubbles. If a large tank is available, the radiator can be submerged in order to check for air
bubbles.
