
Express 1/2 Ton Van V8-305 5.0L VIN M SFI (1998)
Hose/Line HVAC: Service and Repair
Auxiliary A/C System
Evaporator Line
Auxiliary Evaporator Line
Remove or Disconnect
1. Recover the refrigerant to the system.
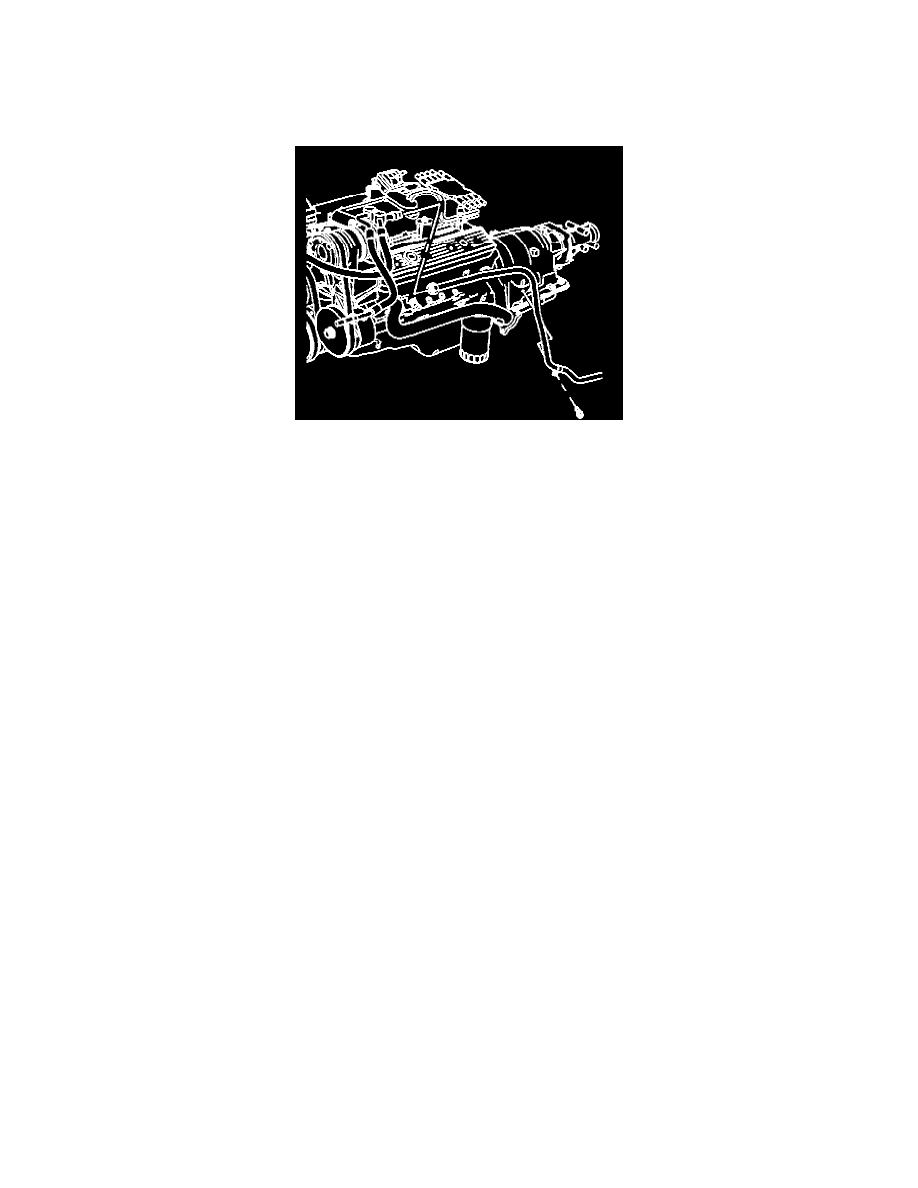
2. The engine cover.
3. The auxiliary evaporator line from the condenser and compressor hose.
4. Raise the vehicle and support it with suitable safety stands.
5. The auxiliary evaporator line connection from the underside of the body.
6. The evaporator line retaining bolts from the engine and body.
7. The evaporator line from the vehicle.
Install or Connect
1. The evaporator line to the vehicle.
2. The evaporator line retaining bolts to the engine and body.
3. The auxiliary evaporator line connection to the underside of the body.
4. Lower the vehicle.
5. The auxiliary evaporator line to the condenser and compressor hose.
6. The engine cover.
7. Recharge the refrigerant to the system.
Rear A/C and Heater Line
Tool Required:
J 41425 A/C Line Repair Kit
The A/C line repair kit is the recommended repair for all A/C lines that require repair caused by rub through, collision damage, or system leakage. In a
situation that the A/C line has visible damage in a bend area, the A/C line needs to be sectioned. Sectioning the line will obtain the original line shape to
avoid vibrations or possible rub through.
Straight Line Repair
1. Recover the A/C system.
2. Locate the repair area.
3. With a tubing cutter, cut the damaged line for repair.
4. Clean any burrs or grease at least 3/4 of an inch from the A/C line using the cleaning pad provided in the kit.
5. Prep the A/C line to be repaired using the 10k prep sealant.
6. Install the proper LOK fitting into the jaws.
^
Apply one drop of the sealing compound (J 41425-3) to the outside of each line end.
^
Insert the line ends into the LOK fitting. Rotate the LOK fitting one complete turn to evenly distribute the sealing compound around the lines.
7. Install J 41425-1 tool over the connector and tubes.
^
The connector ends must be positioned in the counter bores of the jaws.