
Express 1/2 Ton Van V8-305 5.0L VIN M SFI (1998)
the thrust collar together to snap the stop collar onto the retaining ring
8. Inspect the drive end bearing. If no lubrication is visible, replace the bearing using a suitable driver and hammer. Do not lubricate the bearing.
9. Assemble the new drive end bearing by pressing it until it is recessed 1.6 mm (0.06 in) into the casing. It is prelubricated. Do not add lubricant.
10. Assemble the shift lever to the drive assembly by spreading the arms slightly to snap it onto the buttons on the drive collar.
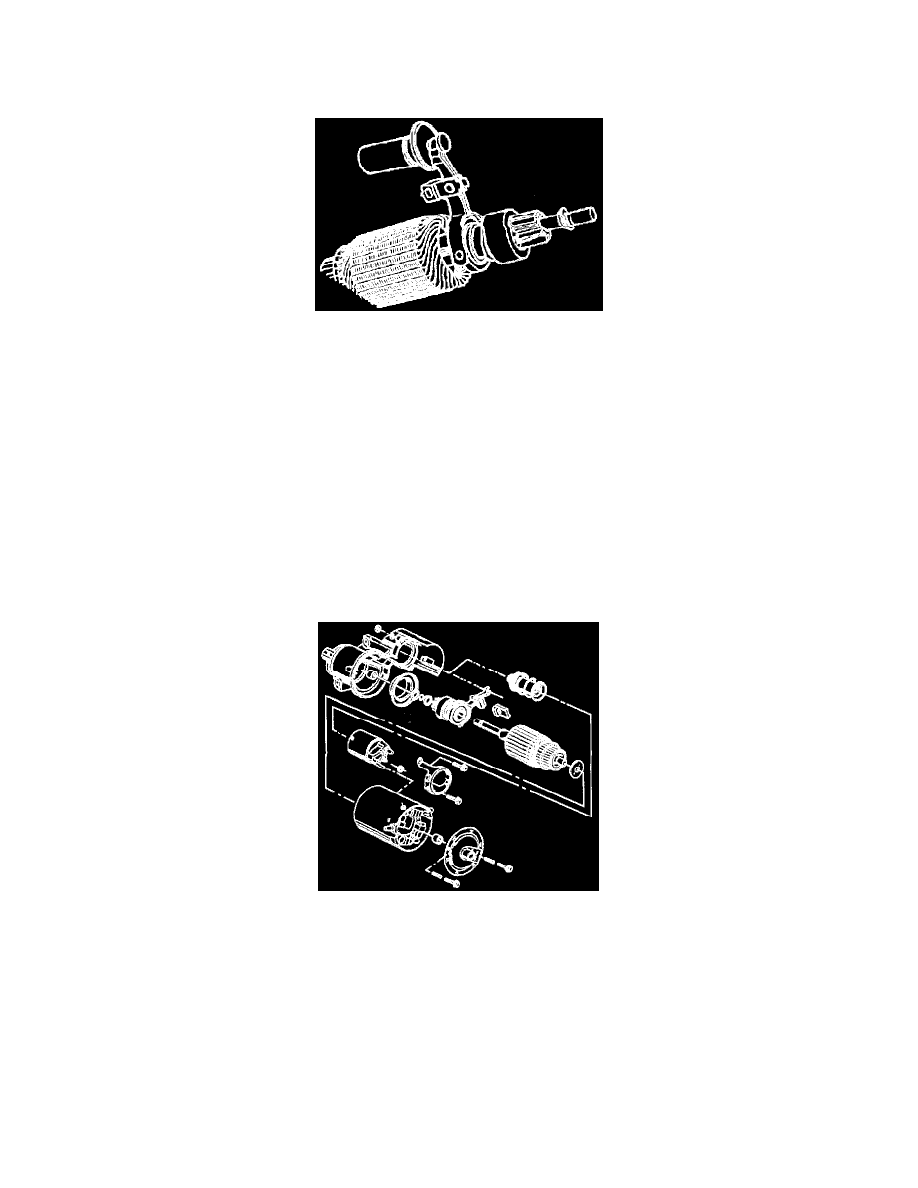
Armature, Drive And Shift Lever Assembly
11. Assemble the plunger to the lever by snapping it into place. Note which side of the lever is up.
12. Assemble the armature shaft into the drive end bearing while sliding the shift lever retainer into the slot on the drive end housing.
13. Assemble the spring onto the plunger.
14. Assemble the plug.
15. Assemble the solenoid and clamp onto the drive end frame, aligning the M terminal with the field connector.
NOTICE: Refer to Fastener Notice in Cautions and Notices.
16. Assemble the solenoid clamp retaining screws.
Tighten
Tighten the solenoid clamp retaining screws to 11 N.m (95 lb in).
Starter Motor Overhaul (SD-260 Frame and Field Assem)
SD-255 Components
1. Assemble the frame and field assembly onto the armature.
^
Clean the contact faces of the brushes and the commutator with a soft cloth.
^
Push the brushes into the brush holders and hold them in place while installing the frame.
^
Align the scribe mark on the frame with the scribe mark on the drive end frame.
^
Release the brushes onto the commutator, making sure all four brushes move freely and contact the commutator.
2. Assemble the brake washer to the armature assembly.
3. Assemble the drain tube to the frame, if it was removed.
4. Assemble the drive end frame to the field frame.
^
If the drive end frame bearing shows no lubrication or looks damaged, replace it.
^
Recess the new bearing 2 mm (0.08 in) into the housing. The bearing is pre-lubricated. Do not add any lubricant.
5. Assemble the identification tag over the hole in the drive end frame with the fluted end around the bearing well.