Express 1/2 Ton Van V8-305 5.0L VIN M SFI (1998)

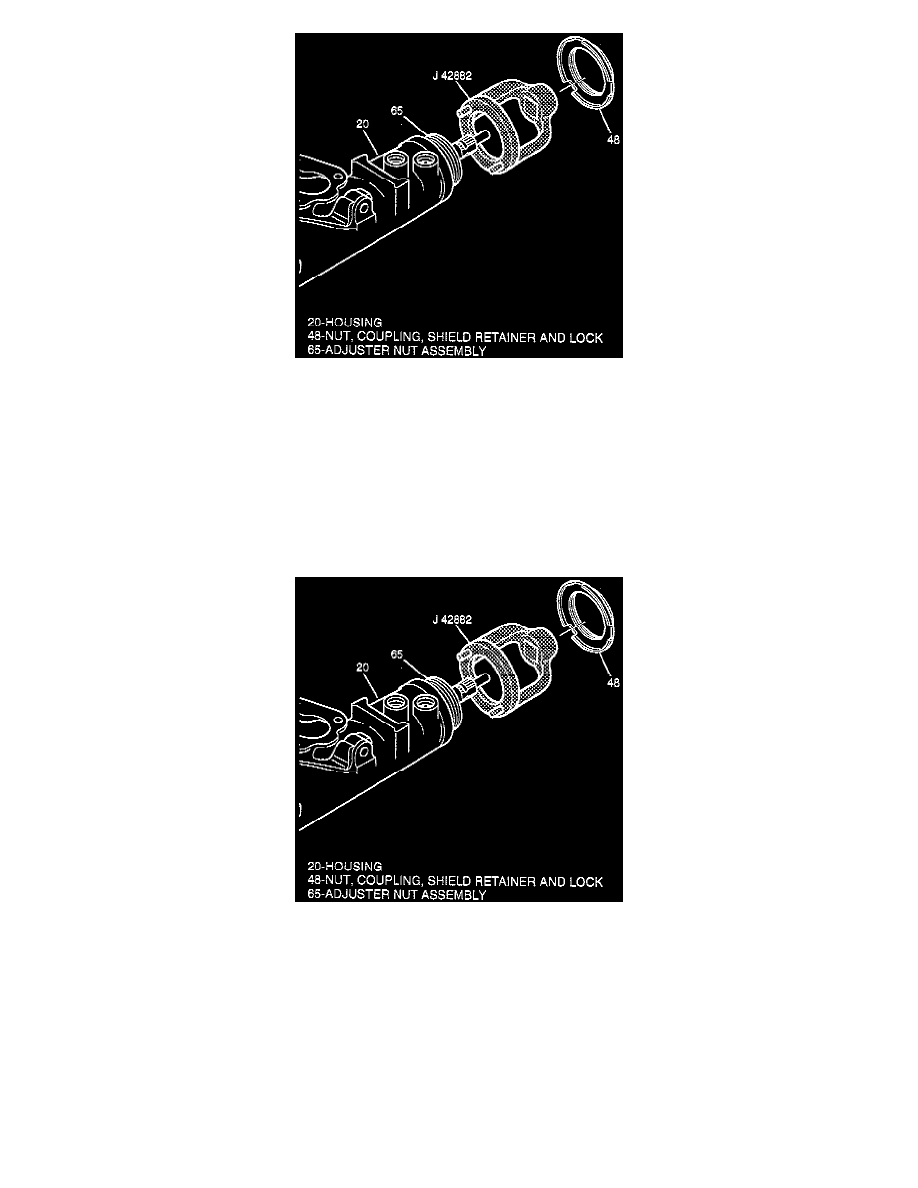
2. Adjuster nut assembly (65) from housing (20) using J 42882.
3. Thrust support assembly (49) and O-ring seal (56).
ASSEMBLE
Notice: Install a new O-ring (56) each time the thrust support assembly is removed from the gear.
^
Lubricate new O-ring seal (56).
1. Install new O-ring seal (56).
2. Thrust support assembly (49).
3. Adjuster nut assembly (65) to housing (20) using J 42882.
4. Coupling shield retainer and lock nut (48) to adjuster nut assembly (65).
Adjust
^
Thrust bearing preload.
5. Install coupling shield retainer and lock nut (48), and using a drift in a notch, tighten securely.
^
Hold adjuster nut assembly (65) to maintain alignment of the marks while tightening the coupling shield retainer and lock nut (48).
Adjust
^
Pitman shaft over-center sector.
INSTALL OR CONNECT
