
Express 1/2 Ton Van V8-305 5.0L VIN M SFI (1998)
8. Remove the steering knuckle seal if the knuckle is being replaced. Do not damage the knuckle seal.
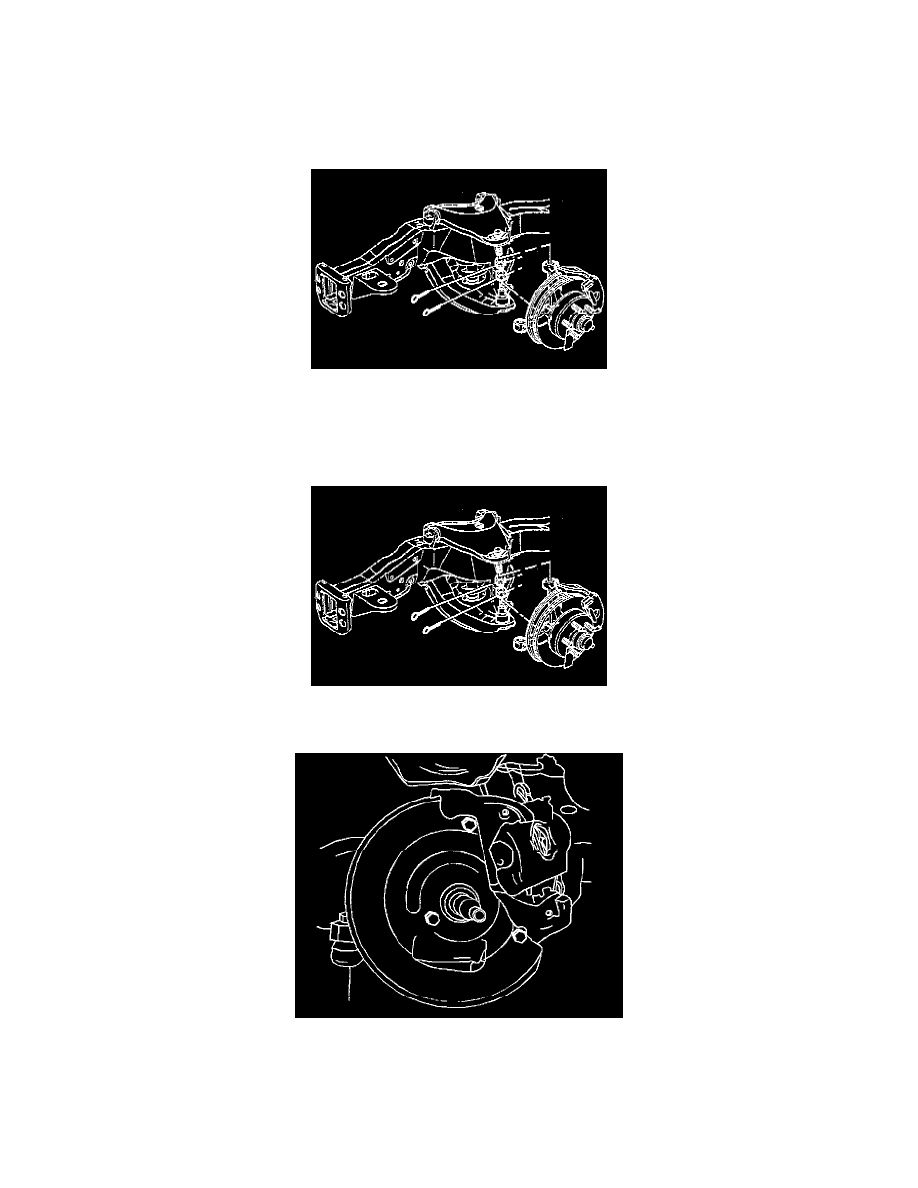
9. Separate the upper and the lower ball joint studs from the steering knuckle.
CAUTION: Floor jack must remain under the control arm spring seat during removal and installation to retain the spring and control
arm in position. Failure to do so could result in personal injury.
10. Position a floor jack under the lower control arm near the ball joint. Raise the jack until the jack just supports the lower control arm.
11. Remove the knuckle.
11.1. Clean the steering knuckle.
11.2. Inspect the steering knuckle tapered hole. If this tapered hole is out-of round, deformed, or damaged, replace the knuckle.
INSTALLATION PROCEDURE
1. Install the upper and lower ball joints into the steering knuckle.
2. Install the steering knuckle and seal.
3. Install the splash shield to the steering knuckle.
4. Install the bolts to the splash shield.
Tighten
Tighten the bolts to 26 Nm (19 ft. lbs.).