
Express 1/2 Ton Van V8-305 5.0L VIN M SFI (1998)
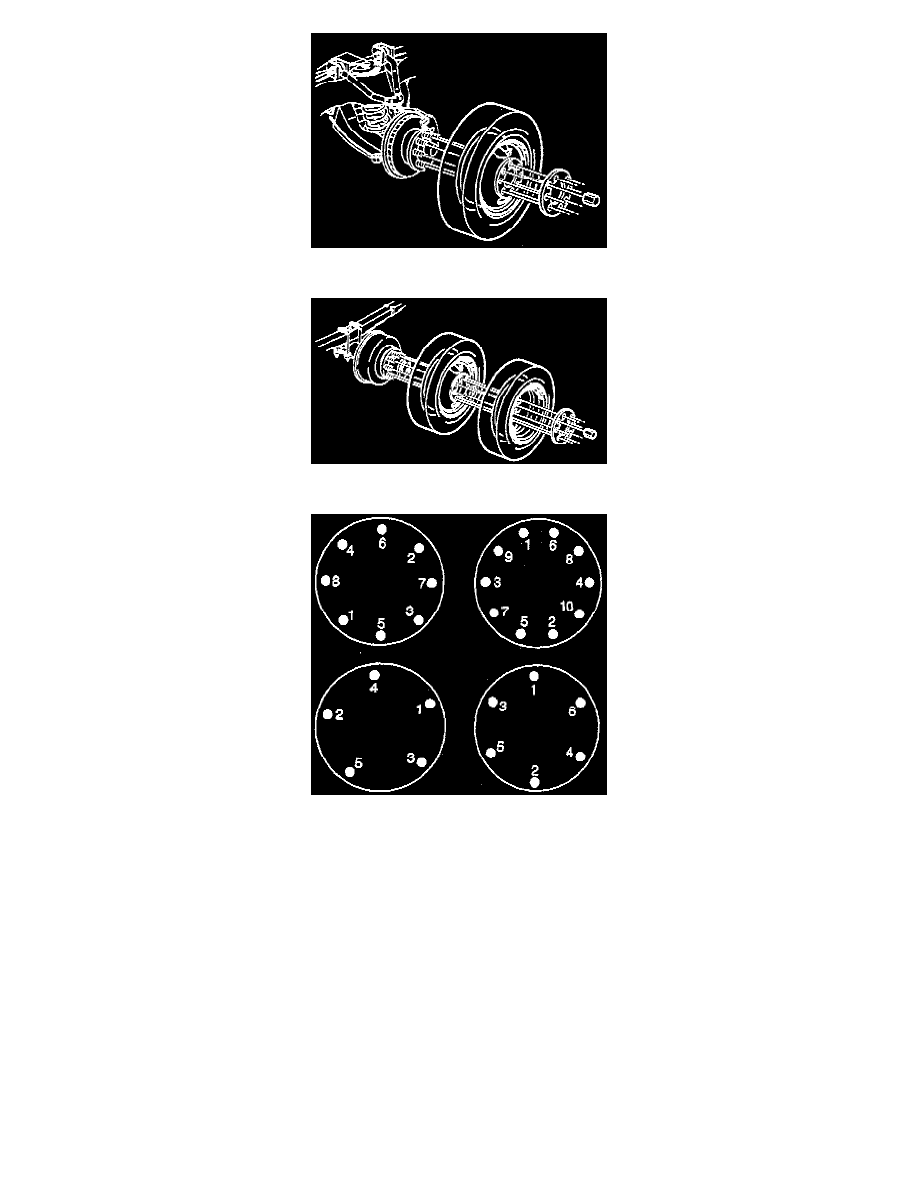
4. For the 3500 Series (eight stud, single wheel), install the wheel and the tire assembly in position on the hub/rotor. Loosely install the wheel nuts.
5. For the 3500 Series (dual wheels), install the wheel and the tire assembly in position on the hub/rotor. Loosely install the wheel nuts.
6. Turn the wheel until one nut is at the top of the bolt circle. Tighten the top nut securely, but do not tighten to specification.
7. Loosely tighten the remaining nuts in a criss/cross pattern in order to minimize runout.
Tighten
^
Tighten the nuts to 190 Nm (140 ft. lbs.).
^
Tighten the nuts evenly and alternately in order to avoid excessive runout.
NOTICE: Always use the correct fastener in the proper location. When you replace a fastener, use ONLY the exact part number for that
application. The manufacturer will call out those fasteners that require a replacement after removal. The manufacturer will also call out the
fasteners that require thread lockers or thread sealant. UNLESS OTHERWISE SPECIFIED, do not use supplemental coatings (paints, greases, or
other corrosion inhibitors) on threaded fasteners or fastener joint interfaces. Generally, such coatings adversely affect the fastener torque and joint
clamping force, and may damage the fastener. When you install fasteners, use the correct tightening sequence and specifications. Following these
instructions can help you avoid damage to parts and systems.