
Express 1/2 Ton Van V8-305 5.0L VIN M SFI (1998)
Automatic Transmission Dipstick - Dipstick Tube: Service and Repair
4L60-E Automatic Transmission
REMOVAL PROCEDURE
1. Remove the transmission fluid level indicator from the fluid fill tube.
2. Remove the bolt securing the transmission fluid fill tube bracket to the engine.
3. Remove the bolt securing the transmission fluid fill tube bracket to the transmission.
4. Raise the vehicle.
5. Remove any dirt from the transmission where the fluid fill tube enters the transmission case.
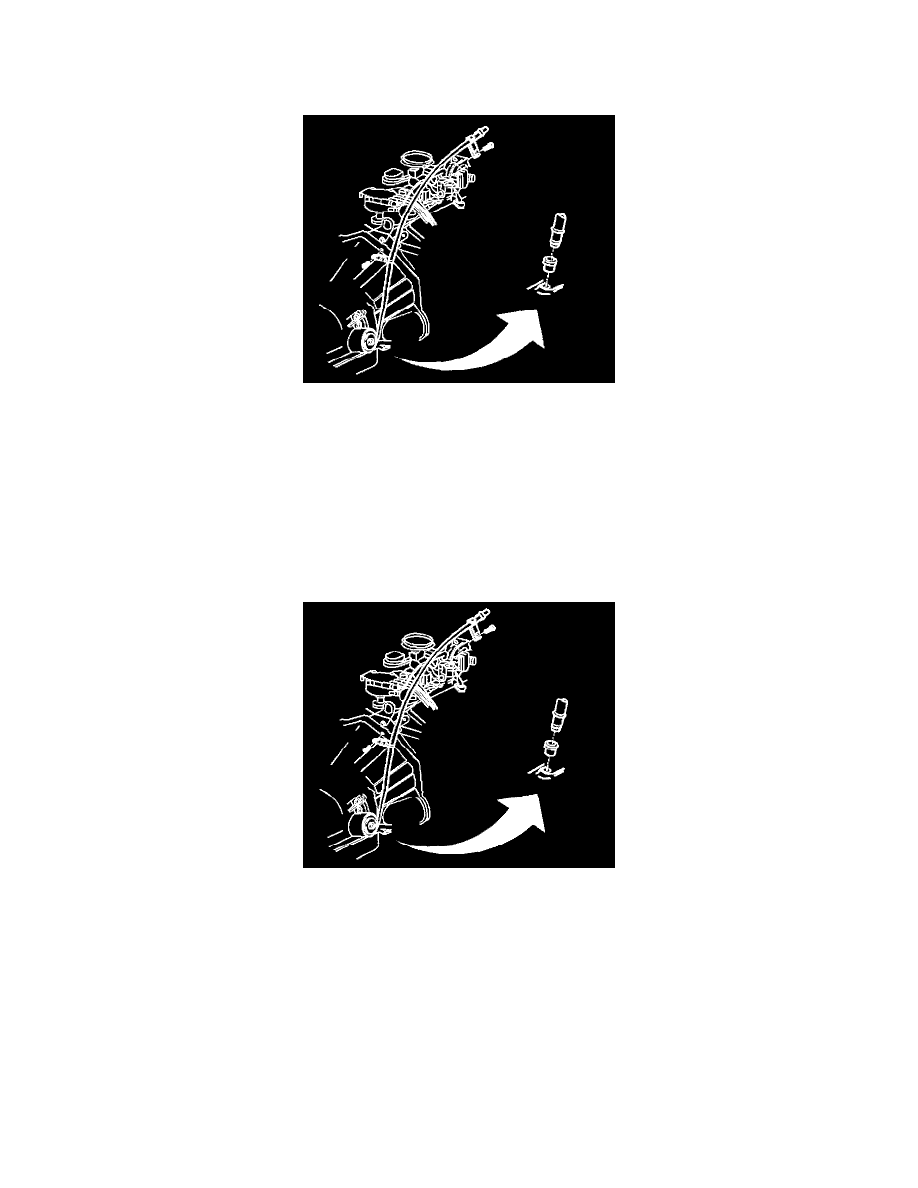
6. Remove the transmission fluid fill tube from the transmission. Pull the tube upward from the transmission.
7. Remove the transmission fill tube seal.
8. Clean the metal parts using solvent. Do not allow the solvent to enter the transmission.
9. Air dry the parts.
INSTALLATION PROCEDURE
1. Install a new oil level indicator tube seal into the transmission case.
2. Install the oil level indicator tube into the seal.
3. Install the bolt securing the oil level indicator tube bracket to the transmission.
^
Tighten the bolt to 6 Nm (53 inch lbs.).
NOTICE: Refer to Fastener Notice in Service Precautions.
4. Install the bolt securing the oil level indicator tube bracket to the engine.
^
Tighten the bolt to 6 Nm (53 inch lbs.).
5. Lower the vehicle.
6. Install the oil level indicator.
7. Check the transmission fluid level.