
Express 1/2 Ton Van V8-305 5.0L VIN M SFI (1998)
6.
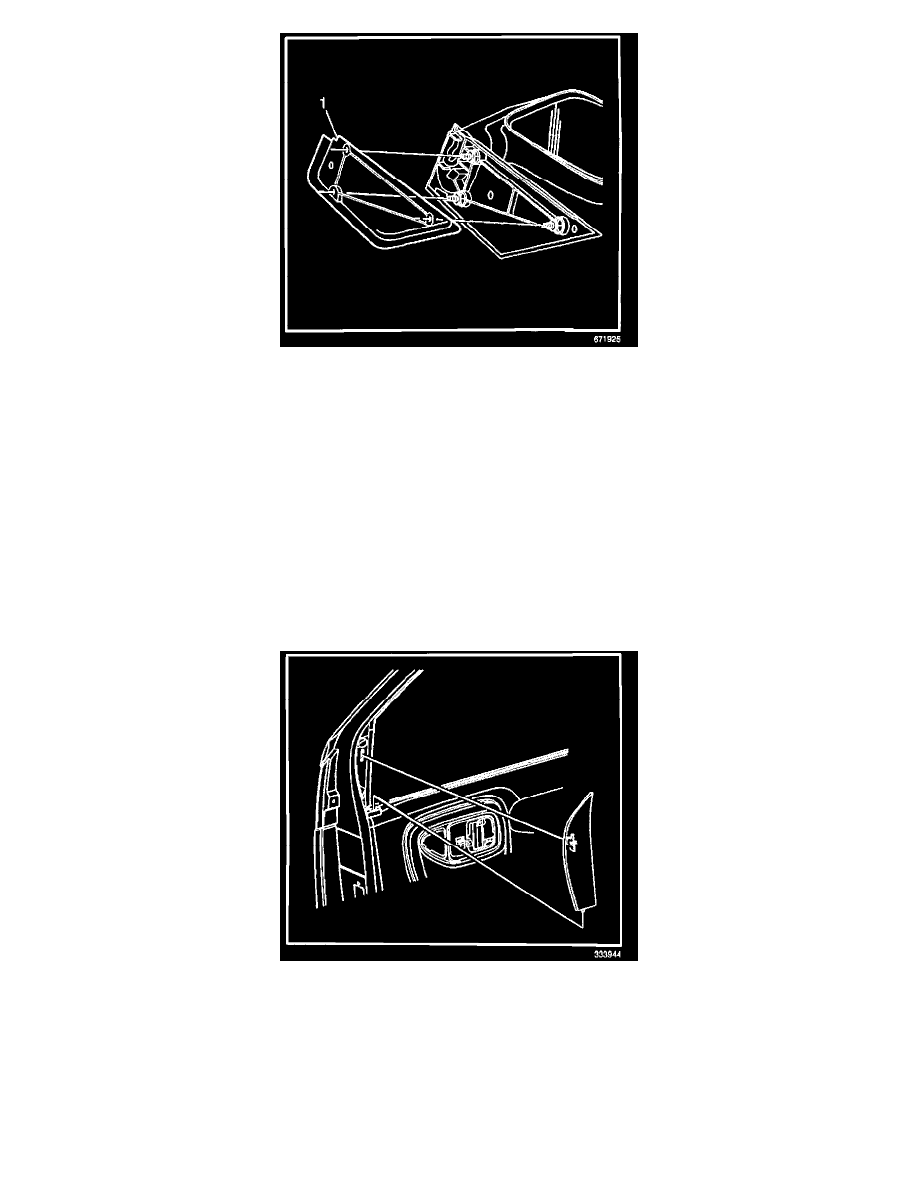
Install the new gasket (1) onto the back of the mirror.
7.
Place the mirror back into position on the door.
8.
Install the nuts that retain the mirror to the door. Tighten
Tighten the nuts to 10 Nm (89 lb in).
9.
Install the front side door front garnish molding. Refer to Front Side Door Front Garnish Molding procedure in this bulletin.
Front Side Door Front Garnish Molding
A revised front side door front garnish molding, which has additional foam added, has been developed to decrease windnoise. Use the following
procedure and the appropriate part number listed below.
1.
Open the door.
2.
Grasp the front door garnish molding. Gently pull at the top of the molding in order to disengage the retaining clips.
3.
Lift up the molding in order to disengage the tab on the molding from the slot on the door trim panel and remove the molding from the door.
4.
Inspect the new garnish for broken or missing retaining clips. Replace the clips if needed.
5.
Attach the new garnish molding into position by inserting the tab on the bottom of the garnish molding into the slot at the top of the door trim
panel.
6.
Align the retainers on the garnish molding with the slots in the door. Push in on the molding in order to engage the retainers.