
Express 1/2 Ton Van AWD V8-5.3L VIN T (2003)
Rear Door Latch: Service and Repair
Latch Replacement - Upper
Latch Replacement - Upper
Removal Procedure
1. Remove the left side rear door trim panel. Refer to Trim Panel Replacement - Side Rear Door - 60/40 Left (E26, 40 door) (See: Rear Door
Panel/Service and Repair/Panel Replacement/Trim Panel Replacement - Side Rear Door - 60/40 Left (E26, 40 Door))Trim Panel Replacement -
Side Rear Door - 60/40 Left (E26, 60 door) (See: Rear Door Panel/Service and Repair/Panel Replacement/Trim Panel Replacement - Side Rear
Door - 60/40 Left (E26, 60 Door)) .
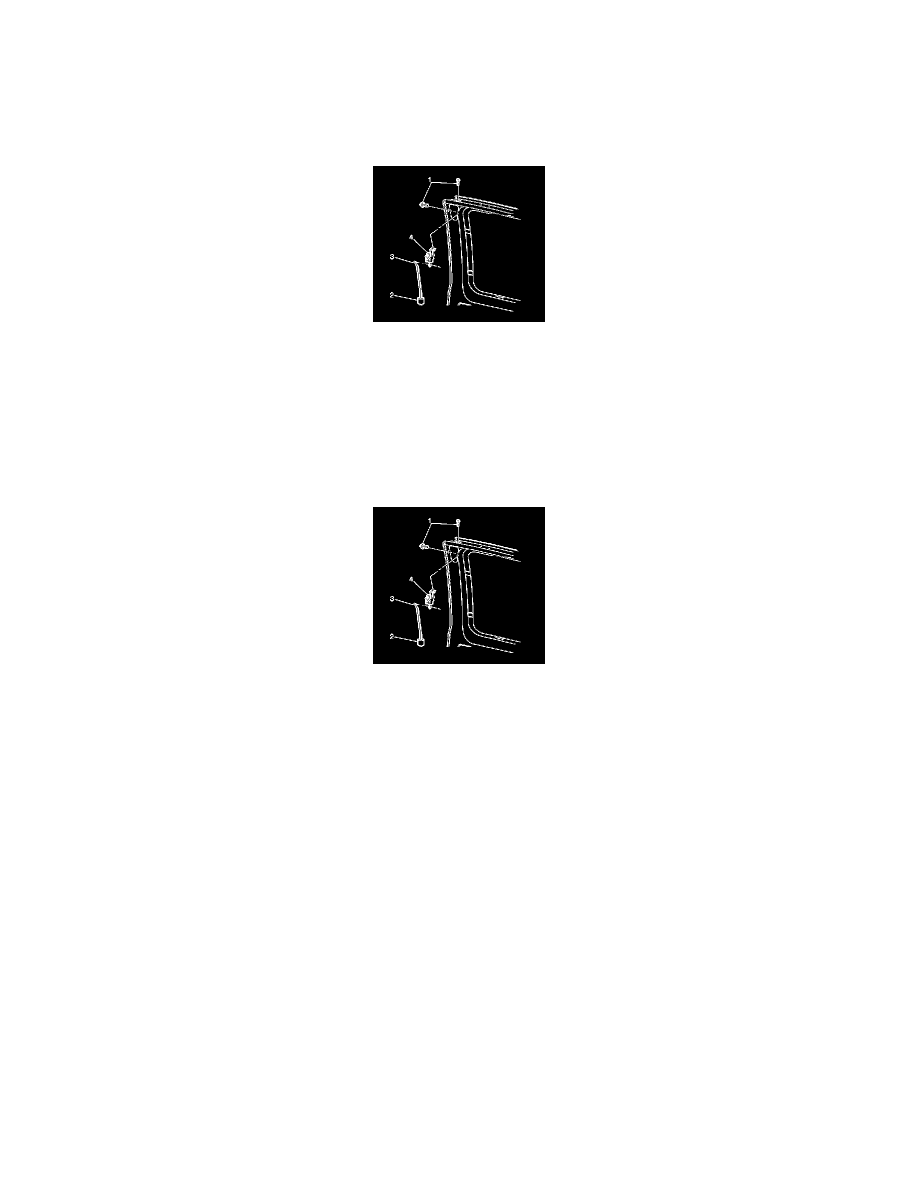
2. Remove the lock rod (3) from the left side rear door upper latch (2).
3. Remove the bolts (1) that retains the left side rear door upper latch (2) to the door.
4. Remove the left side rear door upper latch (2) from the door.
Installation Procedure
1. Install the left side rear door upper latch (2) to the door.
Notice: Refer to Fastener Notice in Cautions and Notices.
2. Install the bolts (1) in order to retain the left side rear door upper latch (2) to the door.
Tighten the left side rear door upper latch retaining bolts to 25 N.m (18 lb ft).
3. Install the lock rod (3) to the left side rear door upper latch (2).
4. Install the left side read door trim panel. Refer to Trim Panel Replacement - Side Rear Door - 60/40 Left (E26, 40 door) (See: Rear Door
Panel/Service and Repair/Panel Replacement/Trim Panel Replacement - Side Rear Door - 60/40 Left (E26, 40 Door))Trim Panel Replacement -
Side Rear Door - 60/40 Left (E26, 60 door) (See: Rear Door Panel/Service and Repair/Panel Replacement/Trim Panel Replacement - Side Rear
Door - 60/40 Left (E26, 60 Door)) .