Express 1500 AWD V8-5.3L VIN T (2004)

Front Door Weatherstrip: Service and Repair
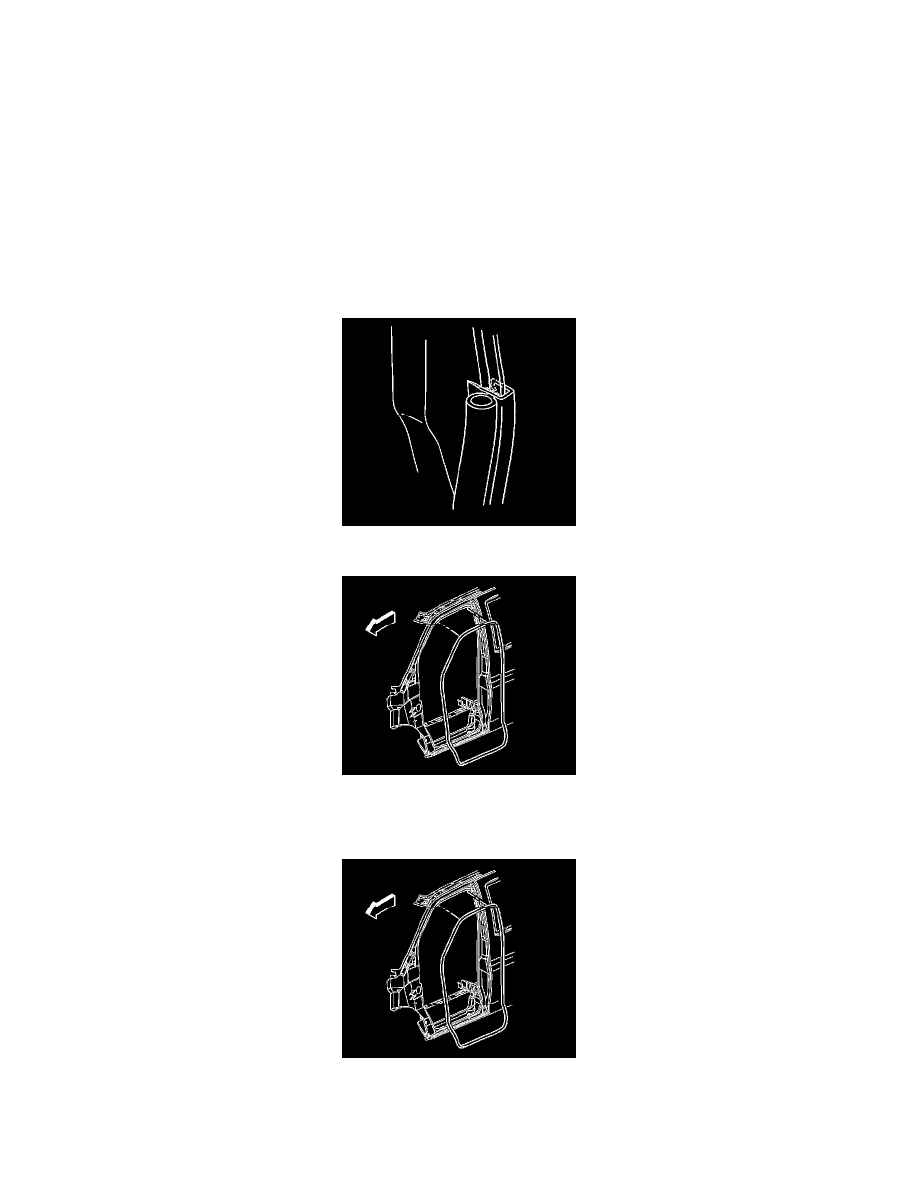
Weatherstrip Replacement - Front Door Opening
Weatherstrip Replacement - Front Door Opening
Removal Procedure
1. Remove the hinge pillar trim panel. Refer to Trim Replacement - Hinge Pillar (See: Interior Moulding / Trim/Trim Panel/Service and Repair/Trim
Replacement - Hinge Pillar) in Interior Trim.
2. Remove the front door upper pillar garnish molding. Refer to Garnish Molding Replacement - Upper Pillar (See: Interior Moulding / Trim/Trim
Panel/Service and Repair/Garnish Molding Replacement - Upper Pillar) in Interior Trim.
3. Remove the front door lower pillar garnish molding. Refer to Garnish Molding Replacement - Lower Pillar (See: Interior Moulding / Trim/Trim
Panel/Service and Repair/Garnish Molding Replacement - Lower Pillar) in Interior Trim.
4. Remove the front door stepwell mat. Refer to Mat/Carpet Replacement - Front Floor (See: Interior Moulding / Trim/Carpet/Service and
Repair/Removal and Replacement/Mat/Carpet Replacement - Front Floor) in Interior Trim.
5. Gently pull the door opening weatherstrip from the door opening pinch-weld flange.
6. Remove the door opening weatherstrip from the vehicle.
Installation Procedure
1. Apply GM P/N 12345097 (Canadian P/N 10953479) or the equivalent, into the channel on the weatherstrip.
2. Install the weatherstrip to the vehicle.
