
Express 1500 AWD V8-5.3L VIN T (2004)
8. Remove the engine crossmember upper mounting bolts.
9. Disconnect the electrical wiring harness connectors from the engine crossmember.
10. Remove the lower control arm nuts and washers.
11. Remove the lower control arm bolts until bolts are flush with the frame.
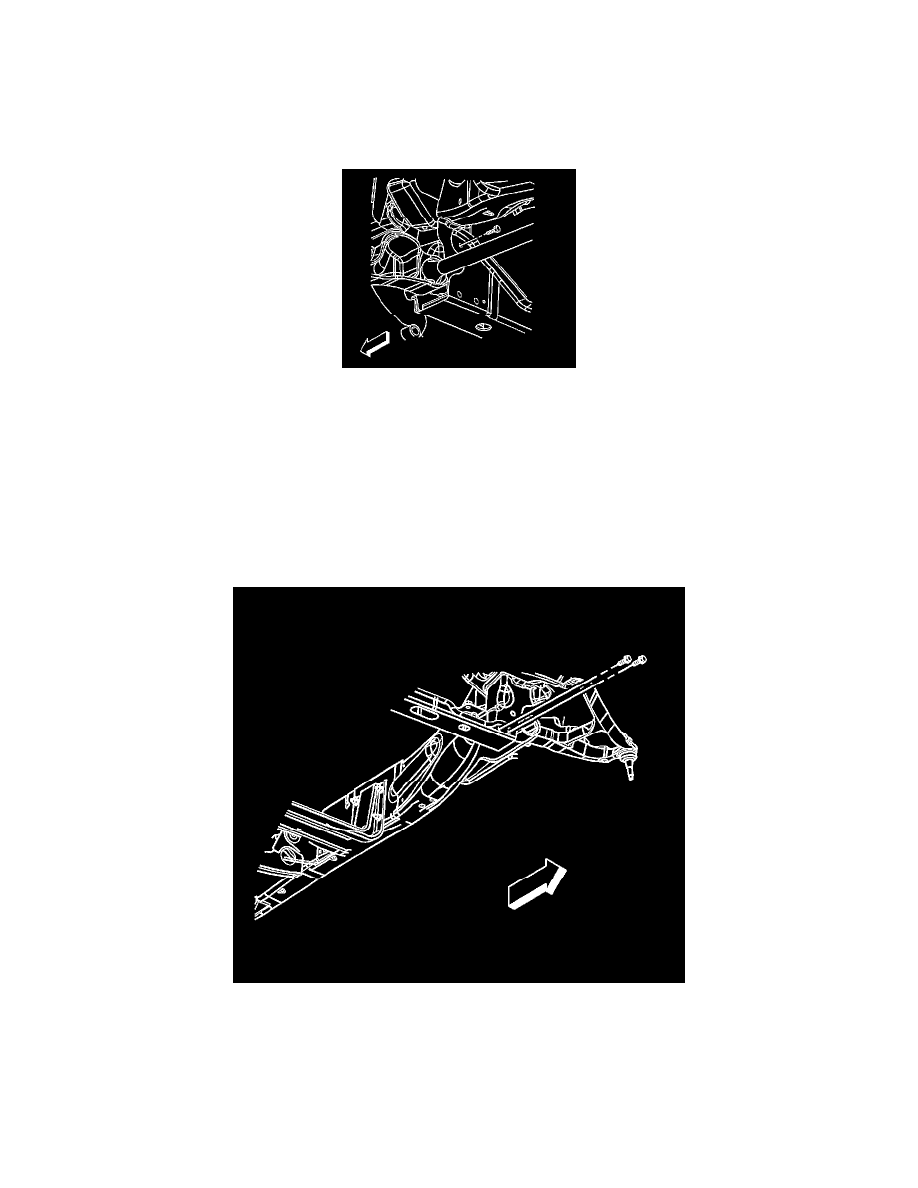
12. Remove the engine crossmember.
Installation Procedure
1. Install the engine crossmember.
2. Install the lower control arm bolts to the through the engine crossmember and frame.
Notice: Refer to Fastener Notice in Service Precautions.
3. Install the lower control arm nuts and washers.
Tighten the nuts to 145 N.m (107 lb ft).
4. Connect the electrical wiring harness connectors to the engine crossmember.
5. Install the engine crossmember upper mounting bolts. Do not tighten.
6. Install the engine crossmember lower mounting bolts and nuts.
Tighten the upper and lower engine crossmember bolts to 65 N.m (48 lb ft).