
Express 1500 AWD V8-5.3L VIN T (2004)
Fluid - Transfer Case: Service and Repair
Transfer Case Fluid Replacement
Removal Procedure
Important: When performing the following service procedures, use only hand tools to remove and install the fill or drain plugs.
1. Raise the vehicle.
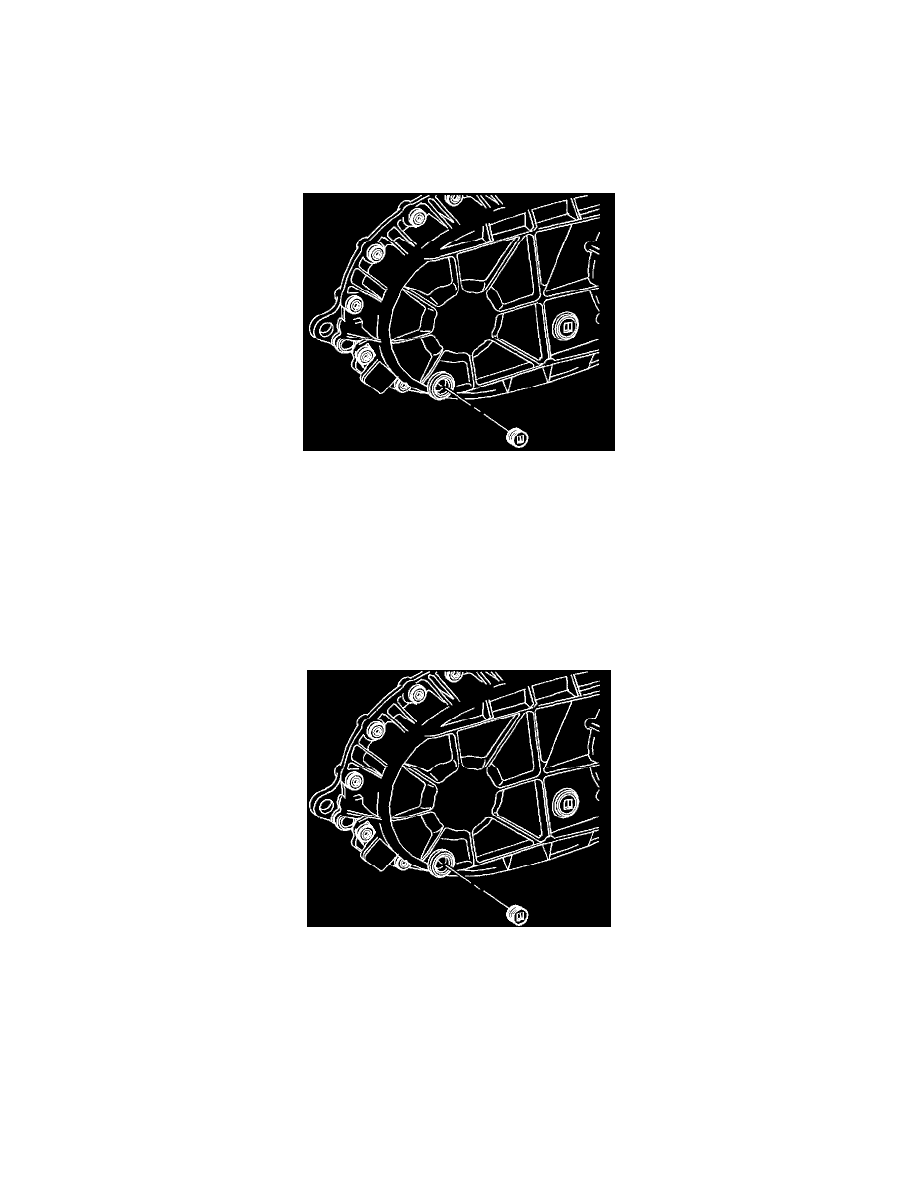
2. Remove the fill plug from the transfer case.
Important: When draining the transfer case, make sure that an approved drain pan is used.
3. Remove the drain plug from the transfer case.
Installation Procedure
Notice: Refer to Fastener Notice in Service Precautions.
1. Apply pipe sealant GM P/N 12346004 (Canadian P/N 10953480) to the threads on the drain plug.
2. Install the drain plug in the transfer case.
Tighten the drain plug to 25 Nm (18 ft. lbs.).
3. Fill the transfer case to the bottom of the fill hole with the proper fluid.
4. Apply pipe sealant GM P/N 12346004 (Canadian P/N 10953480) to the threads on the drain plug.
5. Install the fill plug.
Tighten the fill plug to 25 Nm (18 ft. lbs.).
6. Lower the vehicle.