
Express 1500 RWD V6-4.3L VIN X (2005)
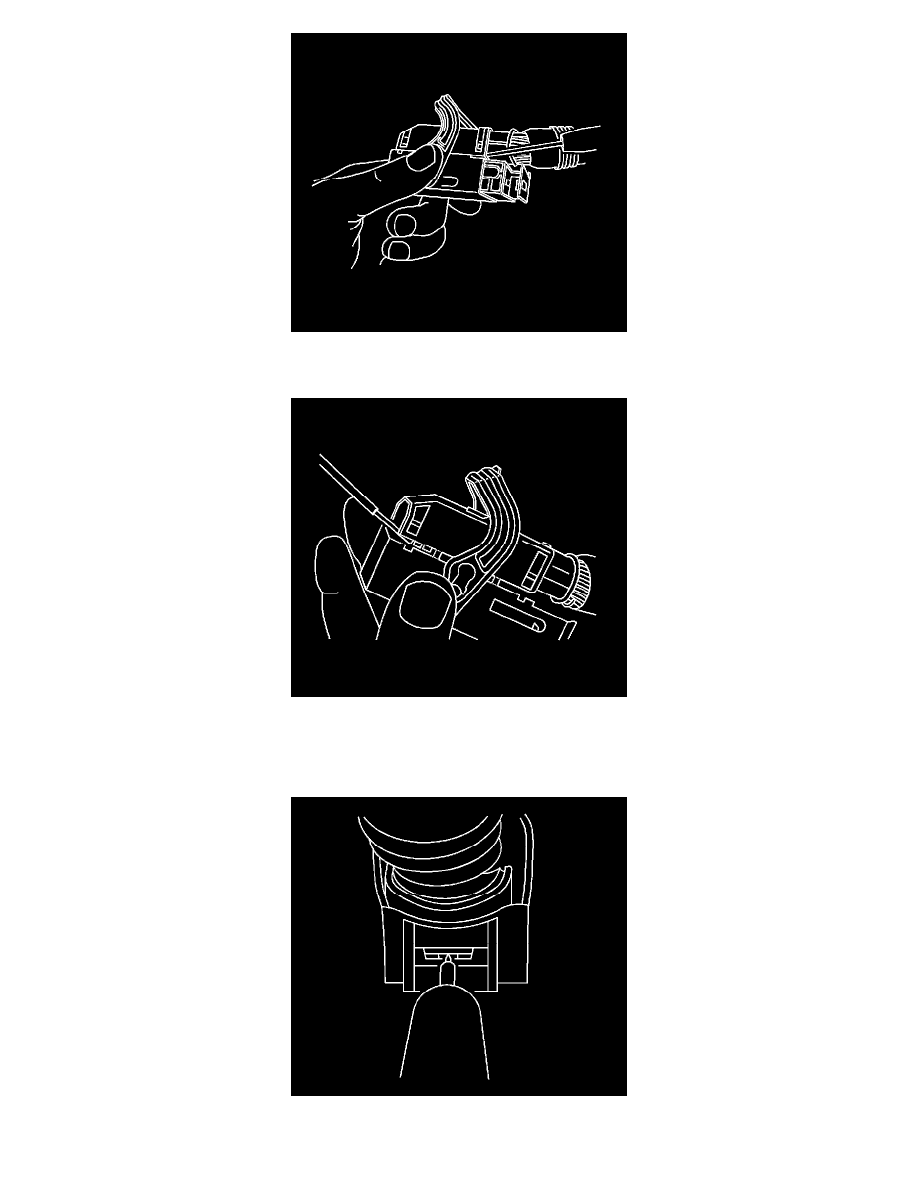
5. Locate the 2 dress cover locking tabs that are on the wire end of the connector. Insert a small flat-bladed tool between the cover and connector
body and pry up.
6. Locate the 2 dress cover locking tabs located on the opposite side of the connector. Insert a small flat-bladed tool between the cover at the
connector end and pry up.
7. Remove the dress cover.
8. Cut the tie wrap on the wire bundle.
9. Remove the terminal position assurance (TPA) by inserting a small flat-bladed tool into the small slot in the end of the slider and pushing on the
TPA until it comes out of the connector. When the TPA exits the opposite side of the connector, gasp the TPA and pull it completely out of the