
Express 1500 RWD V6-4.3L VIN X (2005)
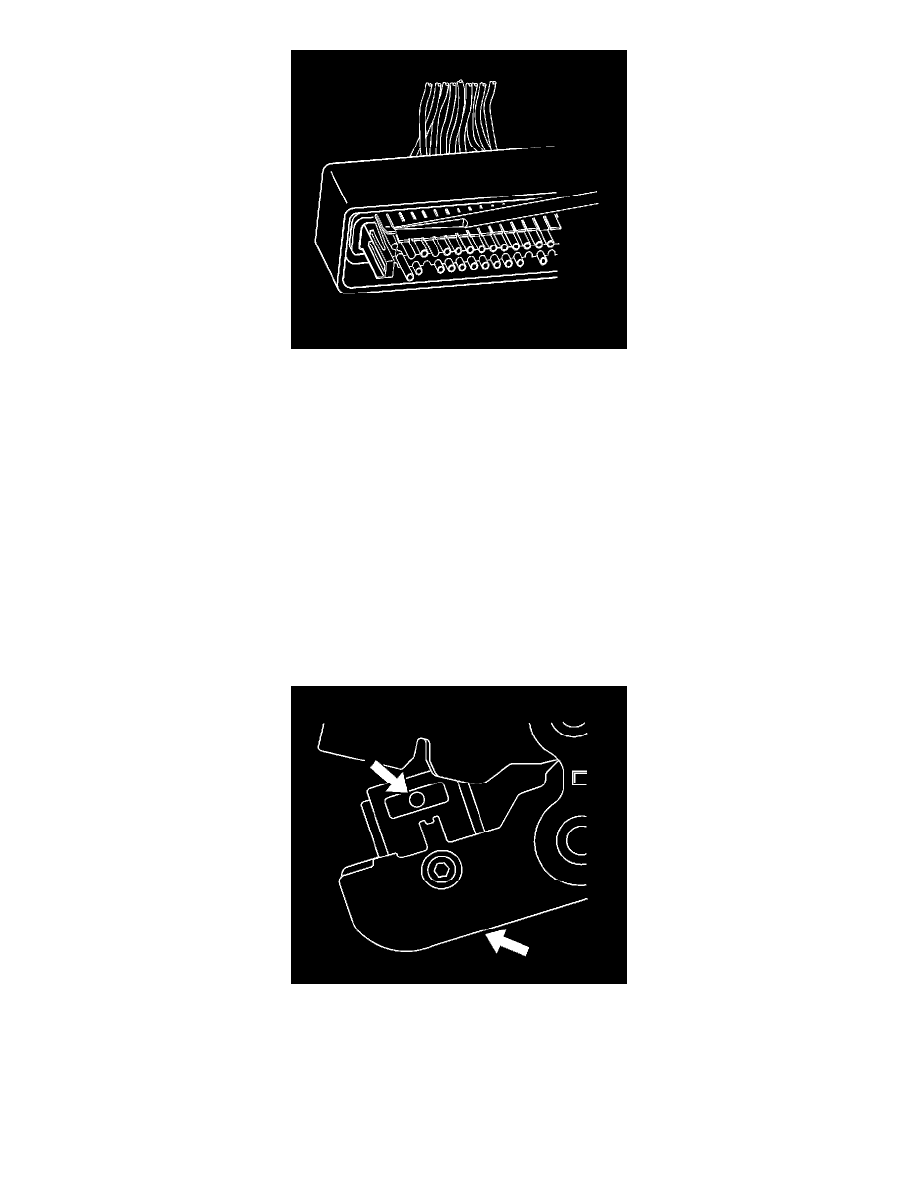
9. Use J 38125-12A (GM P/N 12094429) to gently lift the terminal retaining tab while gently pulling the wire out of the back of the connector.
Always remember never use force when pulling a terminal out of a connector. See the release tool cross reference in the Reference Guide of the
J-38125 to ensure that the correct release tool is used.
10. If the terminal is severely bent or damaged, it may be possible on some connectors to push the wire out of the front of the connector instead of
pulling it through. This will prevent damage to the internal seals of the connector. Once the terminal is pushed out of the connector, cut the wire as
close to the terminal as possible and pull the wire through the connector.
TERMINAL REPAIR PROCEDURE
The Micro-Pack 100W connectors have small terminals that are difficult to handle and hold when crimping. In order to aid the technician when
crimping these terminals, a new crimping tool was developed. The J 38125-101 (W jaw) crimping tool was developed to crimp Micro-Pack 100W
terminals. The J 38125-101 (W jaw) crimping tool has a terminal holding block that will hold the terminal in place while the terminal is being
crimped. After the terminal is removed from the connector perform the following procedure in order to repair Micro-Pack 100 terminals.
1. Cut the wire as close to the terminal as possible.
2. Strip 5 mm (3/16 in) of insulation from the wire.
IMPORTANT: After cutting the damaged terminal from the wire, determine if the remaining wire is long enough to reach the connector without
putting a strain on the wire. If the wire is not long enough, splice a small length of the same gage wire to the existing wire, then crimp the new terminal
on the added wire.
3. Depress the spring loaded locator of the J 38125-101 (W jaw) crimping tool until the terminal holder is completely visible.