
Express 1500 RWD V8-5.3L (2008)
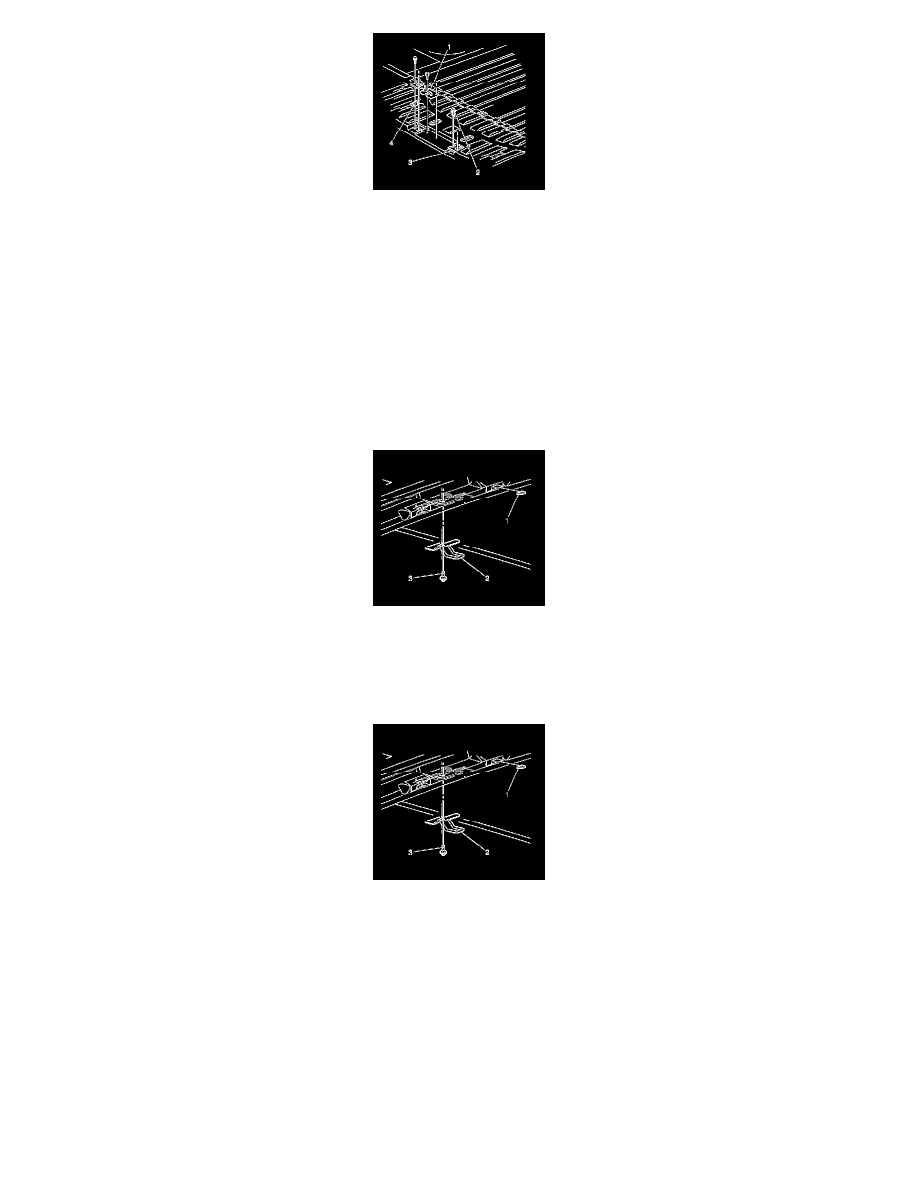
1. Install the rear door lower striker (1) to the floor panel.
Notice: Refer to Fastener Notice.
2. Install the rear door lower striker bolts in order to retain the rear door lower striker (1) to the floor panel.
Tighten the rear door lower striker bolts to 10 N.m (89 lb in).
Rear Door Latch Striker Replacement - Upper
Rear Door Latch Striker Replacement - Upper
Removal Procedure
1. Remove the rear door opening frame garnish molding.
2. Remove the bolts (3) that retain the rear door upper striker (2) to the door opening.
3. Remove the rear door upper striker (2) from the door opening.
Installation Procedure
1. Install the rear door upper striker (2) to the door opening.
Notice: Refer to Fastener Notice.
2. Install the bolts (3) in order to retain the rear door upper striker (3) to the door opening.
Tighten the rear door upper striker retaining bolts to 10 N.m (89 lb in).
3. Install the rear door opening frame garnish molding.
Rear Side Door Latch Striker Replacement - Lower 1
Rear Side Door Latch Striker Replacement - Lower