
Express 1500 RWD V8-5.3L (2008)
*
3M(R) 06377 has a black backing
*
3M(R) 06382 has a gray backing
Important: Care should be exercised not to touch the tape with your hands or allow the adhesive tape to come in contact with any dirt or
foreign matter.
5. Peel the backing from the adhesive tape.
6. Align the emblem/nameplate with the previous length of masking tape or magnetic strip.
7. Firmly press the emblem/nameplate into place for 30 seconds in order to ensure proper adhesion of the emblem/nameplate.
8. Remove the masking tape or magnetic strip from the bodyside.
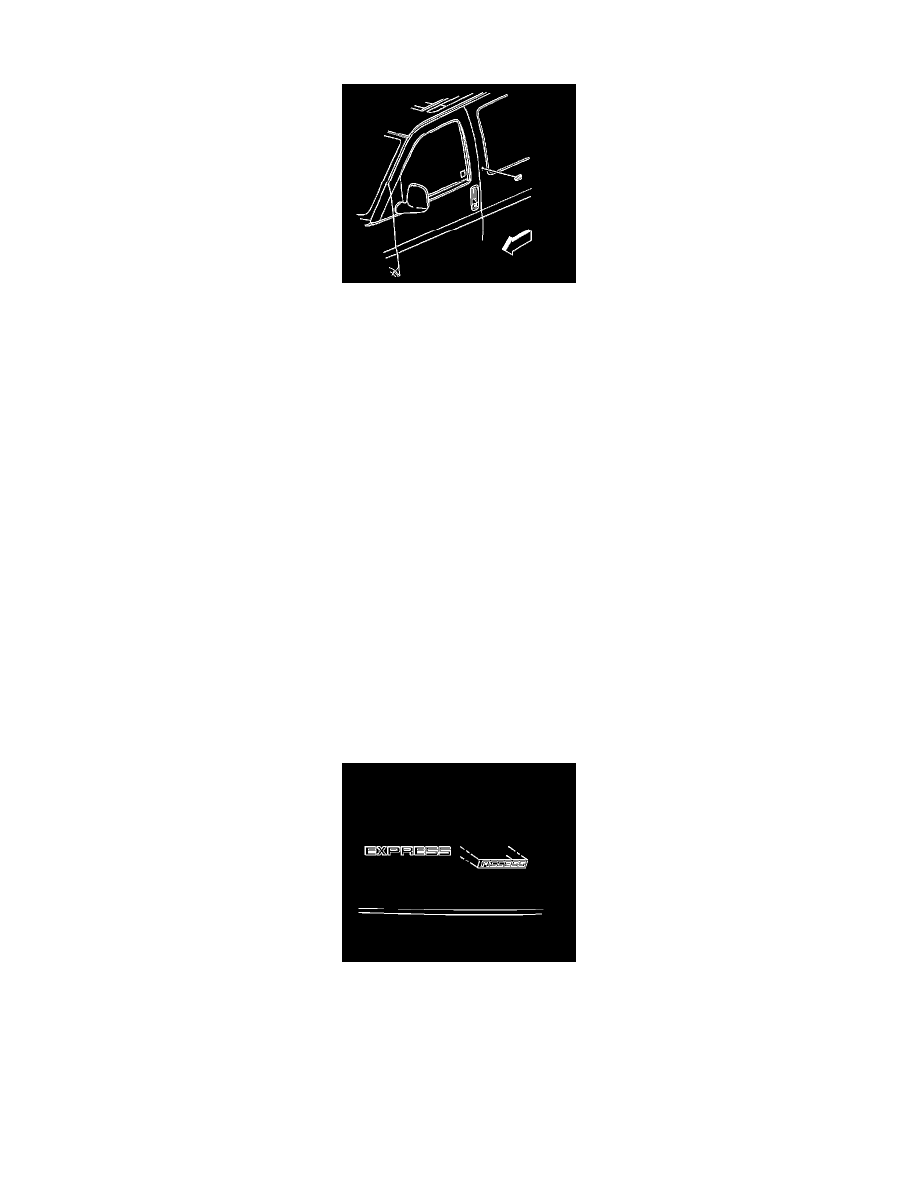
Front Side Door Emblem/Nameplate Replacement (Express Access)
Front Side Door Emblem/Nameplate Replacement (Express Access)
Tools Required
J 25070 Heat Gun
Removal Procedure
Important: Use the tape for protection and alignment marks for alignment of the new emblem.
1. Apply tape to the area around the door emblem.
2. Heat the emblem/nameplate, using a heat gun J 25070 152 mm (6.0 in) from the surface.
3. Apply the heat using a circular motion for about 30 seconds.
Notice: Use a plastic, flat-bladed tool to prevent paint damage when removing an emblem/name plate.
4. Remove the emblem/nameplate from the door surface using a plastic, flat-bladed tool.
5. Remove all adhesive from the door panel surface and the back of the emblem/nameplate using 3M(TM) Scotch Brite Molding Adhesive Remover
Disk 3M(TM) P/N 07501 or equivalent.
6. Clean the door surface using varnish makers and painters (VMP) naptha.
Installation Procedure