
Express 1500 RWD V8-5.3L (2008)
2. Ensure that the caliper boots are below the level of the face of both pistons.
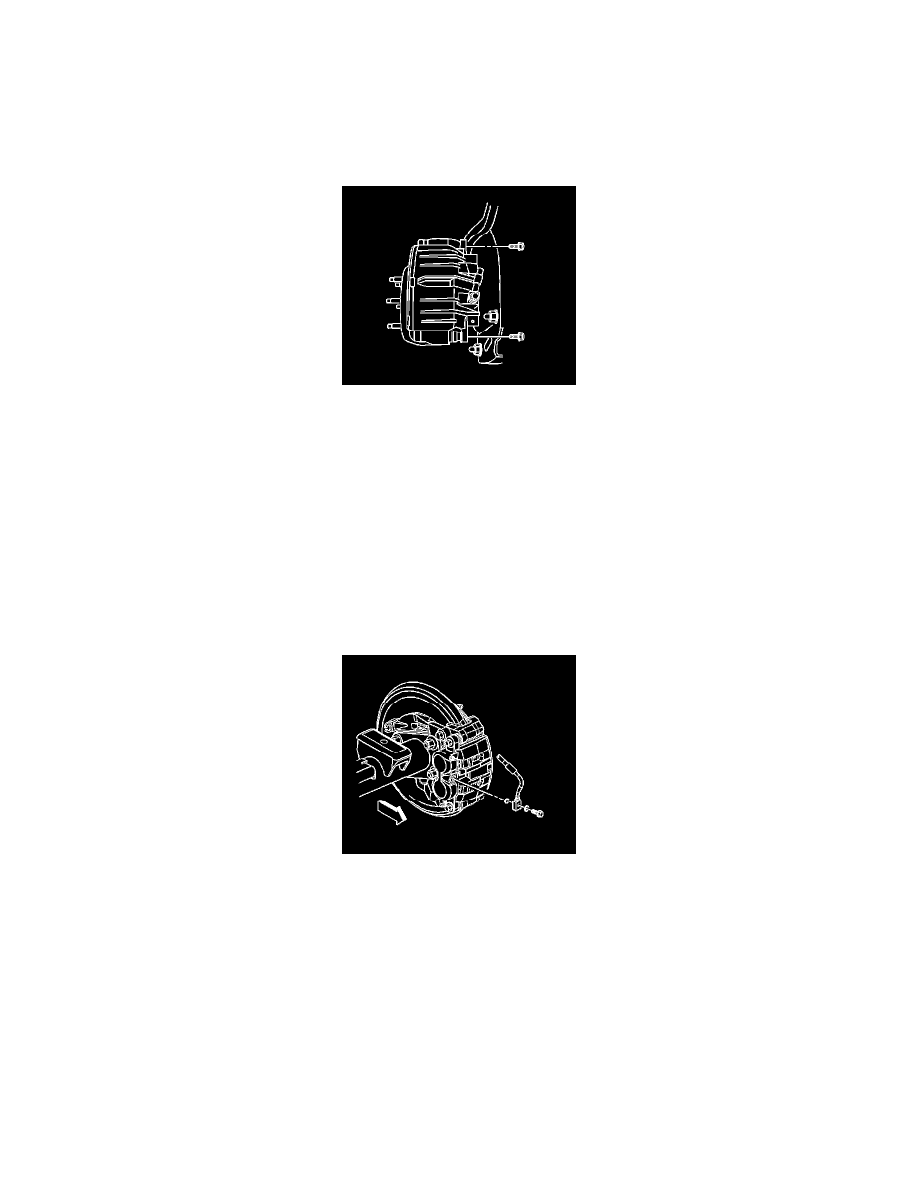
3. Install the brake caliper to the brake caliper mounting bracket.
4. Perform the following procedure before installing the caliper guide pin bolts.
1. Remove all traces of the original adhesive patch.
2. Clean the threads of the bolt with brake parts cleaner or the equivalent and allow to dry.
3. Apply Threadlocker GM P/N 12345493 (Canadian P/N 10953488) to the threads of the bolt.
5. Install the brake caliper mounting bolts.
Notice: Refer to Fastener Notice .
6. Tighten the brake caliper guide pin bolts - rear.
*
Tighten the bolts to 34 N.m (25 lb ft) (15 Series).
*
Tighten the bolts to 72 N.m (53 lb ft) (25/35 Series).
7. Remove the rubber cap or plug from the exposed brake hose fitting end.
Important: Install 2 NEW copper brake hose gaskets.
8. Assemble the 2 NEW copper brake hose gaskets and the brake hose to caliper bolt to the brake hose.
9. Connect the brake hose at the caliper by installing the brake hose to caliper bolt.
Tighten the brake hose to caliper bolt to 40 N.m (30 lb ft).
10. Bleed the hydraulic brake system. Refer to Hydraulic Brake System Bleeding (Manual) (See: Brake Bleeding/Service and Repair)Hydraulic Brake
System Bleeding (Pressure) (See: Brake Bleeding/Service and Repair) .
11. Install the tire and wheel assembly. Refer to Tire and Wheel Removal and Installation .
12. Lower the vehicle.
13. Fill the master cylinder reservoir to the proper level with clean brake fluid. Refer to Master Cylinder Reservoir Filling (See: Hydraulic
System/Brake Master Cylinder/Service and Repair/Procedures/Master Cylinder Reservoir Filling) .
Front Brake Caliper Bracket Replacement
Front Brake Caliper Bracket Replacement
Removal Procedure