
Express 1500 RWD V8-5.3L (2008)
3. Dry the reservoir with non-lubricated, filtered air.
4. Lubricate the new seals and the outer surface area of the reservoir-to-housing barrels with Delco Supreme 11(R), GM P/N 12377967 (Canadian
P/N 992667) or equivalent DOT-3 brake fluid from a clean, sealed brake fluid container.
5. Install the lubricated seals. Ensure that they are fully seated.
6. Install the reservoir to the master cylinder by pressing the reservoir straight down on the master cylinder until the pin holes are aligned.
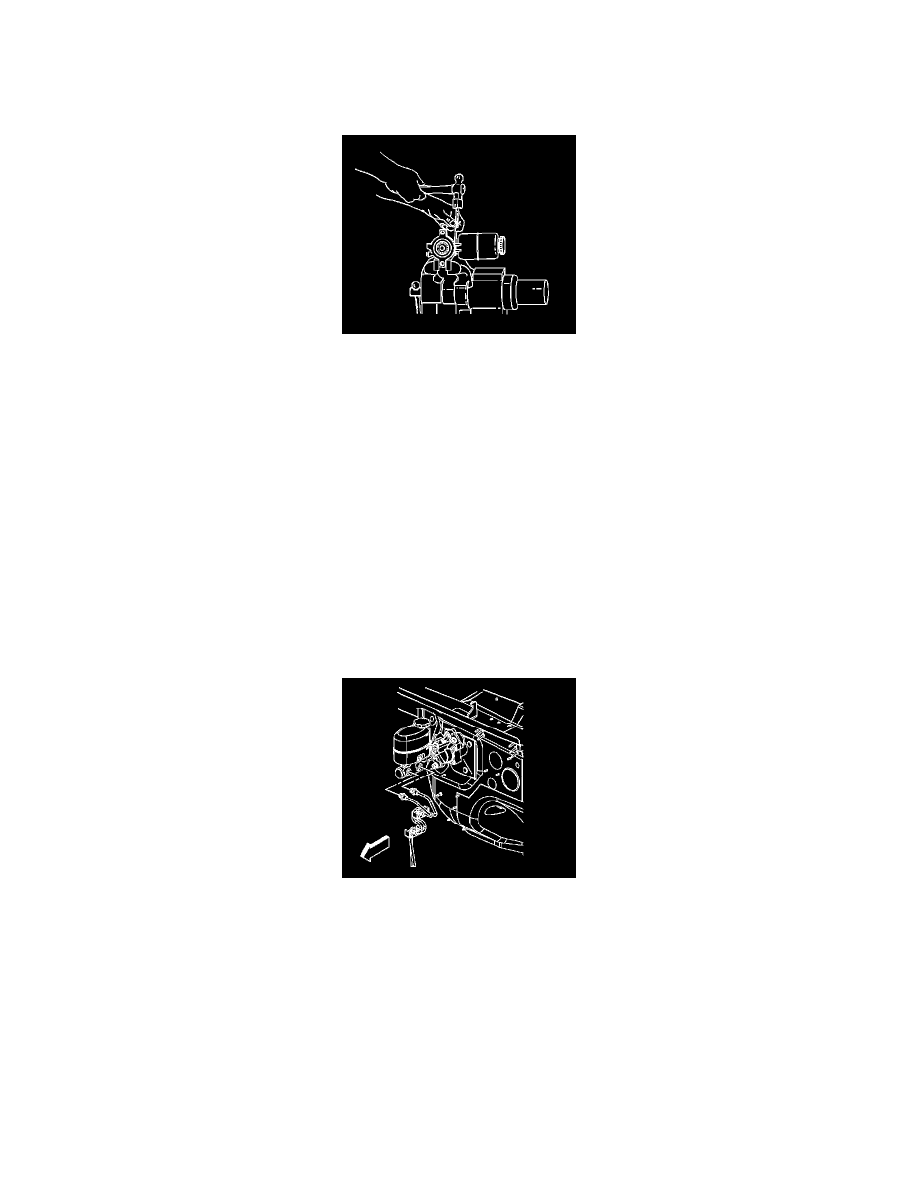
7. Carefully install the reservoir retaining pins to secure the reservoir.
8. Place the brake fluid level sensor into the reservoir, press into place to secure the sensor retaining tabs, if applicable.
9. Remove the master cylinder from the vice.
10. Install the master cylinder. Refer to Master Cylinder Replacement (See: Master Cylinder Replacement) .
11. Release the park brake.
12. Bleed the hydraulic brake system. Refer to Hydraulic Brake System Bleeding (Manual) (See: Brake Bleeding/Service and Repair)Hydraulic Brake
System Bleeding (Pressure) (See: Brake Bleeding/Service and Repair) .
Master Cylinder Replacement
Master Cylinder Replacement
Caution: Refer to Brake Fluid Irritant Caution .
Notice: Refer to Brake Fluid Effects on Paint and Electrical Components Notice .
Removal Procedure
1. Apply the park brake and block the wheels.
2. Disconnect the electrical connector from the brake fluid level sensor, if applicable.
3. Remove the driver side upper fender support.
Important: Install a rubber cap or plug to the exposed brake pipe fitting ends in order to prevent brake fluid loss and contamination.
4. Disconnect the brake pipes from the master cylinder.
5. Plug the open brake pipe ends.