
Express 1500 RWD V8-5.3L (2008)
Rear Engine Plate: Service and Repair
Engine Rear Cover Replacement
Special Tools
J 41476 Front and Rear Cover Alignment (at crankshaft seal area)
Removal Procedure
1. Remove the automatic transmission flex plate. Refer to Automatic Transmission Flex Plate Replacement (See: Transmission and Drivetrain/Flex
Plate/Service and Repair) .
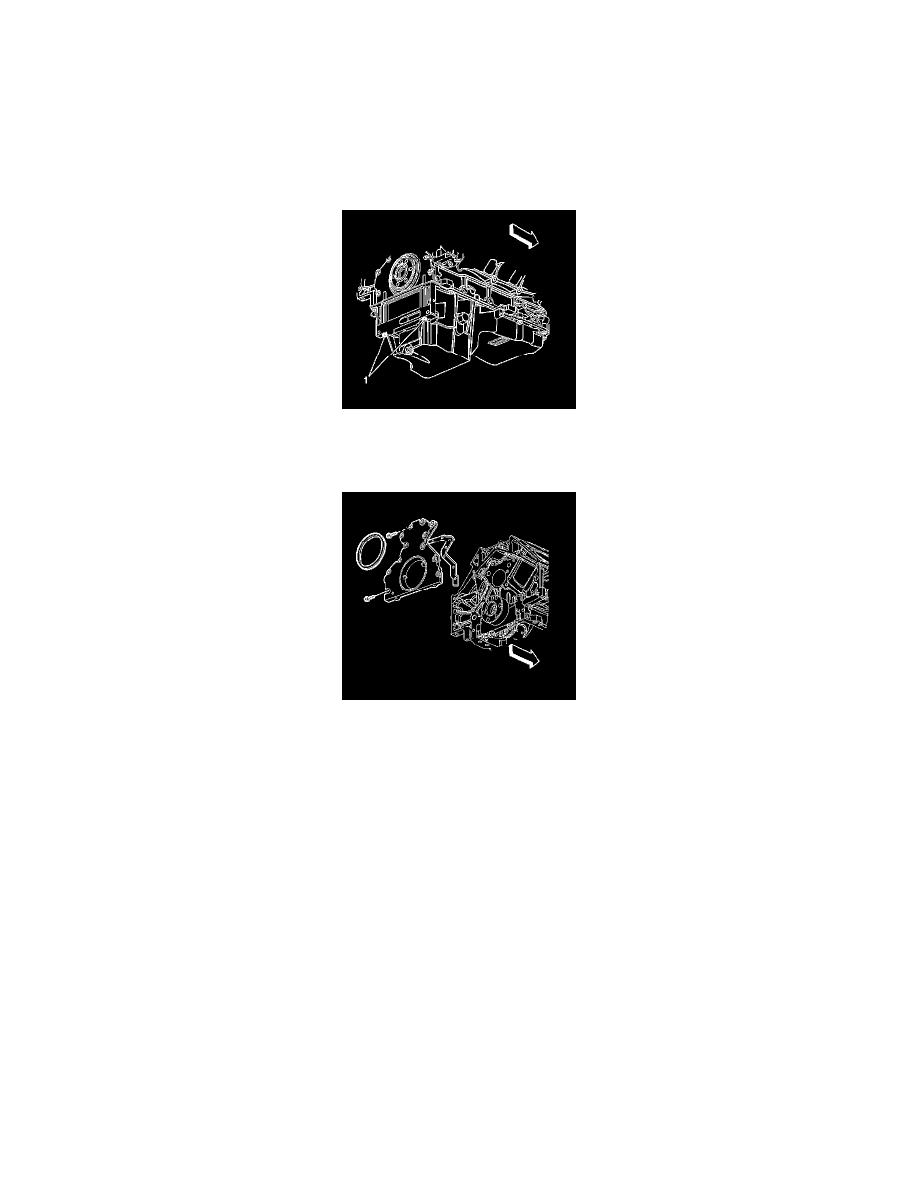
2. Remove the oil pan-to-rear cover bolts (1).
3. Remove the rear cover bolts.
4. Remove the rear cover and gasket.
5. Discard the rear cover gasket.
6. Clean and inspect the rear cover. Refer to Crankshaft Rear Oil Seal Housing Cleaning and Inspection () .
Installation Procedure
Important:
*
Do not reuse the crankshaft oil seal or rear cover gasket.
*
Do not apply any type of sealant to the rear cover gasket (unless specified).
*
The special tool in this procedure is used to properly center the crankshaft rear oil seal.
*
The crankshaft rear oil seal will be installed after the rear cover has been installed and aligned.
Install the rear cover without the crankshaft oil seal.
-
All gasket surfaces should be free of oil or other foreign material during assembly.
-
The crankshaft rear oil seal MUST be centered in relation to the crankshaft.
-
An improperly aligned rear cover may cause premature rear oil seal wear and/or engine assembly oil leaks.