
Express 1500 RWD V8-5.3L (2008)
Engine Mount: Service and Repair
Engine Mount Replacement - Right
Engine Mount Replacement - Right Side
Removal Procedure
1. Raise and support the vehicle. Refer to Lifting and Jacking the Vehicle .
2. Remove the starter. Refer to Starter Motor Replacement (4.3L) Starter Motor Replacement (4.8L, 5.3L, and 6.0L) Starter Motor Replacement
(6.6L) .
3. Remove the right side exhaust manifold. Refer to Exhaust Manifold Replacement - Right Side (4.3L) (See: Exhaust System/Exhaust
Manifold/Service and Repair/Exhaust Manifold Replacement - Right Side)Exhaust Manifold Replacement - Right Side (4.8L, 5.3L, and 6.0L) (
See: Exhaust System/Exhaust Manifold/Service and Repair/Exhaust Manifold Replacement - Right Side)Exhaust Manifold Replacement - Right
Side (6.6L) (See: Exhaust System/Exhaust Manifold/Service and Repair/Exhaust Manifold Replacement - Right Side) .
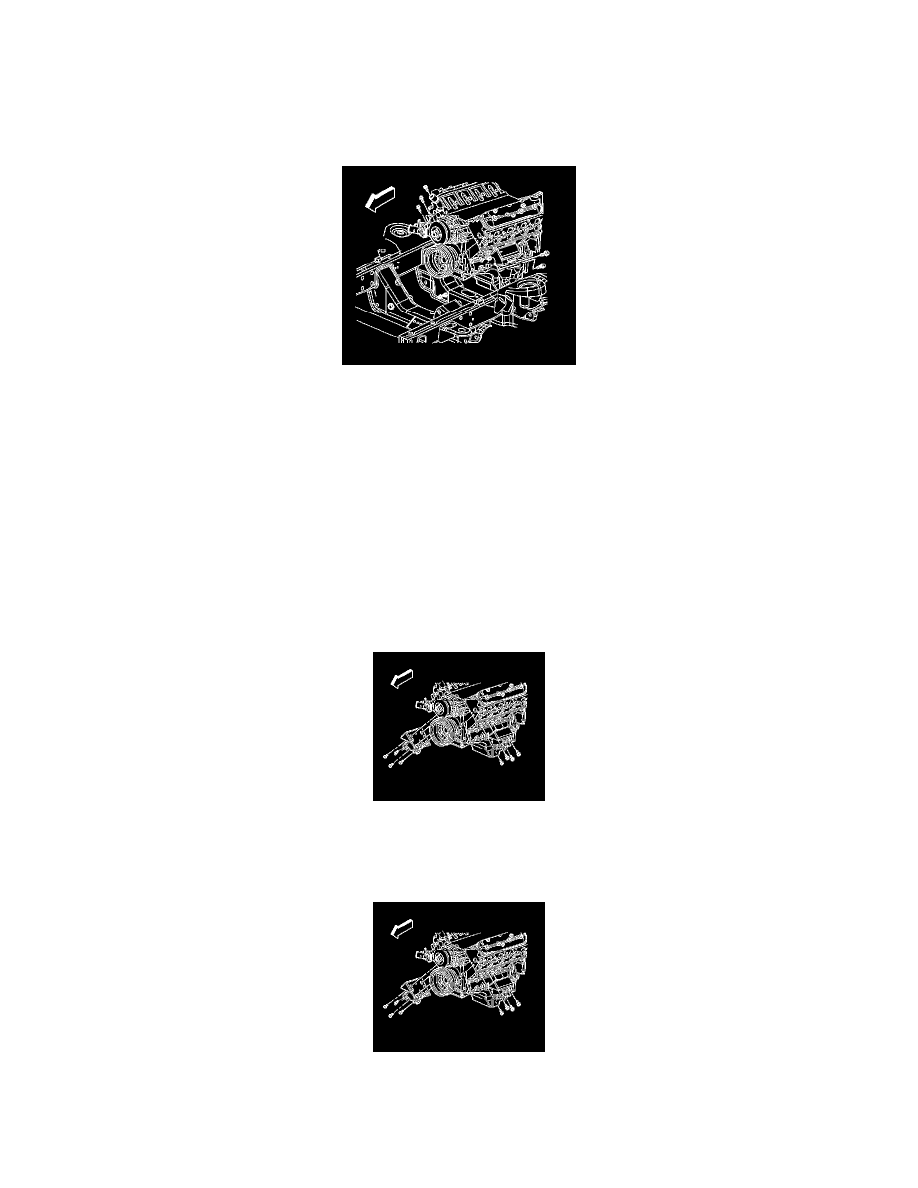
4. Remove the engine mount to the frame mounting bolts.
Notice: When raising or supporting the engine for any reason, do not use a jack under the oil pan, any sheet metal, or crankshaft balancer. Jacking
against the oil pan may cause it to crack or break.
Important: Raise the engine only enough to permit removal of the engine mount.
5. Raise and suitably support the engine using adjustable (screw type) jackstands.
6. Remove the engine mount to the engine mounting bolts.
7. Remove the engine mount from the vehicle.
Installation Procedure
1. Install the engine mount to the vehicle.
Notice: Refer to Fastener Notice .