
Express 1500 RWD V8-5.3L (2008)
6. Disconnect the accelerator control cable and the cruise control cable from the throttle body, if equipped.
7. Remove the upper engine wire harness retainer nut.
8. Disconnect the evaporative emission (EVAP) purge valve harness connector.
9. Reposition the upper engine wire harness aside.
10. Relieve the fuel system pressure. Refer to Fuel Pressure Relief (With CH 48027) Fuel Pressure Relief (Without CH 48027).
11. Mark the electrical connectors to their corresponding injectors to ensure correct sequential injector firing order after reassembly.
Important: When disconnecting the Multec 2 fuel injector connectors, DO NOT use pliers or other hand tools, as the connector ends may
become mangled and be rendered unusable.
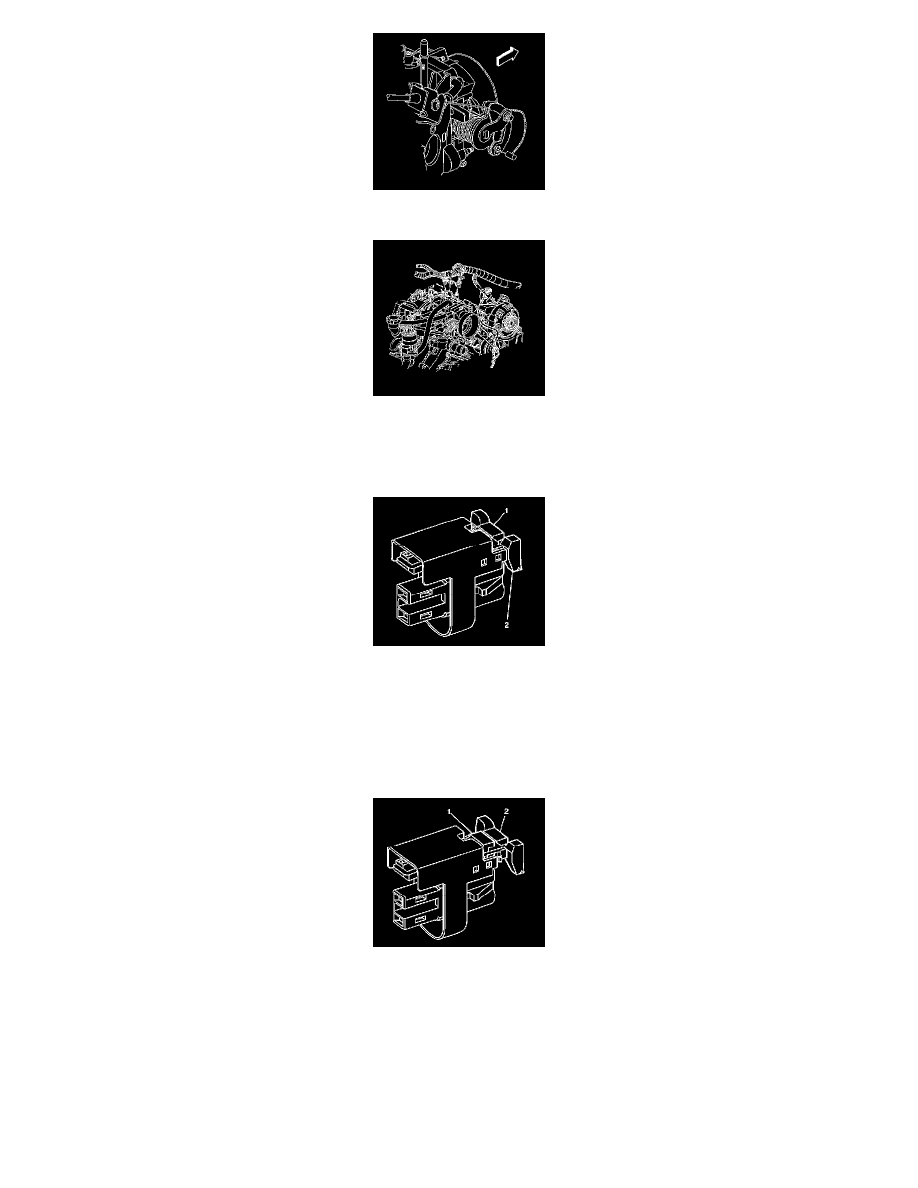
12. Pull the connector position assurance (CPA) (2) on the injector connector up.
13. Push the tab (1) on the injector connector in.
14. While pushing the tab (1) on the injector connector in, release the CPA (2).
15. Disconnect the fuel injector connector electrical connector.
16. Repeat steps for each injector connector.