
Express 1500 RWD V8-5.3L VIN T (2004)
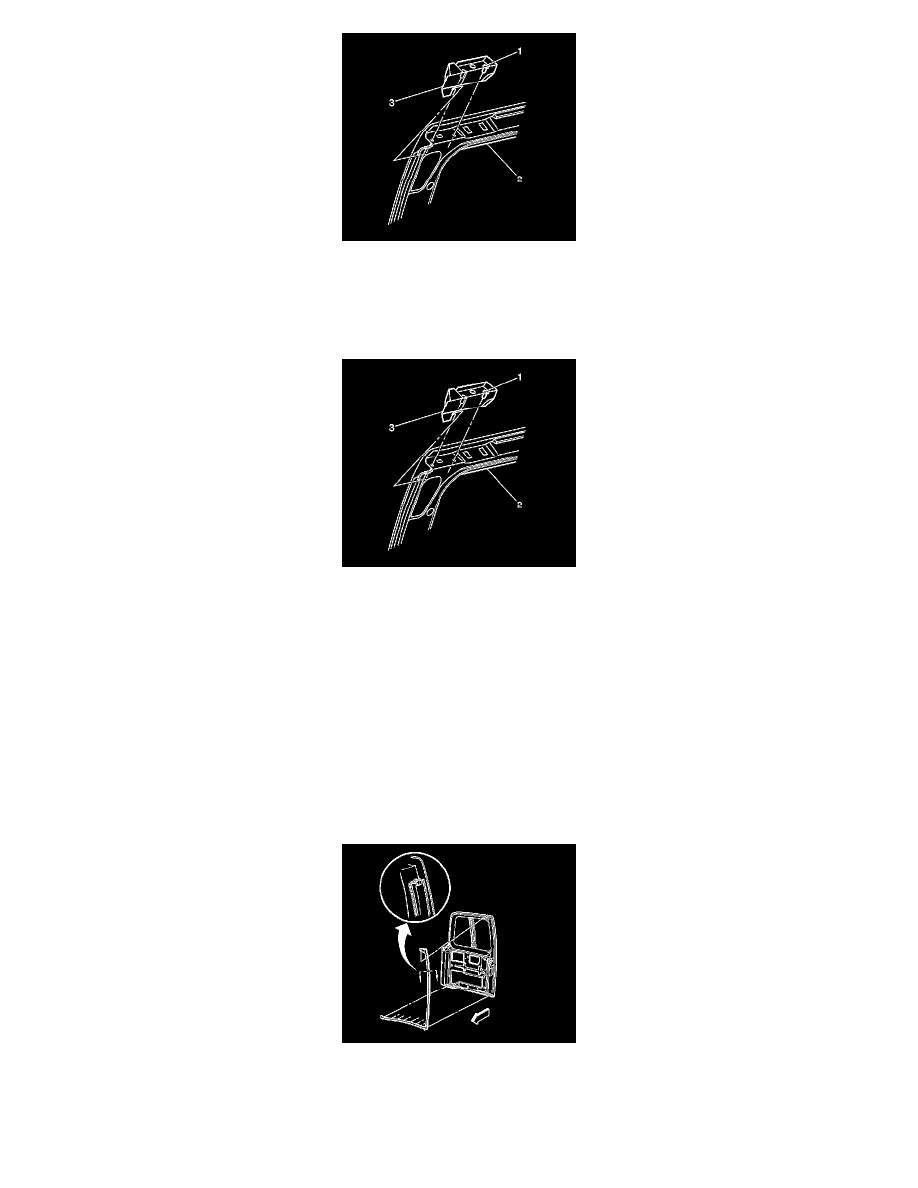
1. Remove the pins (1) that hold the weather-strip to the upper door.
2. Remove the weatherstrip (3) from the upper door.
3. Clean the surface of the door with approved cleaning solvent.
Installation Procedure
1. Remove peel-off liner from saturated foam.
2. Spray 85 percent alcohol 15 percent water mixture per GM 9981293 on saturated foam patch.
3. Locate the part by lining up the two pins (1) on the top of the weather-strip with the holes in the door sheet metal.
4. Insert the pocket over the door flange and push down the pins until they are fully seated and there are no gaps between the door and the
weather-strip (3).
5. Insert the pin that is located on the pocket into the door sheet metal until it is fully seated and there is no gap between the door and the weatherstrip
.
6. Complete the installation by tucking the bottom inner edge of the weather-strip (3) into the top door flange.
Weatherstrip Replacement - Right Rear Door
Weatherstrip Replacement - Right Rear Door
Removal Procedure
1. Use 3M General Purpose Adhesive Cleaner 3M P/N 08987 or the equivalent, if needed, in order to remove the right rear door weatherstrip from
the top of the door.
2. Pull the right rear door weatherstrip in order to remove the weatherstrip from the channel on the side of the door.
3. Remove the right rear door weatherstrip and the retainers from the bottom of the door.
4. Clean the door of all of the old adhesive.