
Express 1500 RWD V8-5.3L VIN T (2004)
2. Notice: Refer to Fastener Notice in Service Precautions.
Important:
Do not reuse the old mounting bolts. Always install new EBCM bolts with the new BPMV.
Install the EBCM bolts.
^
Tighten the bolts to 5 Nm (44 inch lbs.) in an X-pattern.
3. Connect the 2-way ABS pump motor connector to the EBCM.
4. Install the BPMV (1) to EHCU bracket (3).
5. Install the BPMV (1) to bracket retaining bolts (4).
^
Tighten the bolts to 9 Nm (80 inch lbs.).
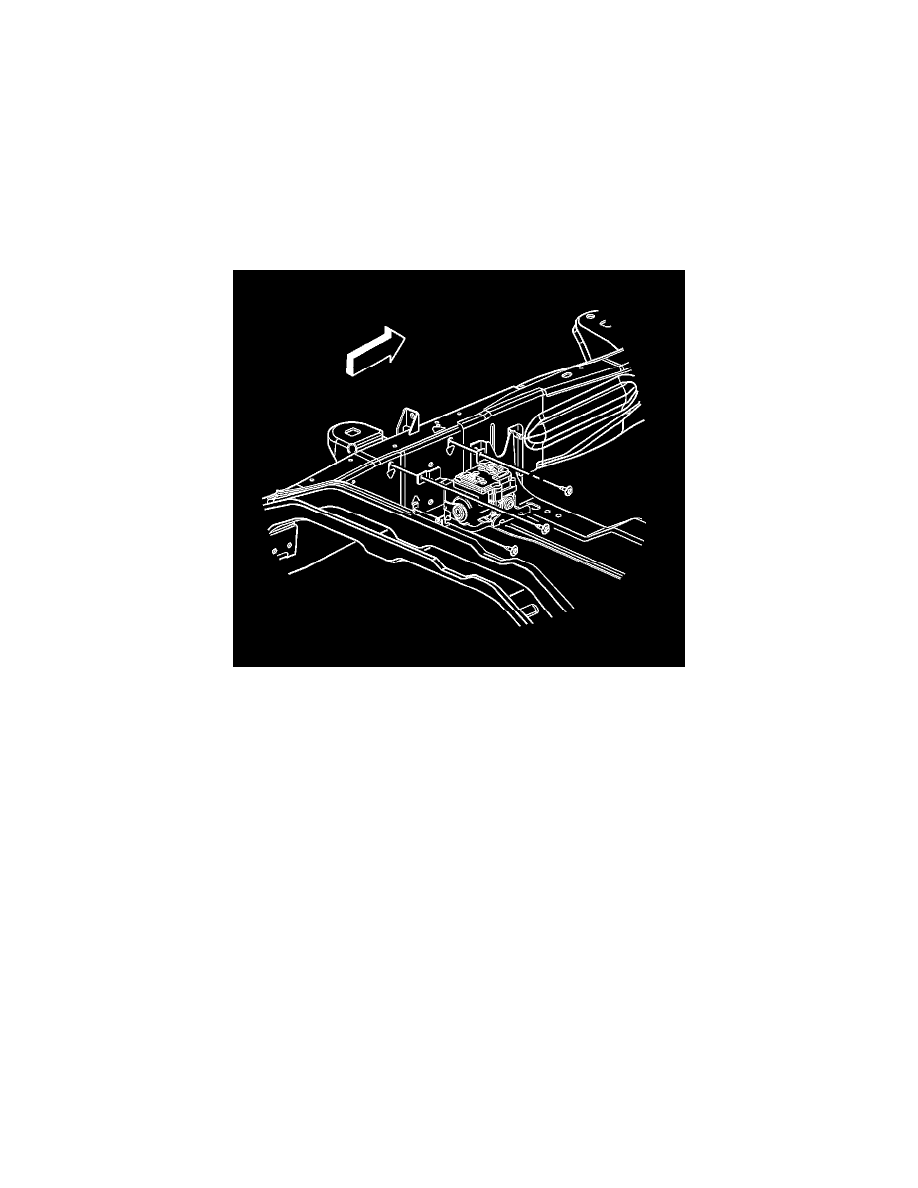
6. Install the EHCU to the vehicle frame.
^
Tighten the 3 EHCU bracket bolts to 25 Nm (18 ft. lbs.).
7. Connect the 2 electrical harness connectors to the EBCM.
8. Important:
The brake pipes are held in place by a plastic bracket mounted to the frame. Make sure that the brake pipes stay in the correct place for proper
reassembly.
Install the brake pipes to the BPMV.
^
Tighten the brake pipe fittings to 30 Nm (22 ft. lbs.).
9. Bleed the brake system.
10. Bleed the brake system.
W/O JL4
Brake Pressure Modulator Valve (BPMV) Replacement (W/o JL4)
Removal Procedure
Caution: Refer to Brake Fluid Irritant Caution in Service Precautions.
Notice: Refer to Brake Fluid Effects on Paint and Electrical Components Notice in Service Precautions.
1. Important:
The area around the electric hydraulic control unit (EHCU) MUST be free from loose dirt to prevent contamination of disassembled ABS
components.