
Express 1 Ton Van V8-5.7L VIN R (1999)
1. Deburr the holes on the inside of the hinge pillar or the door in order to insure the proper seating of the hinge and the backing plate. Inspect the
body pillar and the door in order to ensure that the hinge seating zone on the body pillar or the door is flat.
2. Paint the inner and the outer surfaces of the hinge pillar or the door at the hinge mounting zone.
3. Coat the mating surface of the hinge with a medium bodied sealer.
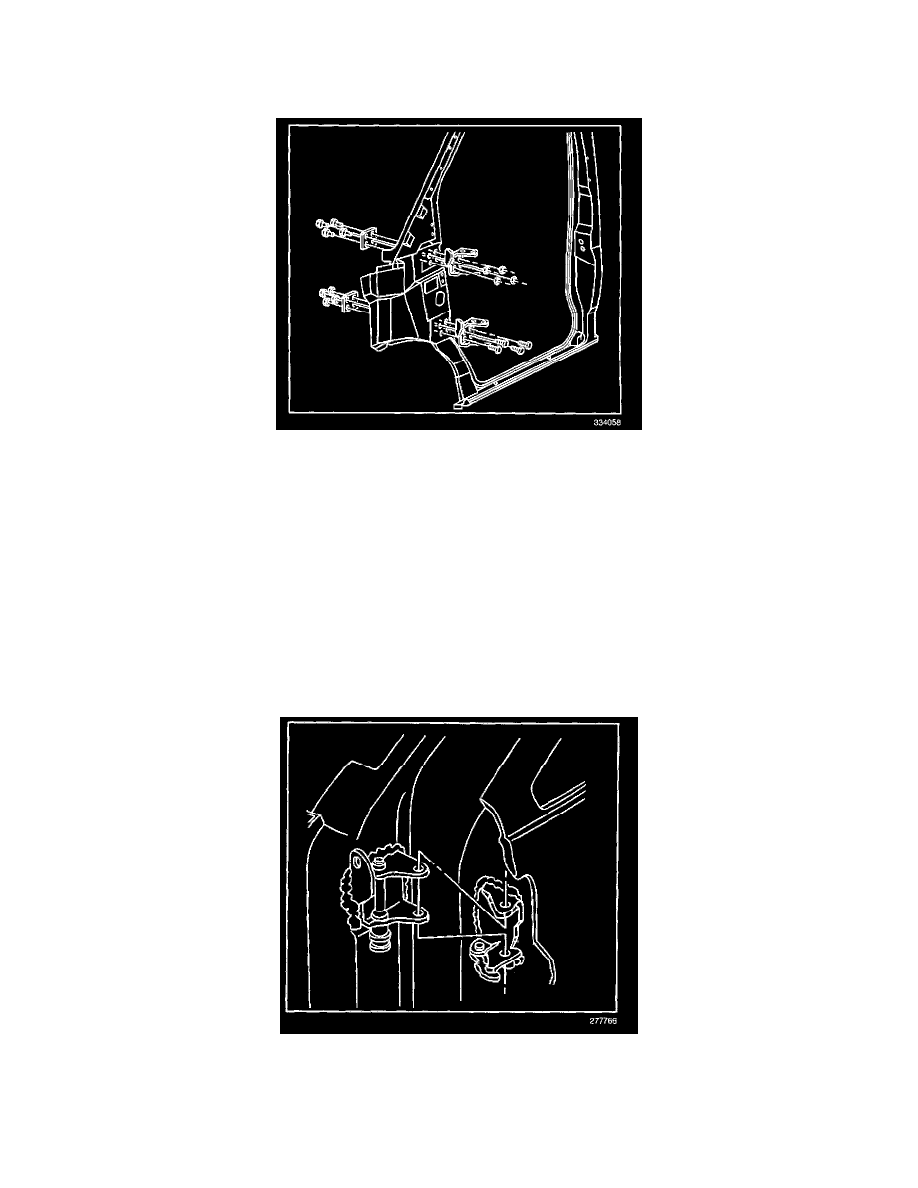
4. Position the bolt-on service replacement hinges within the scribe marks that were made on the body pillar or the door at the time of removal.
5. Install the hinge to the body pillar or the door using the bolts and the tapping plate that is supplied with the service replacement kit.
NOTE: Refer to Fastener Notice in Service Precautions.
6. Tighten the bolts to the recommended preliminary torque.
Tighten
Tighten the bolts to 5 N.m (44 lb in).
7. Install the door to the body. Align the door as required. Do not close the door completely until you make a visual check in order to determine if the
lock will correctly engage the striker.
Tighten
Tighten the bolts to 25 N.m (18 lb ft).
8. Apply the sealer around the hinges.
9. Paint the hinge assembly.