Express 2500 V8-6.6L DSL Turbo (2010)

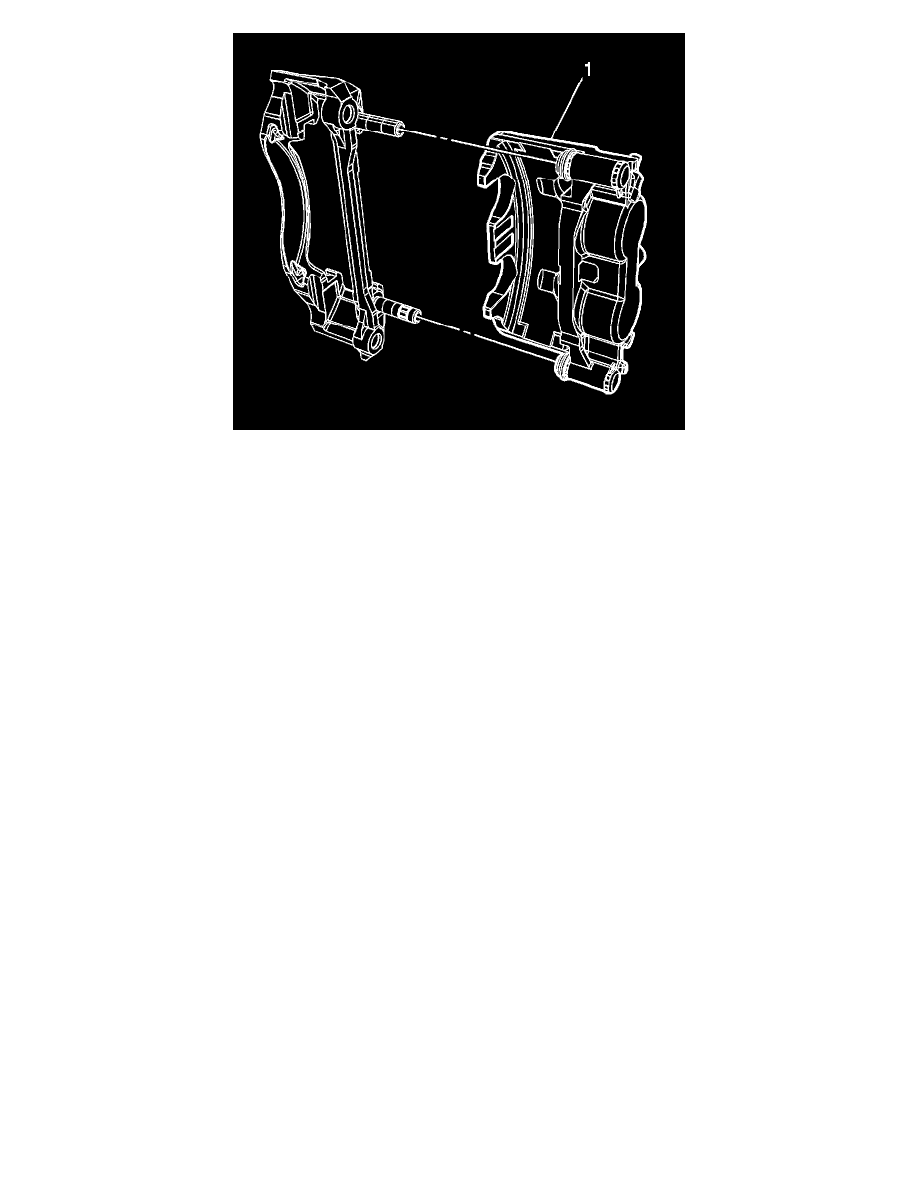
6. Install the rear disc brake caliper (1) to the brake caliper bracket.
Ensure the brake caliper guide pin seals are fully seated in the grooves of the brake caliper bracket.
7. Install the brake caliper bracket. Refer to Rear Brake Caliper Bracket Replacement (JH5, JH6) (See: Rear Brake Caliper Bracket Replacement
(JH5, JH6))Rear Brake Caliper Bracket Replacement (JH9) (See: Rear Brake Caliper Bracket Replacement (JH9)).
Front Brake Caliper Bracket Replacement (JH5)
Front Brake Caliper Bracket Replacement (JH5)
Warning: Refer to Brake Dust Warning (See: Service Precautions/Technician Safety Information/Brake Dust Warning).
Removal Procedure
1. Raise and support the vehicle. Refer to Lifting and Jacking the Vehicle (See: Maintenance/Vehicle Lifting/Service and Repair).
2. Remove the tire and wheel assembly. Refer to Tire and Wheel Removal and Installation (See: Maintenance/Wheels and Tires/Service and Repair
).
Caution: Support the brake caliper with heavy mechanic wire, or equivalent, whenever it is separated from its mount and the hydraulic flexible
brake hose is still connected. Failure to support the caliper in this manner will cause the flexible brake hose to bear the weight of the caliper, which
may cause damage to the brake hose and in turn may cause a brake fluid leak.
3. Without disconnecting the brake hose from the caliper, remove the caliper and support with heavy mechanics wire or equivalent. Refer to Front
Brake Caliper Replacement (JH5) (See: Front Brake Caliper Replacement (JH5)) Front Brake Caliper Replacement (JH6, JH9) (See: Front
Brake Caliper Replacement (JH6, JH9)).
Note: Note the location of the brake pads to aid installation.
4. Remove the brake pads and springs.
