
Express 2500 V8-6.6L DSL Turbo (2010)
Radiator: Removal and Replacement
Radiator Replacement (Diesel)
Special Tools
*
J 38185 Hose Clamp Pliers
*
J 39529 Wiper Linkage Installer
Removal Procedure
Note: Always install a new set of insulators when replacing a radiator. Used insulators may be worn or too large for the new radiator. These conditions
may cause the new radiator to be loose.
1. Remove the air cleaner assembly. Refer to Air Cleaner Assembly Replacement (See: Engine/Tune-up and Engine Performance Checks/Air
Cleaner Housing/Service and Repair).
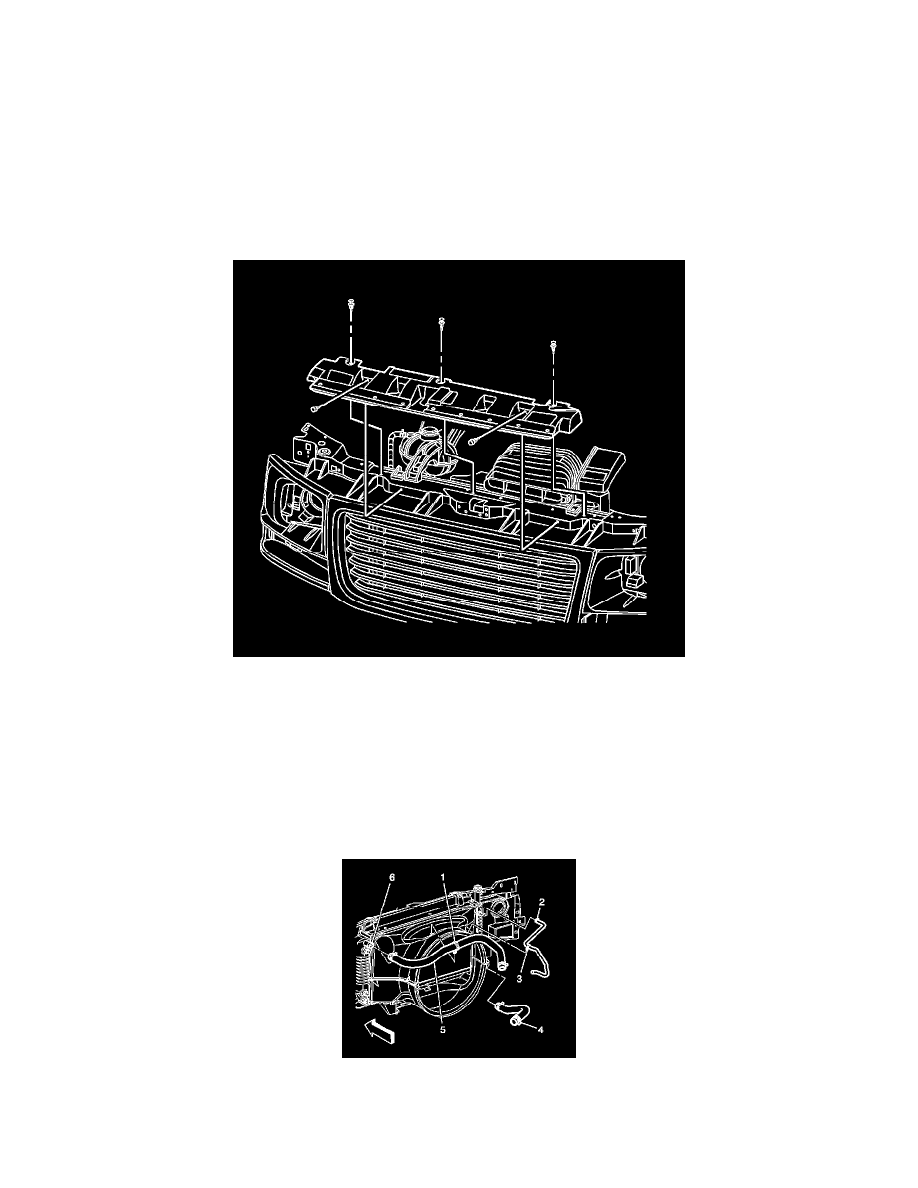
2. Remove the upper radiator baffle.
3. Remove the surge tank. Refer to Radiator Surge Tank Replacement (See: Coolant Reservoir/Service and Repair/Radiator Surge Tank
Replacement).
4. Remove battery. Refer to Battery Replacement (Primary) (See: Starting and Charging/Battery/Service and Repair/Removal and Replacement).
5. Remove the charged air cooler inlet hose/pipe. Refer to Charge Air Cooler Inlet and Outlet Duct Replacement (Inlet) (See: Powertrain
Management/Fuel Delivery and Air Induction/Turbocharger/Intercooler/Intercooler Duct/Service and Repair/Charge Air Cooler Inlet and Outlet
Duct Replacement (Inlet)) Charge Air Cooler Inlet and Outlet Duct Replacement (Outlet) (See: Powertrain Management/Fuel Delivery and Air
Induction/Turbocharger/Intercooler/Intercooler Duct/Service and Repair/Charge Air Cooler Inlet and Outlet Duct Replacement (Outlet)).
6. Remove the clamp at the radiator inlet using the J 38185.
7. Remove the radiator inlet hose (5) from the radiator.
8. Remove the outlet heater hose clamp at the radiator using the J 38185.
9. Remove the outlet heater hose (2) from the radiator.