
Express 2500 V8-6.6L DSL Turbo (2010)
1. Raise and support the vehicle. Refer to Lifting and Jacking the Vehicle (See: Maintenance/Vehicle Lifting/Service and Repair).
2. Disconnect the transmission oil cooler lines at the transmission. Refer to Transmission Fluid Cooler Hose/Pipe Quick-Connect Fitting
Disconnection and Connection (See: Transmission and Drivetrain/Automatic Transmission/Transaxle/Fluid Line/Hose/Service and
Repair/6L45/6L50/6L80/6L90 - Automatic Transmission/Transmission Fluid Cooler Hose/Pipe Quick-Connect Fitting Disconnection and
Connection).
3. Reposition the transmission oil cooler lines.
4. Remove the starter. Refer to Starter Replacement (V8) (See: Starting and Charging/Starting System/Starter Motor/Service and Repair)Starter
Replacement (V6) (See: Starting and Charging/Starting System/Starter Motor/Service and Repair)Starter Replacement (Diesel) (See: Starting
and Charging/Starting System/Starter Motor/Service and Repair).
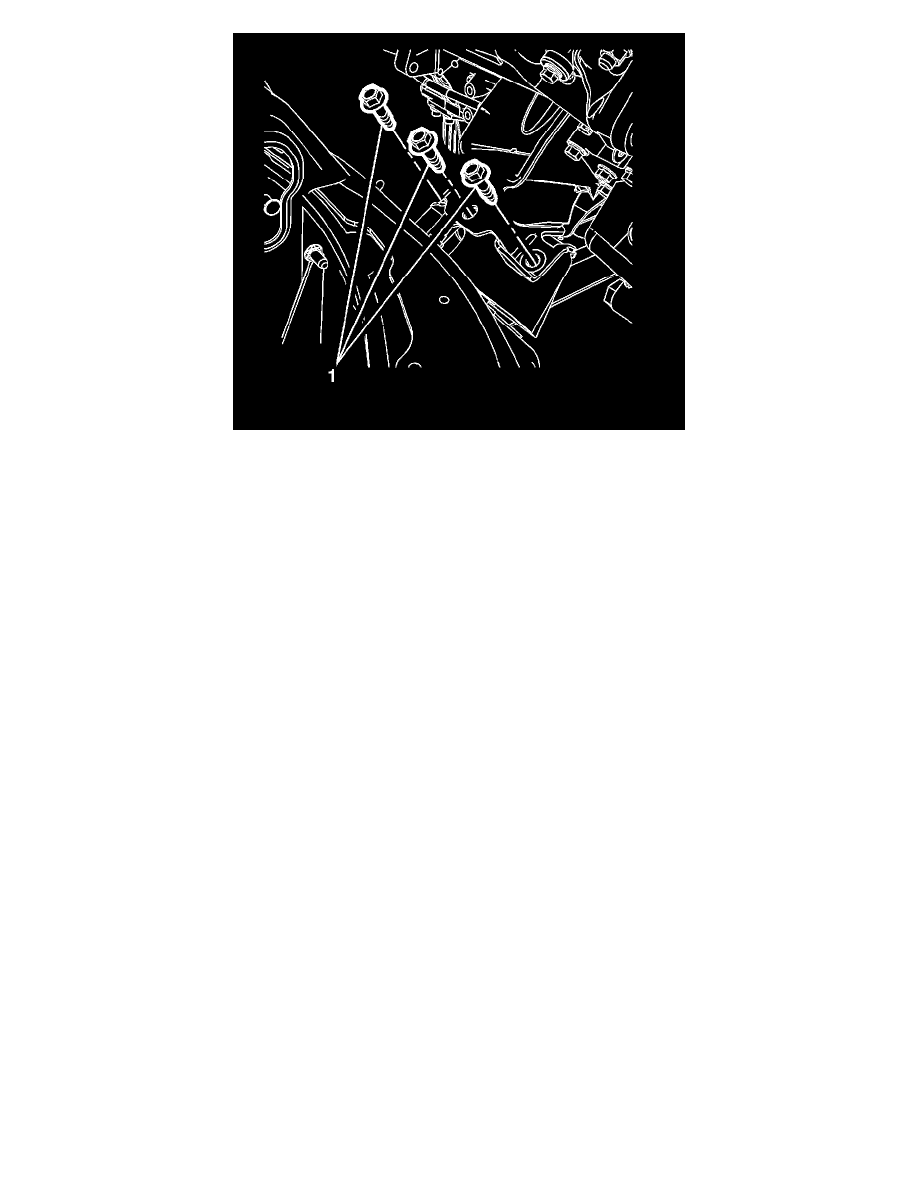
5. Remove the engine mount to engine mount bracket bolts.
Caution: Refer to Engine Lifting Caution (See: Service Precautions/Engine Lifting Caution).
Note: When raising the engine only raise enough to separate the engine mount from the engine mount bracket. Raising any further the fan shroud
or the exhaust pipe will require removal.
6. Place a suitable adjustable jack on the lower engine boss, raise the engine. Only raise the engine enough to separate the engine mount to engine
mount bracket.