Express 2500 V8-6.6L DSL Turbo (2010)

Refrigerant Filter: Service and Repair
Air Conditioning (AC) Refrigerant Filter Replacement
Special Tools
J 39400-A Halogen Leak Detector
Removal Procedure
1. Recover the refrigerant from the A/C system. Refer to Refrigerant Recovery and Recharging (See: Service and Repair/Refrigerant Recovery and
Recharging).
2. Remove the front evaporator tube. Refer to Air Conditioning Evaporator Front Tube Replacement (See: Hose/Line HVAC/Service and
Repair/Removal and Replacement/Air Conditioning Evaporator Front Tube Replacement).
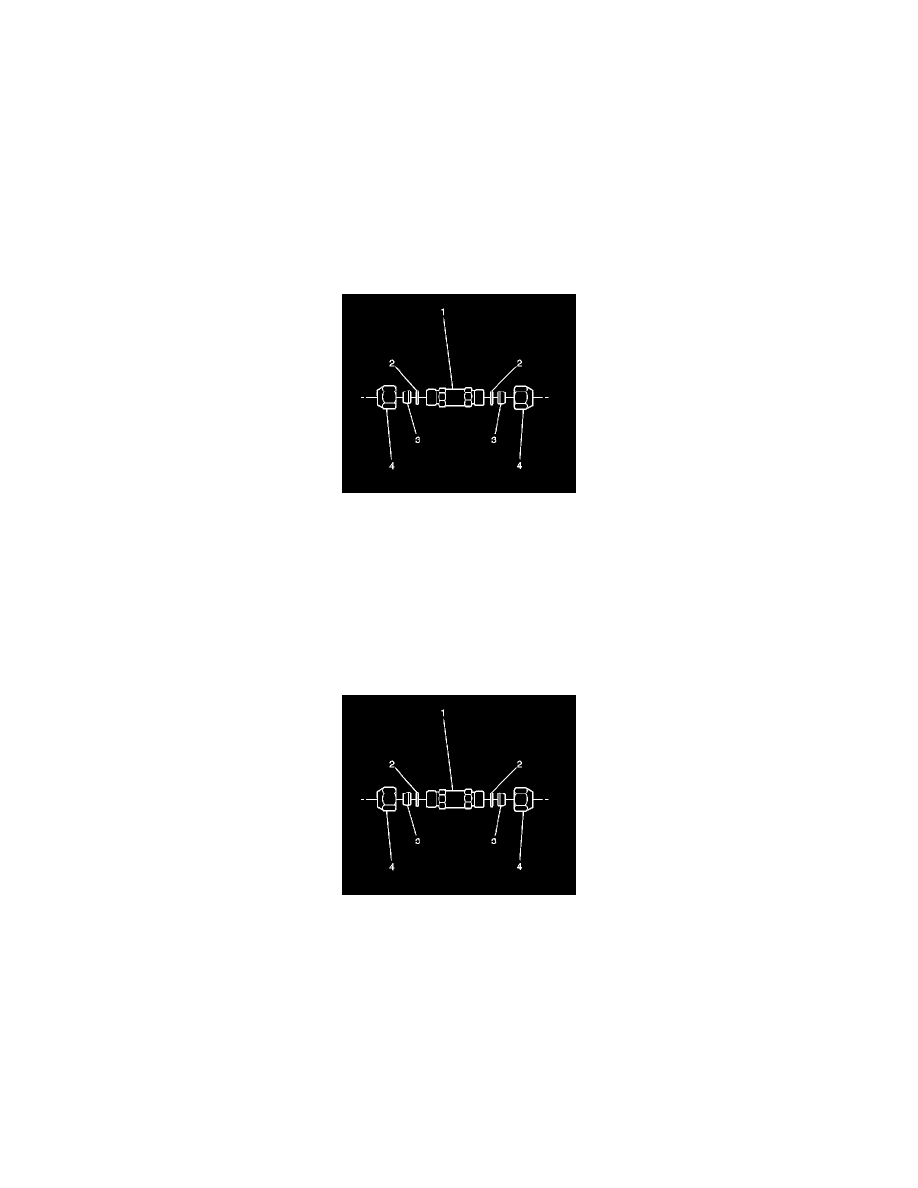
Note: The nuts (4) and ferrules (3) will remain on the condenser tube. Do not try to remove.
3. Remove the nuts (4) from the A/C refrigerant filter (1).
4. Remove the A/C refrigerant filter from the condenser tube.
Installation Procedure
1. Install the O-rings. Refer to Air Conditioning O-Ring Seal Replacement (See: Coupler HVAC/A/C Coupler O-ring/Service and Repair/Air
Conditioning O-Ring Seal Replacement).
2. Install the A/C refrigerant filter to the condenser tube with the flow arrow pointing towards the evaporator.
Caution: Refer to Fastener Caution (See: Service Precautions/Vehicle Damage Warnings/Fastener Caution).
3. Install the nuts (4) to the A/C refrigerant filter (1) and tighten to 34 Nm (25 lb ft).
4. Install the front evaporator tube. Refer to Air Conditioning Evaporator Front Tube Replacement (See: Hose/Line HVAC/Service and
Repair/Removal and Replacement/Air Conditioning Evaporator Front Tube Replacement).
5. Evacuate and recharge the A/C system. Refer to Refrigerant Recovery and Recharging (See: Service and Repair/Refrigerant Recovery and
Recharging).
6. Leak test the fittings of the installed component using the J 39400-A.
