
Express 2500 V8-6.6L DSL Turbo (2010)
Tie Rod: Testing and Inspection
Steering Linkage Outer Tie Rod Inspection
Steering Linkage Outer Tie Rod Inspection
Special Tools
J-8001 - Dial Indicator Set
For equivalent regional tools, refer to Special Tools (See: Tools and Equipment).
Note: This inspection procedure does not supersede local government required inspections that have more stringent requirements.
1. Inspect the outer tie rod end seal. If the outer tie rod end seal is torn, replace the outer tie rod end. Refer to Steering Linkage Outer Tie Rod
Replacement (See: Service and Repair/Steering Linkage Outer Tie Rod Replacement).
2. Raise the side of the vehicle being inspected with a floor jack while maintaining contact between the opposite wheel and the shop floor. Support
the lower control arm with a floor jack stand as far outboard as possible and remove the floor jack. Refer to Lifting and Jacking the Vehicle (See:
Wheels and Tires/Vehicle Lifting/Service and Repair).
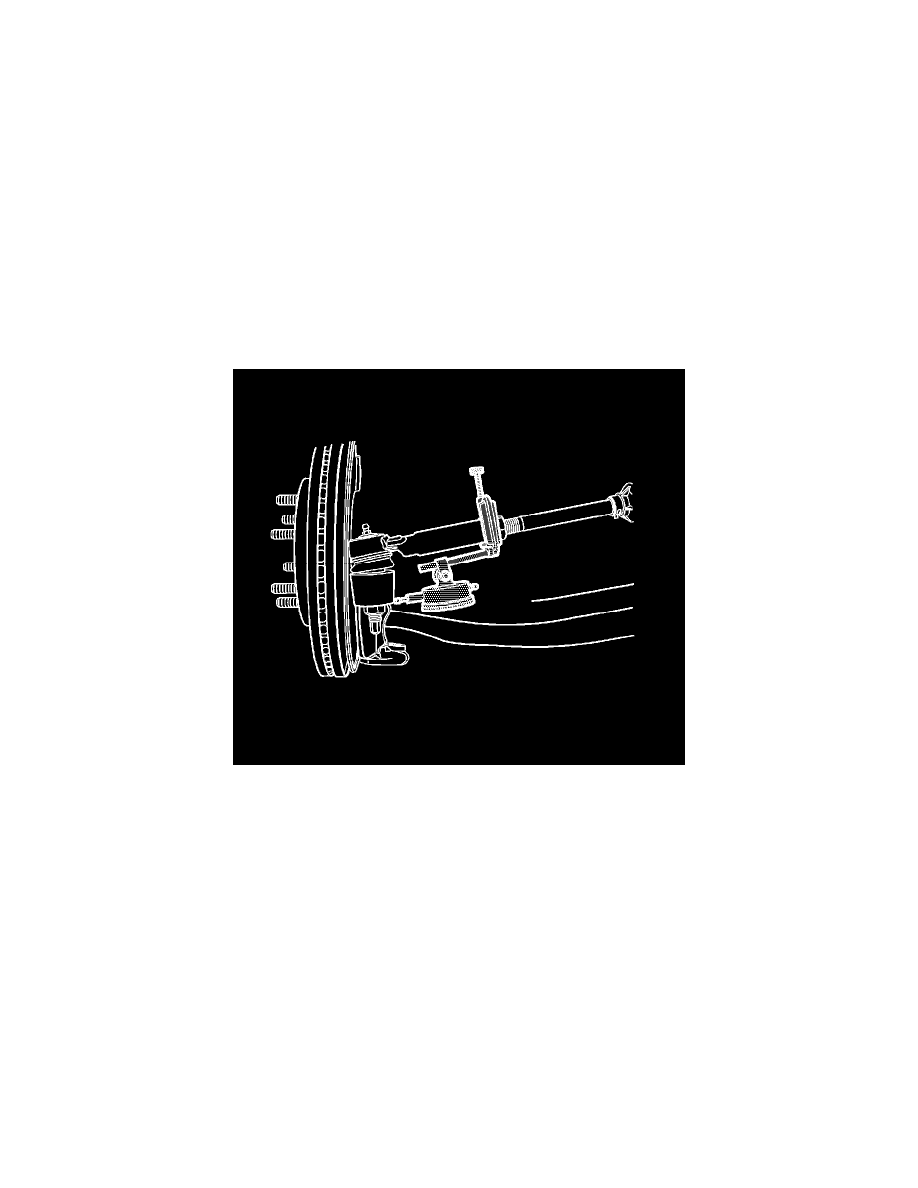
3. Install the J-8001 - Dial Indicator between the outer tie rod end and the steering knuckle as shown in the graphic. Note that the tire and wheel
assembly is shown removed only for clarification of the dial indicator position.