
Express 2500 V8-6.6L DSL Turbo (2010)
Cross-Member: Service and Repair
Engine Front Crossmember Replacement
Engine Front Crossmember Replacement (RWD)
Removal Procedure
1. Raise and support the vehicle. Refer to Lifting and Jacking the Vehicle (See: Wheels and Tires/Vehicle Lifting/Service and Repair).
2. Disconnect the electrical wiring harness connectors from the engine crossmember.
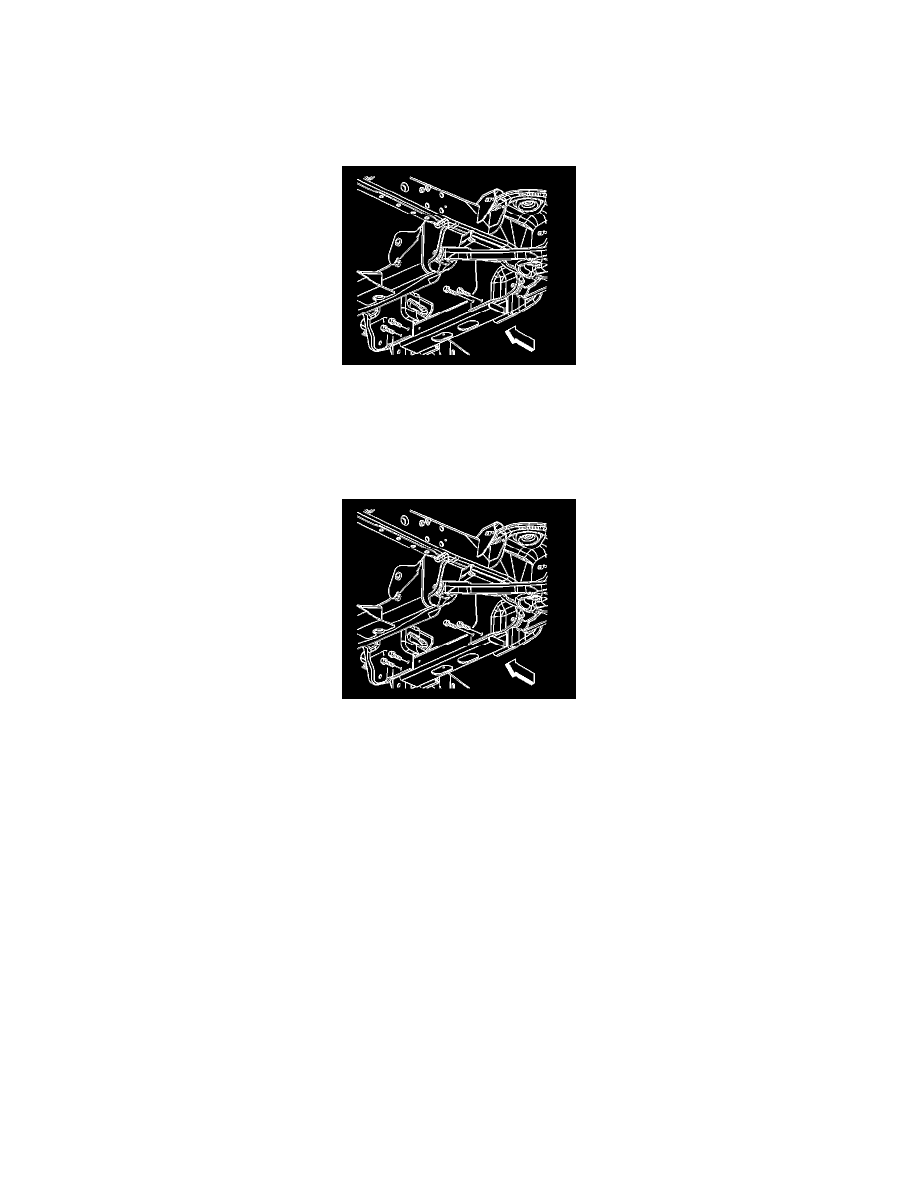
3. Remove the engine crossmember mounting bolts.
4. Remove the engine crossmember.
Installation Procedure
1. Install the engine crossmember.
Caution: Refer to Fastener Caution (See: Service Precautions/Vehicle Damage Warnings/Fastener Caution).
2. Install the engine crossmember mounting bolts.
*
LD 14,200 lb GVW, tighten the bolts to 120 Nm (89 lb ft).
*
CA 14,200 lb GVW, tighten the bolts to 85 Nm (63 lb ft) plus 90 degrees.
*
HD and CA, tighten the bolts to 135 Nm (100 lb ft)
3. Connect the electrical wiring harness connectors to the engine crossmember.
4. Lower the vehicle.