
Express 2500 V8-6.6L DSL Turbo VIN 2 (2007)
8. Connect the low pressure sensor electrical connector.
9. Connect the blower motor electrical connector.
10. Connect the blower motor resistor assembly electrical connector.
11. Evacuate and recharge the A/C system. Refer to Refrigerant Recovery and Recharging.
12. Leak test the fittings of the repaired or replaced component using the J 39400-A.
Auxiliary Air Temperature Actuator Replacement
Auxiliary Air Temperature Actuator Replacement
Removal Procedure
1. Remove the left rear quarter trim panel.
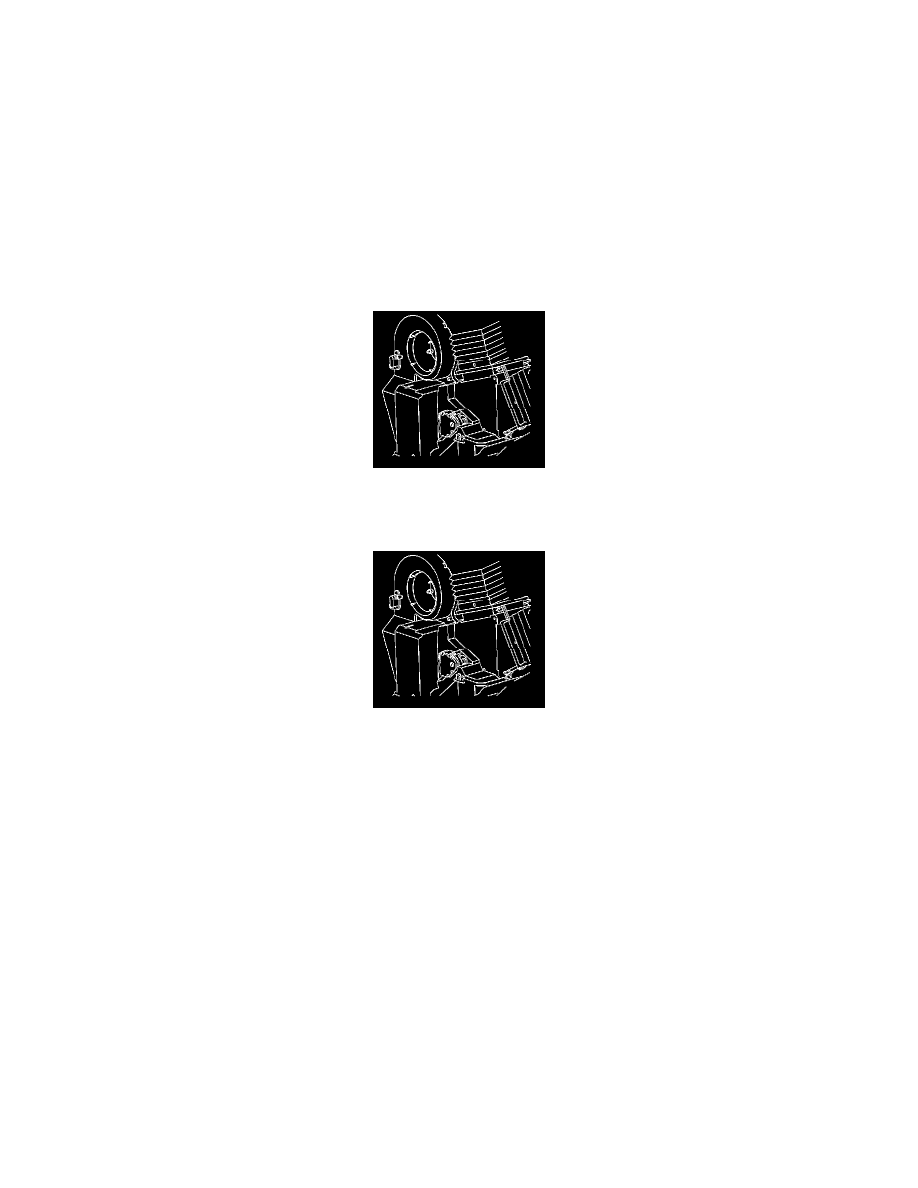
2. Disconnect the electrical connector from the air temperature actuator.
3. Remove the retaining screws from the air temperature actuator.
4. Remove the air temperature actuator.
Installation Procedure
1. Install the air temperature actuator.
Notice: Refer to Fastener Notice.
2. Install the retaining screws to the air temperature actuator.
Tighten the screws to 1.9 N.m (17 lb in).
3. Connect the air temperature electrical connector to the actuator.
4. Install the left rear quarter trim panel.
Auxiliary Mode Actuator Replacement
Auxiliary Mode Actuator Replacement
Removal Procedure
1. Remove the heater assembly.
2. Remove the retaining screws from the auxiliary mode actuator.