Express 3/4 Ton Van V8-305 5.0L VIN M SFI (1999)

Intake Manifold: Service and Repair
Upper Intake Manifold Replacement
Removal Procedure
1. Disconnect the battery negative cable. Refer to Battery Cable Replacement (Battery Disconnect/Connect) in Starting and Charging.
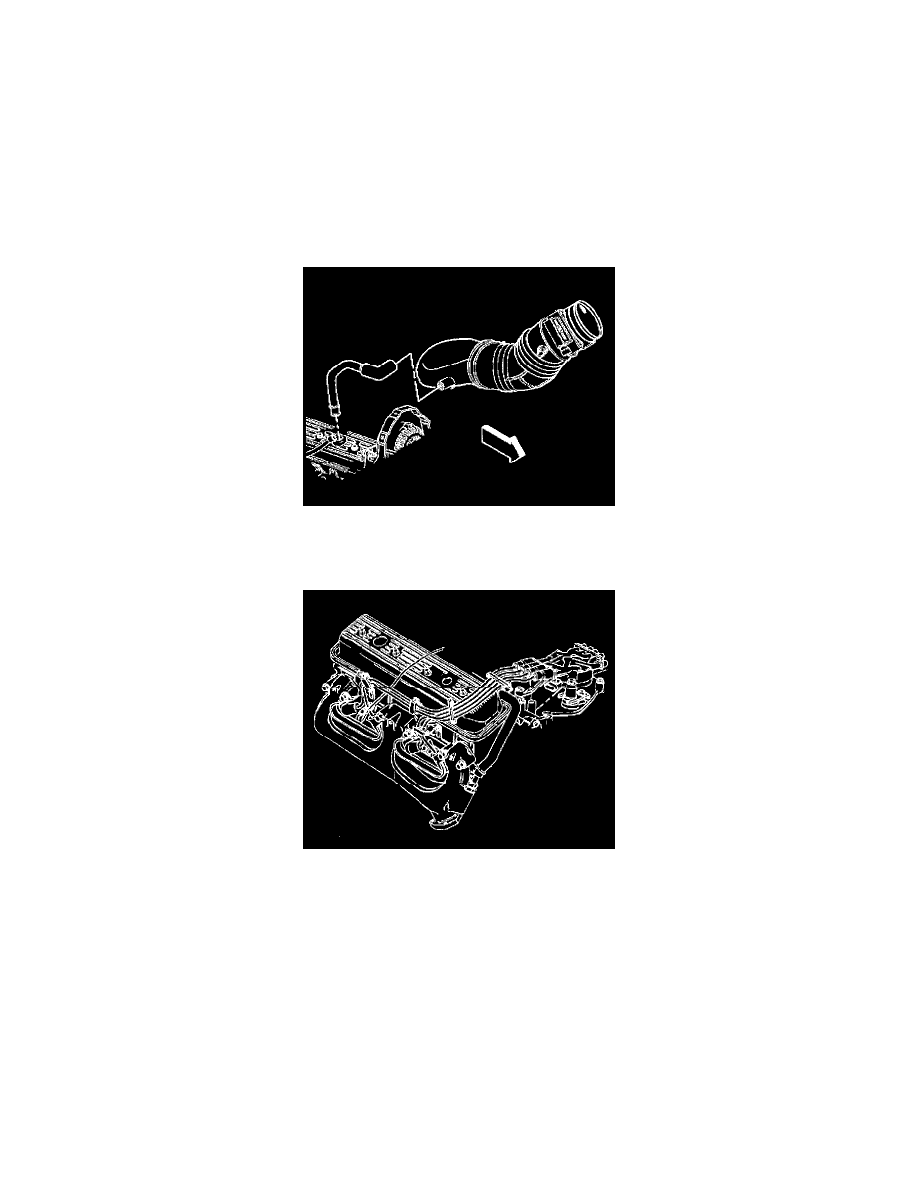
Remove the engine cover.
Remove the air cleaner intake duct.
2. Disconnect the following electrical connectors:
^
Fuel injector electrical connector
^
Manifold absolute pressure (MAP) sensor
^
Canister purge solenoid
^
Idle air control (IAC) solenoid
^
Throttle position (TP) sensor
3. Remove the vacuum brake booster hose, if equipped.
4. Remove the PCV at the intake manifold.
Twist to unlock the PCV.
5. Disconnect the spark plug wires from the left side of the distributor cap.
6. Remove the fuel pipes from the rear of the engine.
7. Remove AIR Bypass hose assembly, if so equipped.
8. Remove the canister purge solenoid from the engine.
9. Remove the accelerator control cable and the cruise control cable, if equipped, from the throttle shaft. Refer to Accelerator Controls Cable
Replacement in Powertrain Management.
10. Remove the accelerator control cable bracket from the throttle body and set it aside.
