
Express 3/4 Ton Van V8-4.8L VIN V (2003)
Rear Door Interior Handle: Service and Repair
Handle Replacement - Rear Door Inside
Handle Replacement - Rear Door Inside
Removal Procedure
1. Remove the right side rear door trim panel. Refer to Trim Panel Replacement - Side Rear Door - 60/40 Right (E24, 40 Door) (See: Rear Door
Panel/Service and Repair/Panel Replacement/Trim Panel Replacement - Side Rear Door - 60/40 Right (E24, 40 Door))Trim Panel Replacement -
Side Rear Door - 60/40 Right (E24, 60 Door) (See: Rear Door Panel/Service and Repair/Panel Replacement/Trim Panel Replacement - Side Rear
Door - 60/40 Right (E24, 60 Door)) .
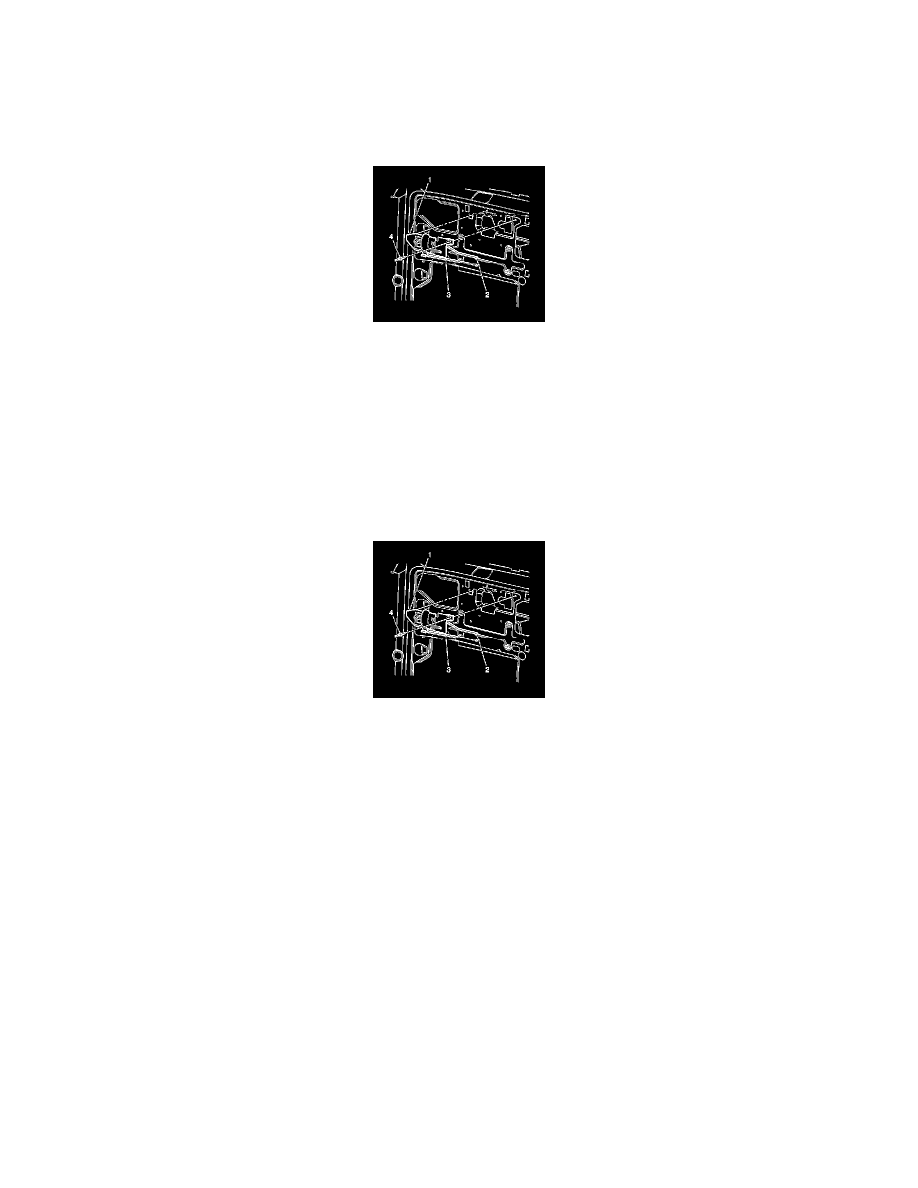
2. Remove the rivet (4) at the rear edge of the rear door inside handle.
3. Slide the rear door inside handle forward.
4. Remove the rear door inside handle from the right rear door.
5. Remove the lock rods (3) from the rear door inside handle.
6. Remove the rear door inside handle from the right rear door.
Installation Procedure
1. Install the rear door inside handle to the right rear door.
2. Install the lock rods (3) to the rear door inside handle.
3. Align the tabs on the handle with the slots in the door.
4. Slide the inside handle rearward in order to engage the inside handle with the slots in the door.
5. Install the rivet (4) at the rear edge of the rear door inside handle.
6. Install the right side rear door trim panel. Refer to Trim Panel Replacement - Side Rear Door - 60/40 Right (E24, 40 Door) (See: Rear Door
Panel/Service and Repair/Panel Replacement/Trim Panel Replacement - Side Rear Door - 60/40 Right (E24, 40 Door))Trim Panel Replacement -
Side Rear Door - 60/40 Right (E24, 60 Door) (See: Rear Door Panel/Service and Repair/Panel Replacement/Trim Panel Replacement - Side Rear
Door - 60/40 Right (E24, 60 Door)) .