
Express 3/4 Ton Van V8-4.8L VIN V (2003)
10.1.
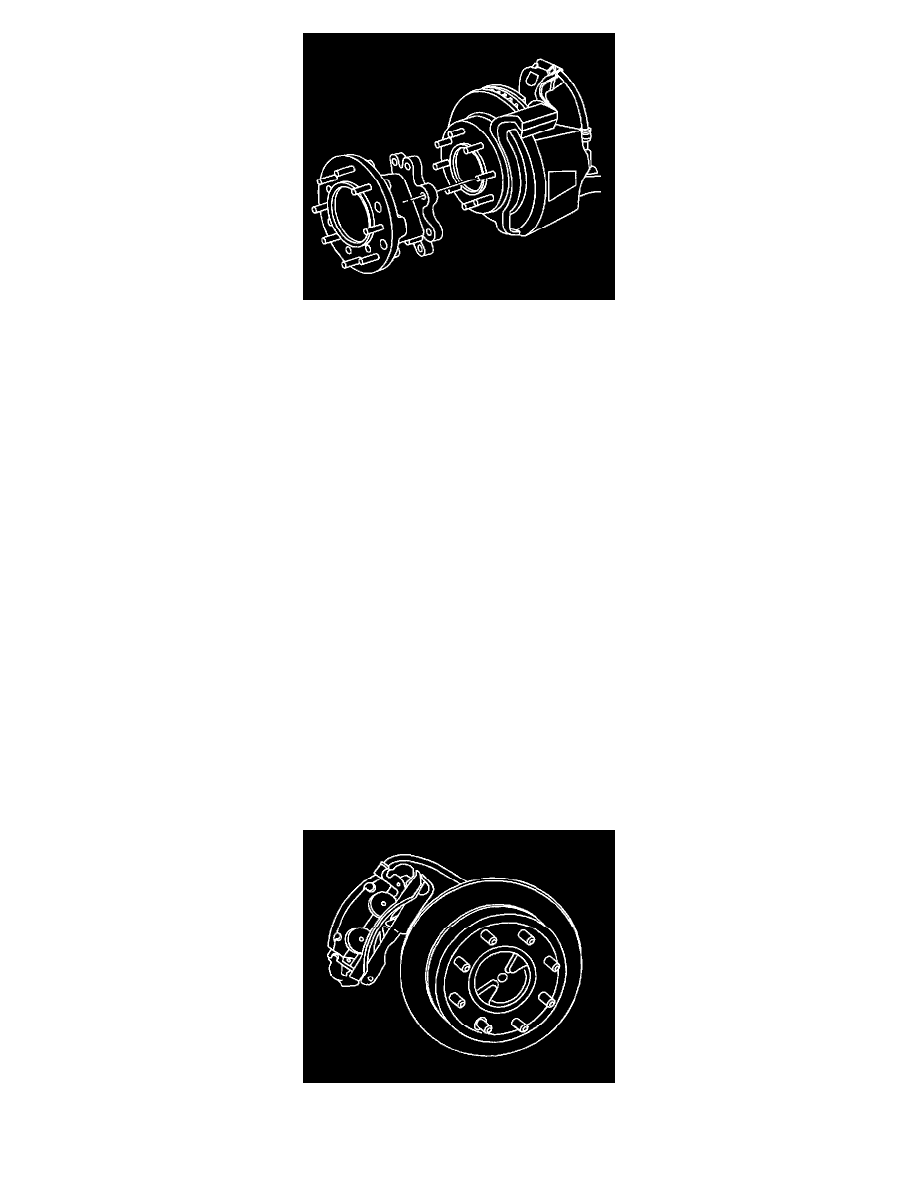
Insert a drift or large screwdriver through the brake caliper into one of the brake rotor vanes in order to prevent the rotor from turning.
10.2.
Align and install the front wheel hub extension to the original position on the hub.
Important
:Follow the same tightening sequence for the front wheel hub extension that is used on an eight lug wheel.
10.3.
Install the front wheel hub extension nuts.
Tighten the front wheel hub extension nuts to 130 Nm (96 ft. lbs.).
11. Install the tire and wheel assembly.
12. Lower the vehicle.
13. With the engine OFF, gradually apply the brake pedal to approximately 2/3 of its travel distance.
14. Slowly release the brake pedal.
15. Wait 15 seconds, then repeat steps 13-14 until a firm pedal is obtained. This will properly seat the brake caliper pistons and brake pads.
16. Fill the master cylinder reservoir to the proper level with clean brake fluid.
Without Dual Wheels
Brake Rotor Replacement - Rear (Except Dual Wheels)
Tools Required
-
J41013 Rotor Resurfacing Kit
-
J42450-A Wheel Hub Resurfacing Kit
Caution:
Refer to Brake Dust Caution in Service Precautions.
See: Service Precautions/Technician Safety Information/Brake Dust Caution
Removal Procedure
1. Release the park brake.
2. Raise and suitably support the vehicle. Refer to Vehicle Lifting.
3. Remove the tire and wheel assembly.
4. Mark the relationship of the rotor to the hub.
5. Install a C-clamp over the body of the brake caliper, with the C-clamp ends against the rear of the caliper body and the outboard disc brake pad.
6. Slowly tighten the C-clamp until the pistons are pushed into the caliper bores enough to remove the caliper from the pads.