Express 3/4 Ton Van V8-4.8L VIN V (2003)

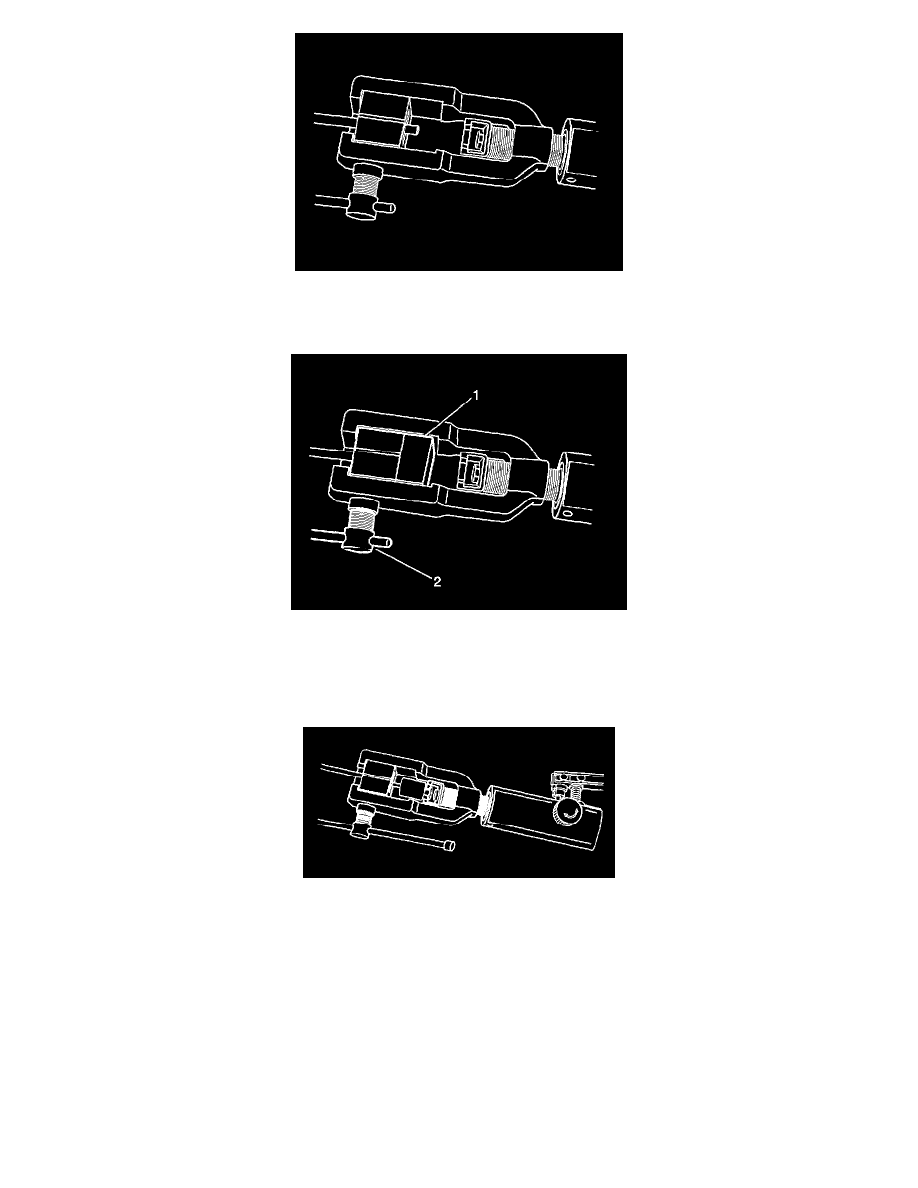
13. Loosen the die clamping screw of the J45405.
14. Select the corresponding die set and install the die halves into the die cage with the full, flat face of one die facing the clamping screw, and the
counterbores of both dies facing the forming ram.
15. Place the flat face of an unused die (1) against the die halves in the clamping cage and hold firmly against the counterbored face of the dies.
16. Insert the prepared end of the pipe to be flared through the back of the dies until the pipe is seated against the flat surface of the unused die (1).
17. Remove the unused die (1).
18. Ensure that the rear of both dies are seated firmly against the enclosed end of the die cage.
19. Firmly hand tighten the clamping screw (2) against the dies.
20. Select the appropriate forming mandrel and place into the forming ram.
21. Rotate the hydraulic fluid control valve clockwise to the closed position.
22. Rotate the body of the J45405 until it bottoms against the die cage.
