
Express 3/4 Ton Van V8-4.8L VIN V (2003)
High Pressure Sensor / Switch: Service and Repair
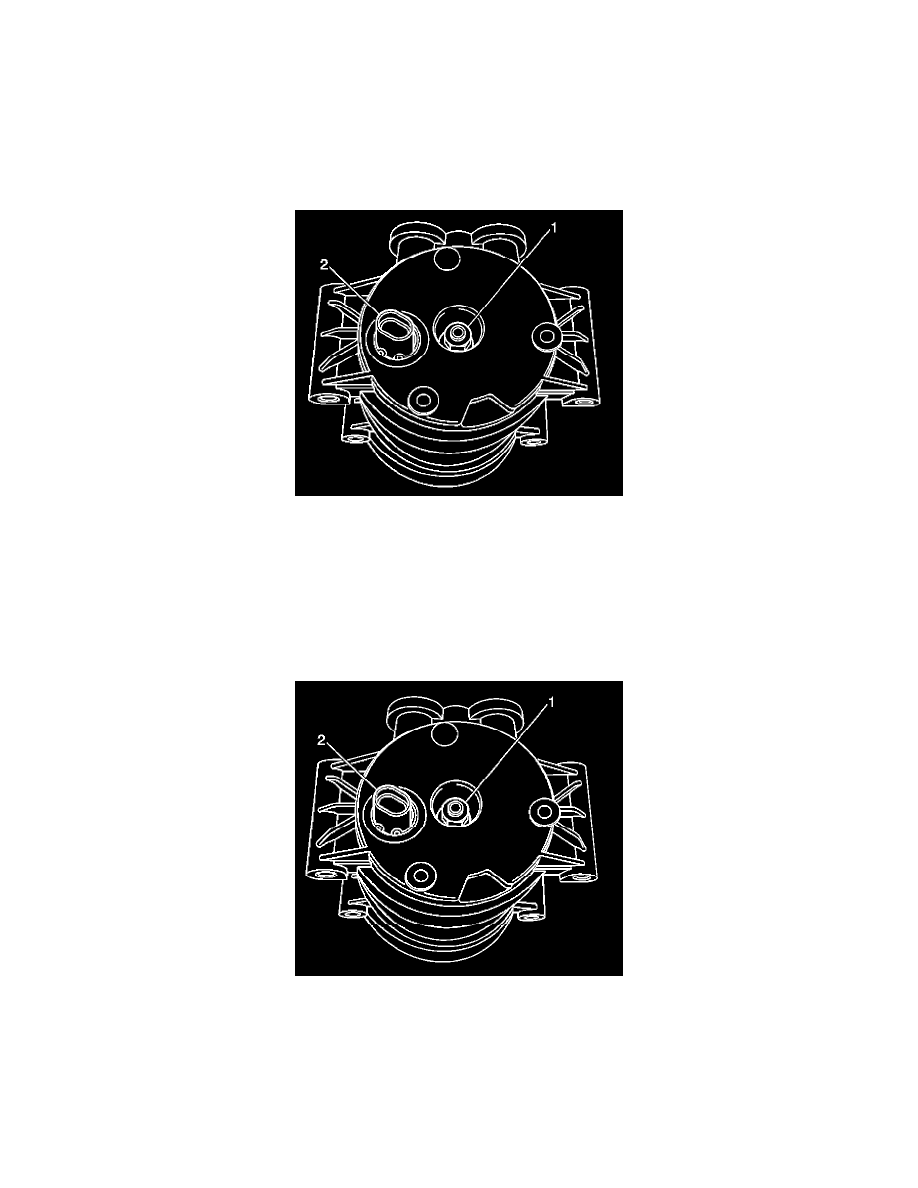
AIR CONDITIONING (A/C) HIGH PRESSURE SWITCH REPLACEMENT (With RPO CODE HU6 ONLY)
TOOLS REQUIRED
-
J 5403 Snap Ring Pliers
-
J 9553-01 O-Ring Remover
-
J 39400-A Halogen Leak Detector
REMOVAL PROCEDURE
1. Recover the refrigerant from the A/C system. Refer to Refrigerant Recovery and Recharging.
2. Clean the control A/C high pressure switch area before removing the snap ring.
3. Disconnect the electrical connector from the A/C high pressure switch (2).
4. Remove the A/C high pressure switch snap ring using the J 5403.
5. Remove the A/C high pressure switch (2) from the compressor.
6. Remove the old O-ring seal from the A/C high pressure switch cavity using the J 9553-01.
7. Inspect the A/C high pressure switch cavity and the O-ring groove in the rear head for dirt or foreign material. Clean the components as necessary.
INSTALLATION PROCEDURE
1. Lubricate the new O-ring using new 525 viscosity refrigerant oil.
IMPORTANT: If you reinstall an existing control switch in the compressor, use a new O-ring and a new retainer ring. An O-ring and a retainer ring
is included in a new switch kit.
2. Install the new O-ring into the groove in the switch cavity.
3. Lubricate the control switch housing using new 525 viscosity refrigerant oil.
4. Install the switch (2) into the switch cavity until the switch bottoms in the cavity.
5. Install the A/C high pressure switch snap ring using the J 5403. Ensure that the high point of the curved sides is adjacent to the switch housing.