
Express 3/4 Ton Van V8-4.8L VIN V (2003)
Intake Air Temperature (IAT) Sensor: Service and Repair
MASS AIR FLOW (MAF)/INTAKE AIR TEMPERATURE (IAT) SENSOR REPLACEMENT
REMOVAL PROCEDURE
IMPORTANT: Take care when handling the mass air flow/ intake air temperature (MAF/IAT) sensor. Do not dent, puncture, or otherwise damage
the honeycell located at the air inlet end of the MAF/IAT. Do not touch the sensing elements or allow anything including cleaning solvents and
lubricants to come in contact with them. Use a small amount of a non-silicone based lubricant, on the air duct only, to aid in installation. Do not drop
or roughly handle the MAF/IAT sensor.
1. Disconnect the MAF/IAT sensor electrical connector.
2. Remove the air cleaner assembly.
3. Loosen the clamp securing the MAF/IAT sensor to the air cleaner duct.
4. Remove the MAF/IAT sensor bolts from the air cleaner assembly.
5. Remove the MAF/IAT from the air cleaner.
INSTALLATION PROCEDURE
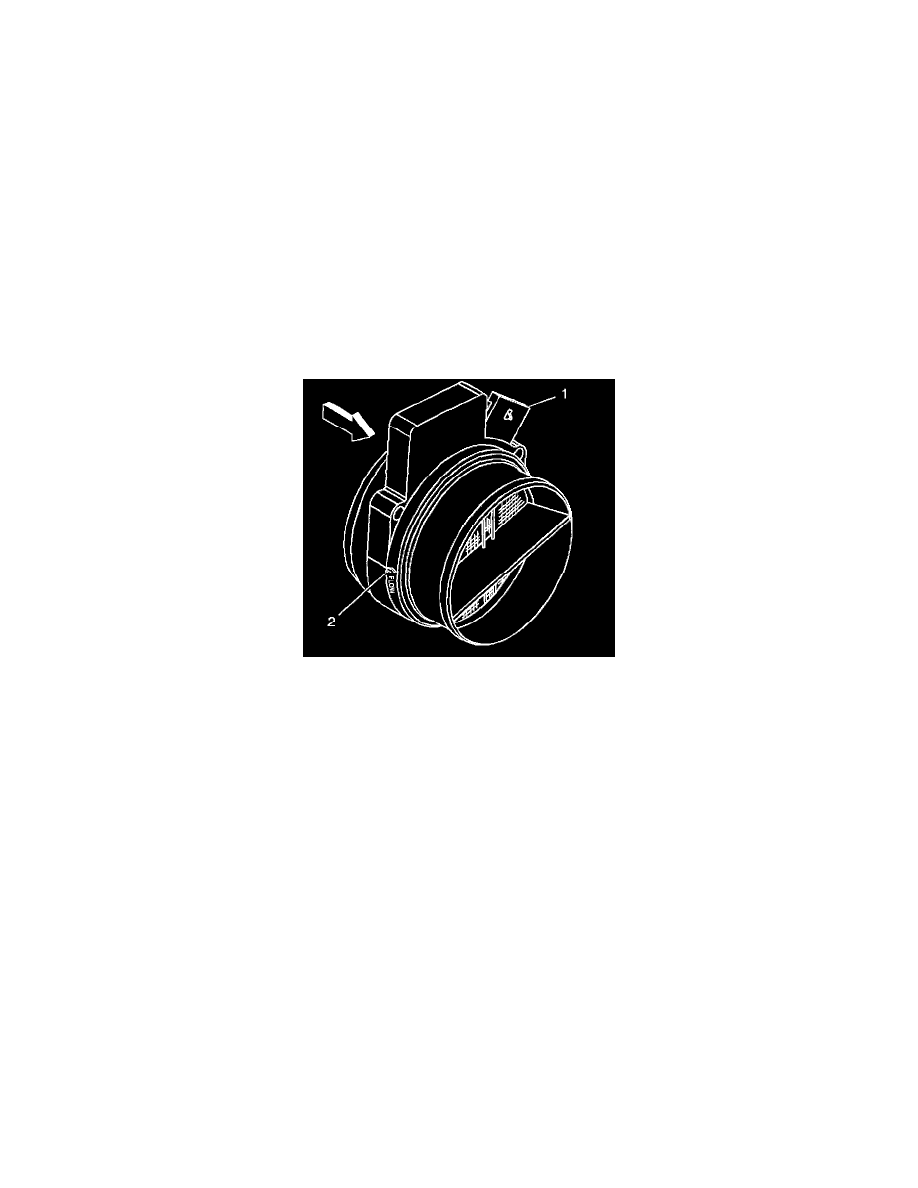
IMPORTANT: The embossed arrow on the MAF/IAT sensor indicates the proper air flow direction. The arrow must point toward the engine.
1. Locate the air flow direction arrow (2) on the MAF/IAT sensor.
2. Install the MAF/IAT sensor onto the air cleaner housing.
3. Install the MAF/IAT sensor retaining bolts.
NOTE: Refer to Fastener Notice in Service Precautions.
Tighten
Tighten the bolts to 11 N.m (97 lb in).
4. Tighten the clamp securing the MAF/IAT sensor to the air cleaner duct.
5. Install the air cleaner assembly.
6. Connect the MAF/IAT electrical connector.