
Express 3/4 Ton Van V8-5.7L VIN R (1998)
Diagnostic Chart
3. Remove the spring retainers (1) off the edges of the VCM.
4. Slide the VCM out of the bracket at an angle.
Description
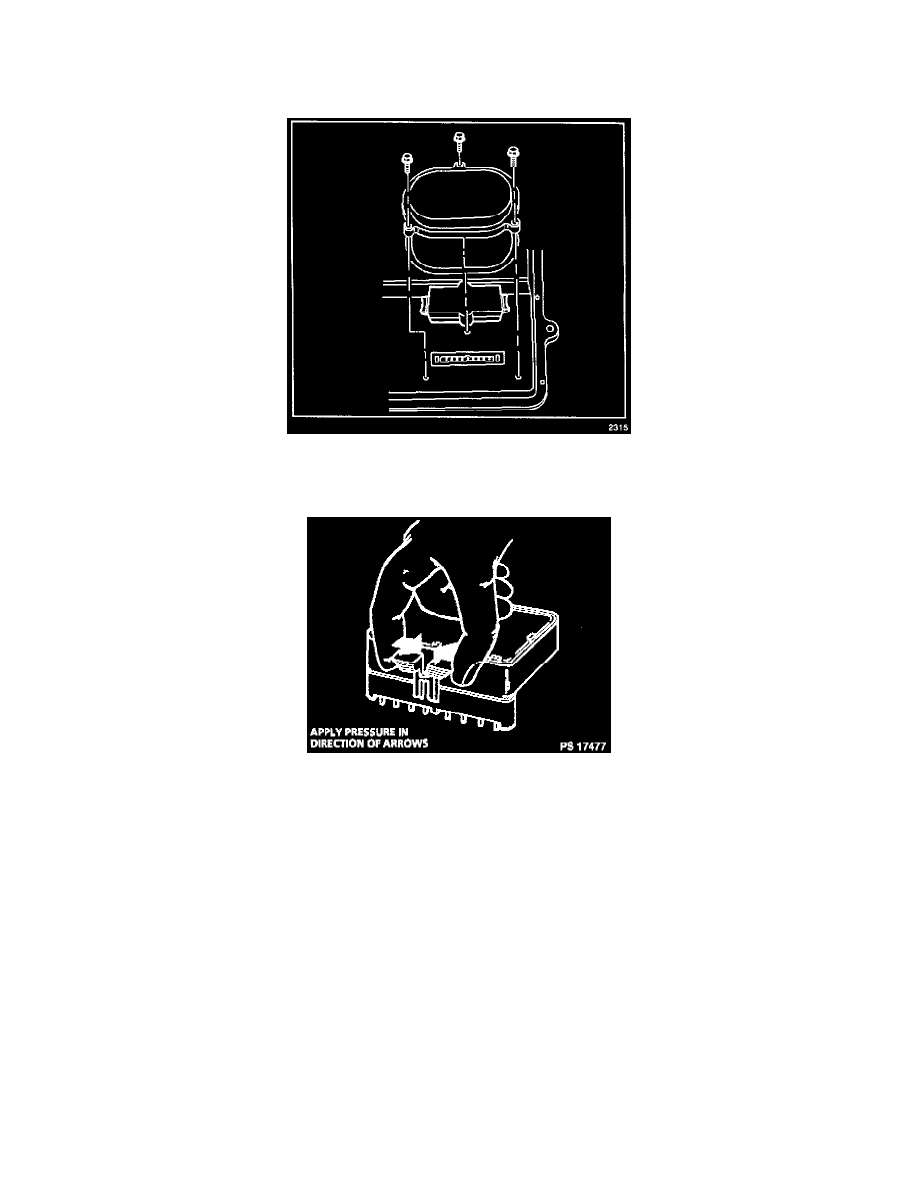
5. Remove the PROM / Electronic Spark Control Module access cover.
Removing Knock Sensor Module From PCM
6. Remove the PROM / Electronic Spark Control Module by gently squeezing the PROM locks together.
INSTALLATION PROCEDURE
IMPORTANT: Press only on the ends of the PROM I Electronic Spark Control Module. Gently press on the PROM until it is firmly seated in the
socket. Listen for the click.
NOTICE: In order to prevent possible electrostatic discharge (ESD) damage to the VCM, do not touch the connector pins or soldered components on
the circuit board.
1. Align the notches of the PROM / Electronic Spark Control Module with the notches in the PROM socket.