
Express 3/4 Ton Van V8-5.7L VIN R (1998)
Control Arm: Service and Repair
Lower Control Arm Replacement
REMOVAL PROCEDURE
1. Remove the coil spring.
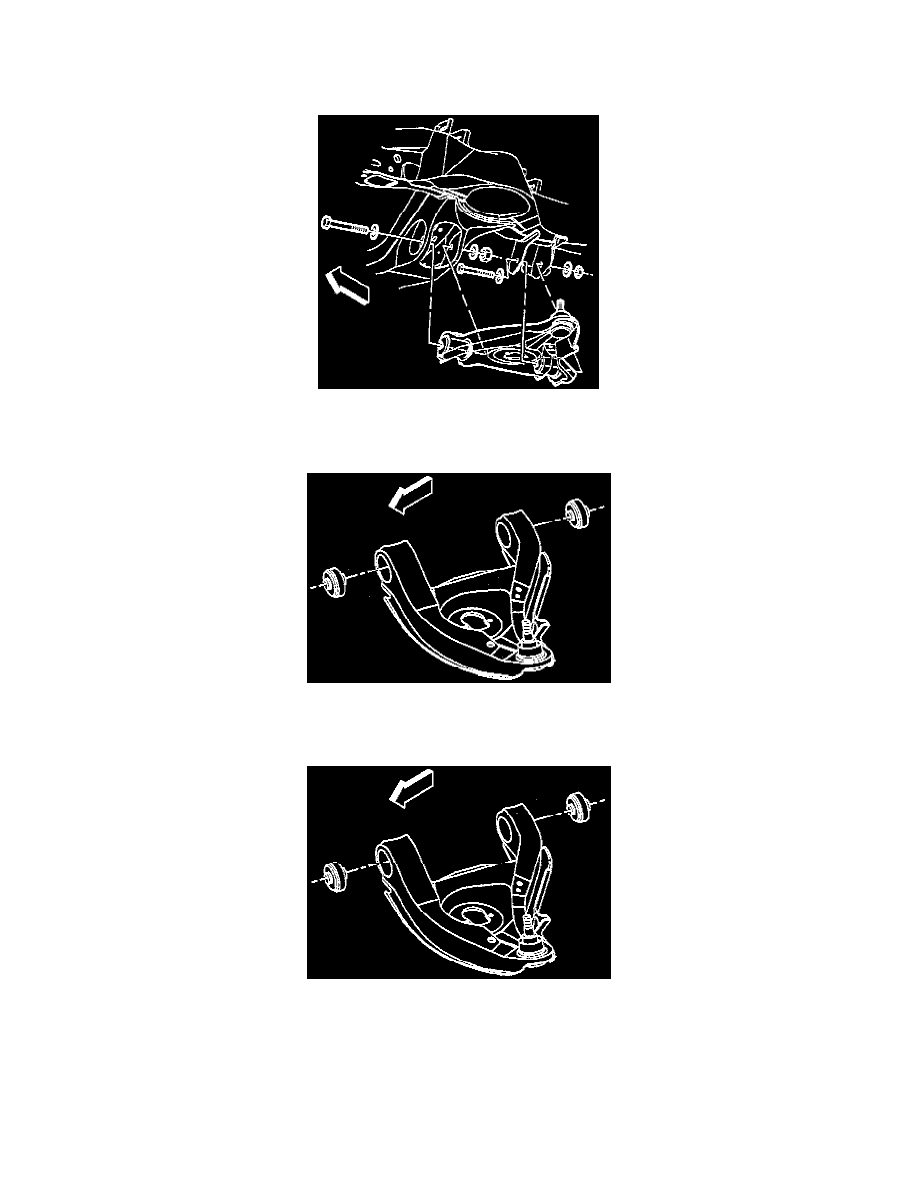
2. Remove the nuts and the bolts from the lower control arm pivot joints.
3. Remove the lower control arm.
4. Remove the bushings from the control arm using a press.
INSTALLATION PROCEDURE
1. Install the bushings using a press.
NOTICE:
^
Avoid pounding the bolts or any excessive force when installing the control arm to the frame.
^
Always inspect the frame attachment hole for elongation greater than 1 mm clearance around the bolt in any direction at any location. If 1 mm
gap or other evidence of damage is detected, repair the frame as required.