
Express 3/4 Ton Van V8-6.5L DSL Turbo VIN F (1999)
Engine Accessory Bracket: Service and Repair
Accessory Brackets Replacement (Left)
Removal Procedure
1. Disconnect both the battery negative cables from the batteries.
^
For the front battery, refer to Battery Cable Replacement (Battery Cable Negative) in Starting and Charging.
^
For the auxiliary battery, refer to Battery Cable Replacement (Battery Cable Aux. Negative) in Starting and Charging.
2. Remove the fan shroud from the radiator.
3. Remove the drive belt from the pulleys.
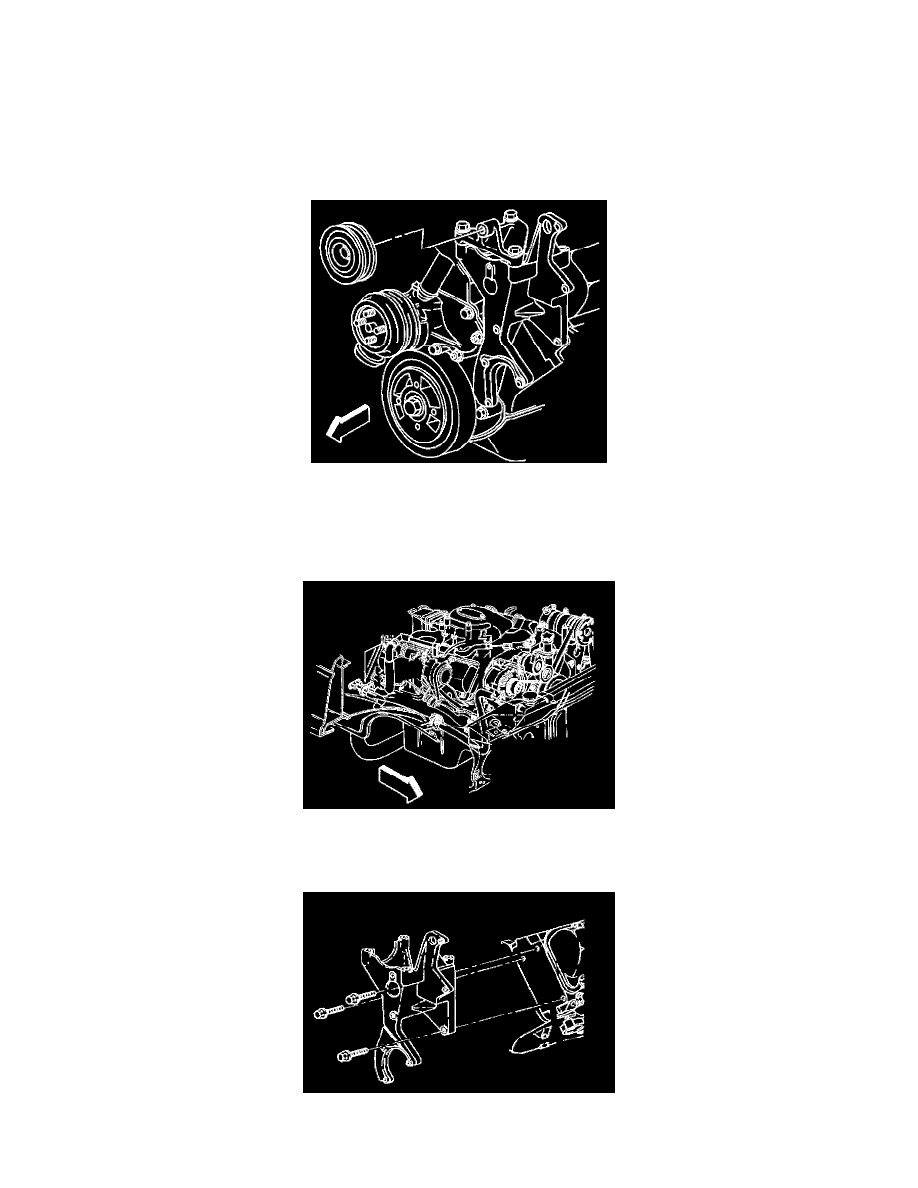
4. Remove the air conditioning compressor from the accessory bracket (if equipped), and position to the side.
5. Remove the idler pulley assembly (if vehicle is not equipped with A/C) from the left accessory bracket.
6. Remove the auxiliary generator (if equipped) from the accessory bracket. Refer to Generator Replacement-Auxiliary in Starting and Charging.
7. Drain the cooling system.
8. Remove the engine cooling fan from the vehicle.
9. Remove the heater hose from the thermostat housing and position out of the way.
10. Remove the thermostat housing crossover from the cylinder heads.
11. Remover the power steering pump from the accessory bracket.
12. Remove the bolts from the accessory bracket.
13. Remove the accessory bracket from the engine block.