
Express 3/4 Ton Van V8-6.5L DSL Turbo VIN F (1999)
Oil Pan: Service and Repair
Removal Procedure
1. Disconnect the battery negative cables from the battery.
^
For the front battery, refer to Battery Cable Replacement (Battery Cable Negative) in Starting and Charging.
^
For the auxiliary battery, refer to Battery Cable Replacement (Battery Cable Aux. Negative) in Starting and Charging.
2. Remove the oil level indicator and tube.
3. Raise the vehicle and support with safety stands.
4. Drain the engine oil.
5. Remove the transmission from the vehicle.
6. Remove the flywheel from the crankshaft.
7. Remove the oil pan rear oil seal.
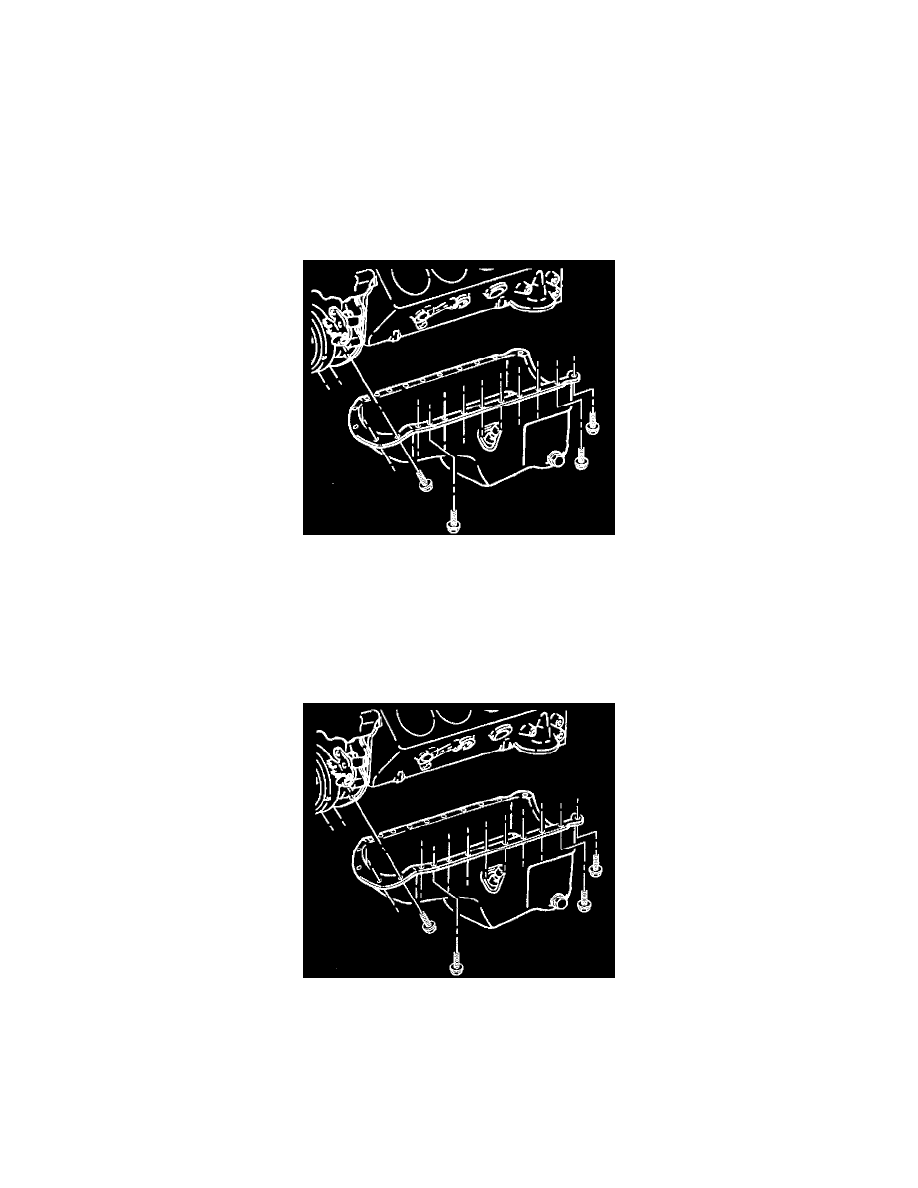
8. Remove the oil pan from the engine block.
9. Clean the old RTV from the oil pan and the block.
10. Clean all the oil and grease from the gasket surfaces.
Installation Procedure
1. Apply a 5 mm (3/16 inch) bead of RTV sealant GM P/N 1052915 or equivalent to the oil pan sealing surface, inboard of the bolt holes. The sealer
must be wet to touch when the oil pan is installed.
2. Install the oil pan rear oil seal.
3. Install the oil pan to the engine.
Notice: Refer to Fastener Notice in Service Precautions.
4. Install the oil pan bolts.
^
Tighten all except the rear two bolts to 10 Nm (89 inch lbs.).
^
Tighten the rear two bolts to 23 Nm (17 ft. lbs.).
5. Install the flywheel on the crankshaft.
6. Install the transmission in the vehicle.