
Express 3/4 Ton Van V8-6.5L DSL Turbo VIN F (1999)
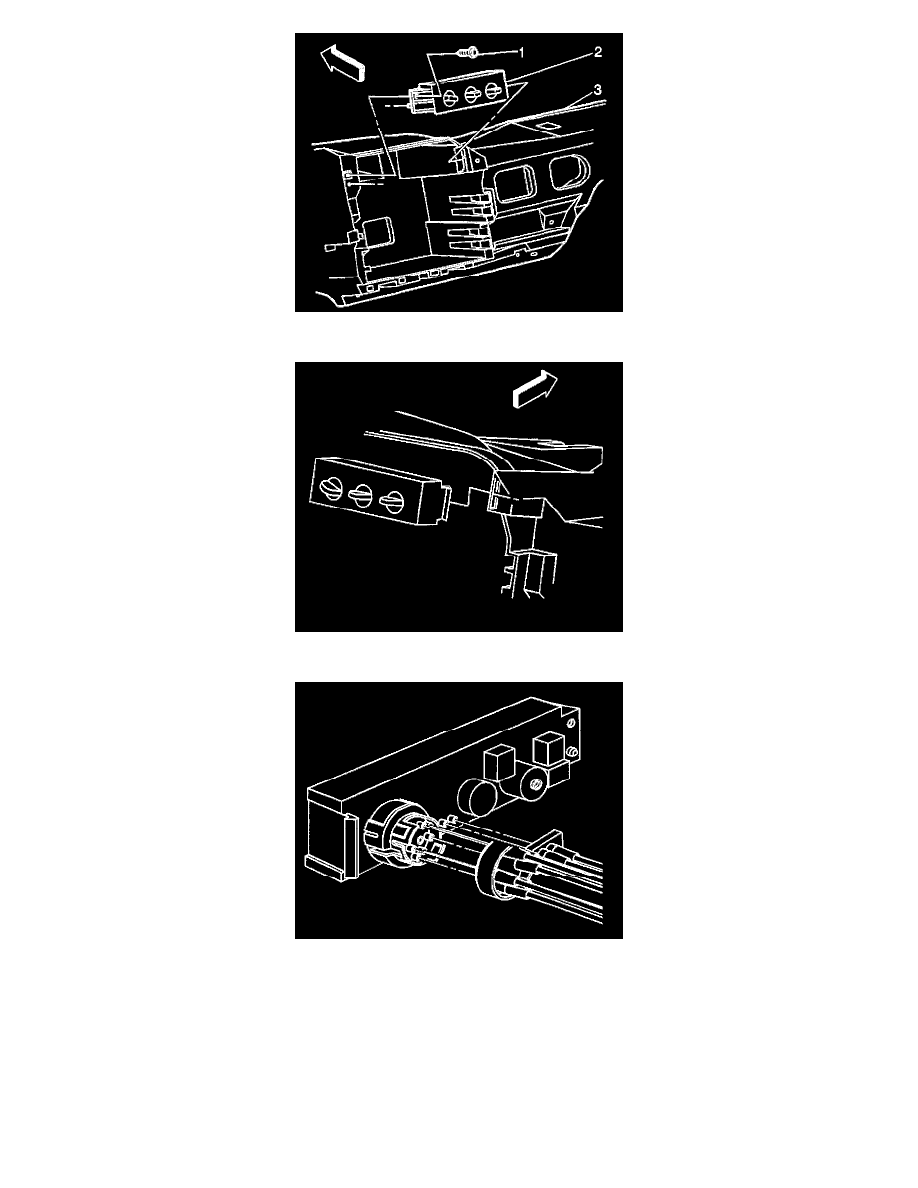
3. Remove the retaining screw (1) from the left edge of the control head (2).
4. Pivot the control head from the instrument panel in order to disengage the tab on the right side of the control head.
5. Pull the control head out of the instrument panel far enough to reach the vacuum and the electrical connectors.
6. Remove the electrical connectors.
7. Remove the vacuum connectors.
INSTALLATION PROCEDURE