
Express 3/4 Ton Van V8-6.5L DSL Turbo VIN F (1999)
Glow Plug Relay: Service and Repair
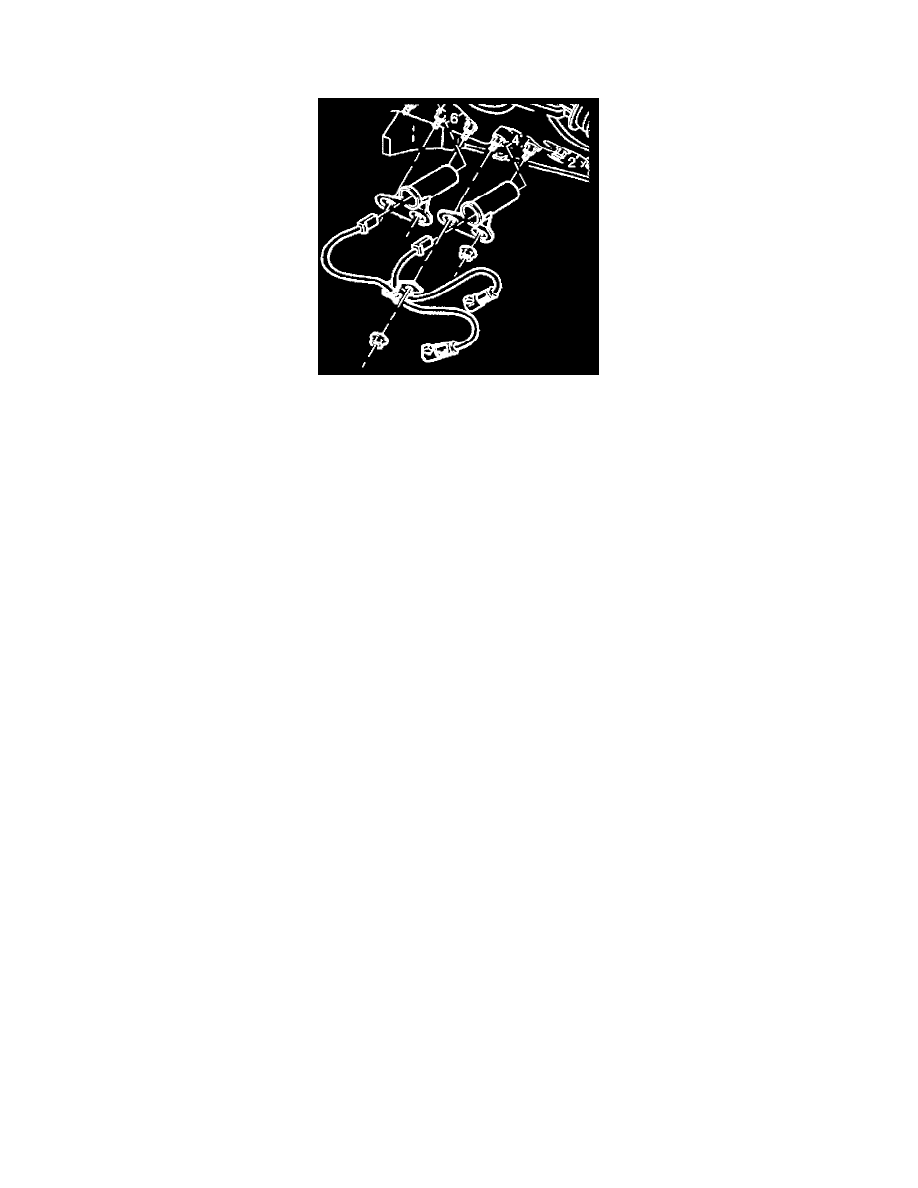
Right Side
REMOVAL PROCEDURE
1. Raise the vehicle.
2. Remove the right front tire.
3. Remove the splash shield from the right front wheel well.
4. Remove the lead wires from the glow plug in cylinder 2.
5. Remove the lead wires for the glow plugs in cylinders 4 and 6 at the harness connectors.
6. Remove the glow plugs from cylinders 2, 4, and 6. If the glow plug was damaged during the removal procedure, refer to Damaged Glow Plug
Removal.
7. Disconnect the lead wire at the glow plug from cylinder 8 from inside of the vehicle.
8. Remove the glow plug from cylinder 8. If the glow plug was damaged during the removal procedure, refer to Damaged Glow Plug Removal.
INSTALLATION PROCEDURE
1. Coat the glow plug threads with an anti-seize compound, GM P/N 1052771, or an equivalent.
NOTE: Refer to Fastener Notice Fastener Notice in Service Precautions.
2. Install the glow plug into cylinder 8 from inside of the vehicle.
Tighten
Tighten the glow plugs to 17 N.m (13 lb ft).
3. Connect the lead wire to the cylinder 8 glow plug.
4. Install the glow plugs into cylinders 2, 4, and 6 by reaching through the right front wheel well.
Tighten
Tighten the glow plugs to 17 N.m (13 lb ft).
5. Install the lead wire to glow plug 6.
6. Connect the wires for the glow plugs in cylinders 4 and 6 to the connectors at the wire harness.
7. Install the lead wire for the cylinder 2 glow plug.
8. Install the splash shield in the right front wheel well.
9. Inspect the wire routing, ensuring that the lead wires are not rubbing against the exhaust manifold or any part that may harm the wire insulation.
10. Install the right front tire.